Load Cameras on Startup
Follow the below steps to load specific cameras when Smart PSS launches.
- Open Smart PSS
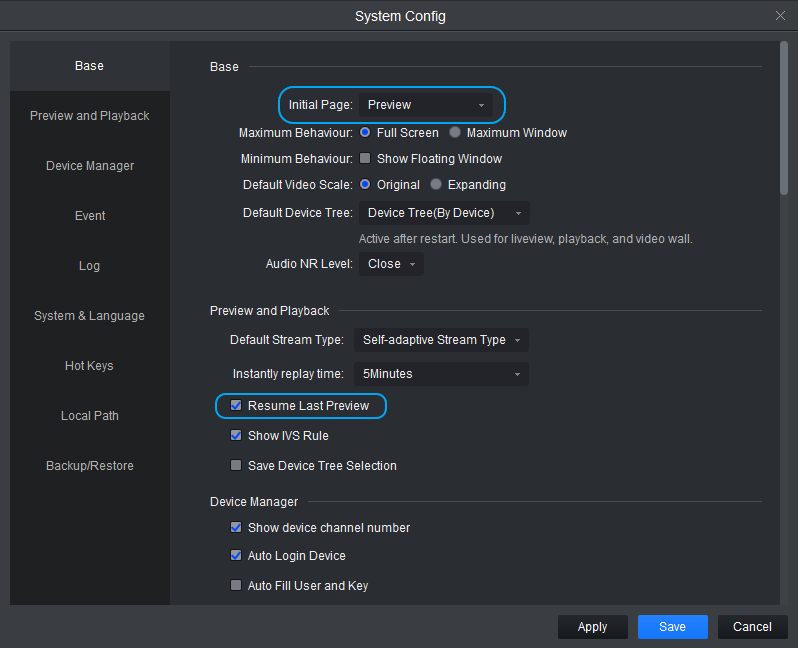
- Select the settings icon at the top right corner.

- Under Initial Page, Select Live Preview / Preview, then Enable Resume Last Preview.
- Once you have changed the above settings you can go back to Live View and choose your set of cameras. If the software is closed, this view will load back up once SmartPSS opens.
Creating a Camera View
Creating a camera view allows you to change back and forth between custom sets of cameras, that can even contain cameras from multiple different recorders.
- To create the view, start by adding the cameras required into the live view page. You can click and drag each camera around to change the order.
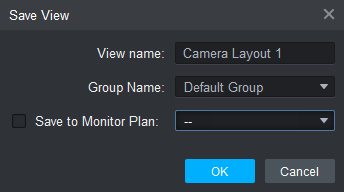
- Now, Click the Save Icon, located at the bottom left of the Live Preview Screen.

- Give the view a Name then press OK. Select the Group you wish to add it to.
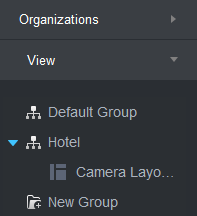
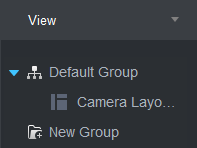
- Open this view by selecting the View option, from the left hand side.
- Open the group that the view was saved in, then double click on the View.
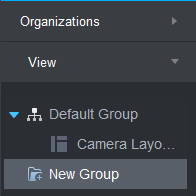
Creating a Camera Group
Creating groups allows you to organize your camera views.
- Open the View tab, from the left hand side.
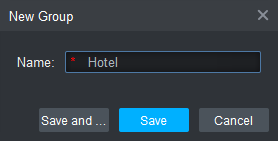
- Click on New Group.
- Enter a name for the Group, and select Save.
- If you have already created a Camera View, click and drag it into the group.