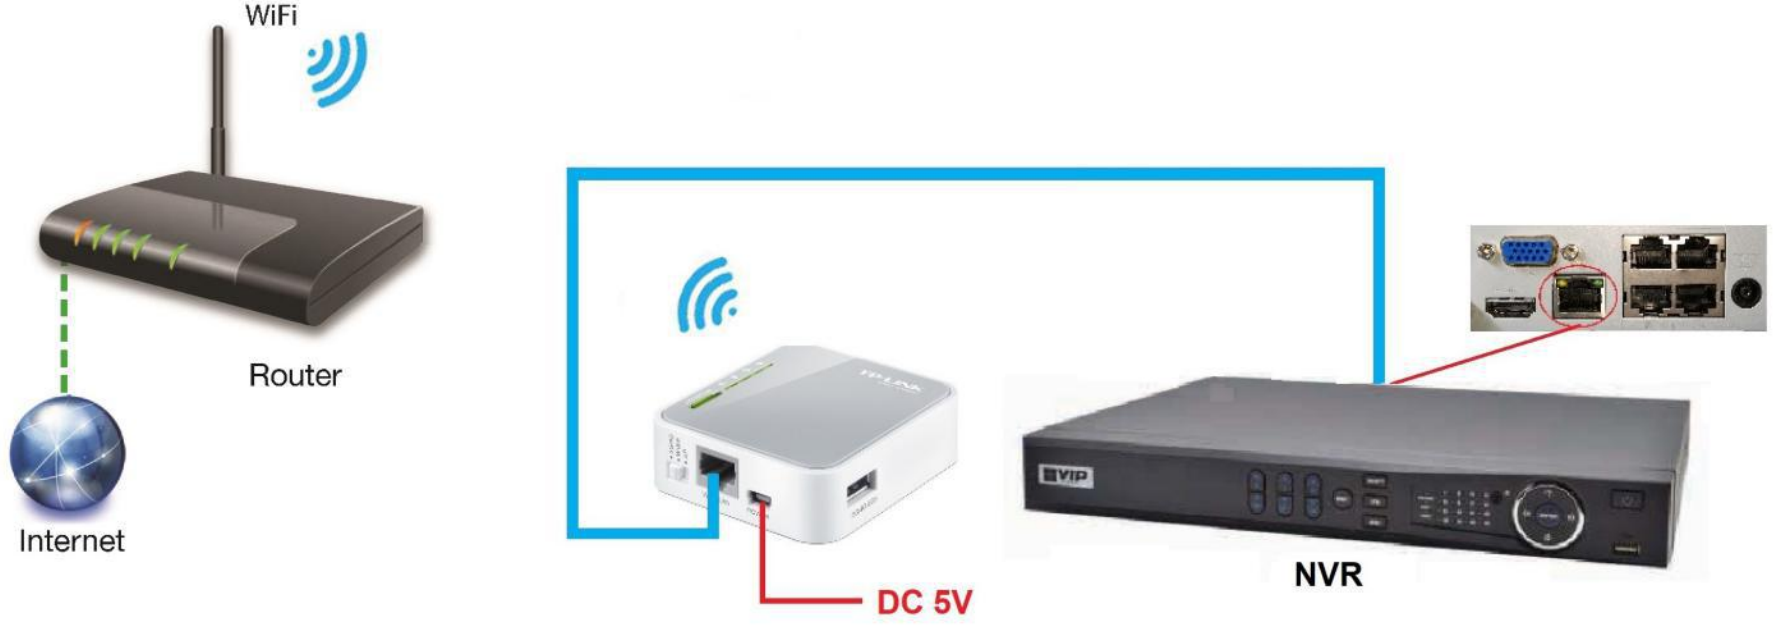
A TP-TL-MR3020 can be used to connect hardwired devices, such as a CCTV Recorder, to a wireless network to provide an internet connection to them for remote viewing.
Step 1 - How to access the TP-TL-MR3020 Web Interface
The web-based management page is a built-in internal web server that does not require internet access. It does however require you device to be connected to the TP-Link router. This connection can be wired or wireless.
1. Set up the TCP/IP Protocol in Obtain an IP address automatically mode on your computer.
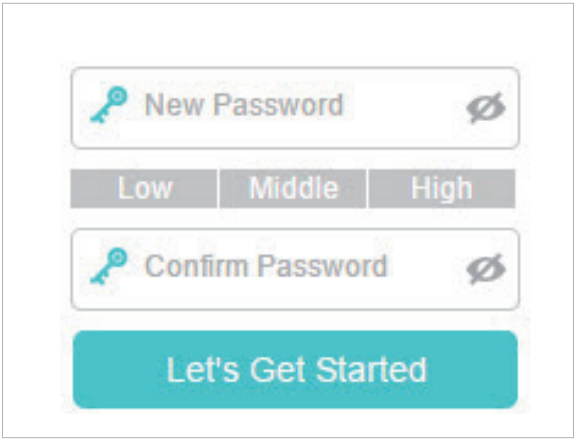
2. Visit http://tplinkwifi.net, and create a password for future logins.
For more information on accessing the unit please refer to this page.
Step 2 - Using the TP-TL-MR3020 to connect to a 3G/4G Dongle
Create a private wireless network and share the 3G/4G network with local devices.
1. Switch the operation mode to 3G/4G and connect the 3G/4G Dongle to the TP-TL-MR3020
2. Log in the router. For instruction, please refer to the first step.
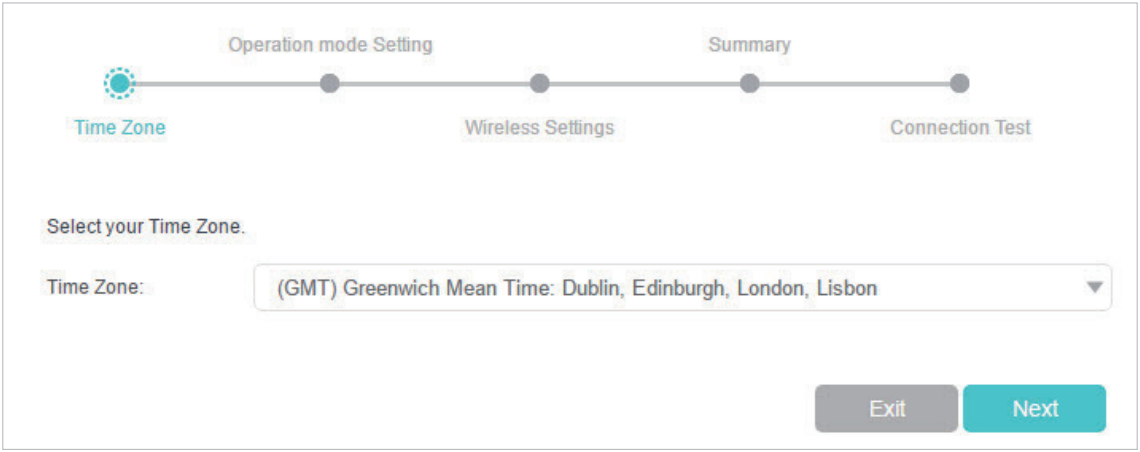
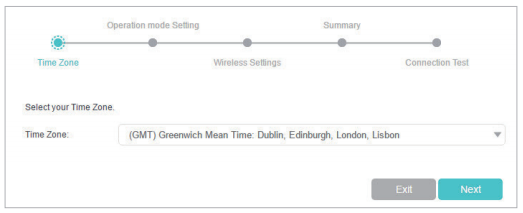
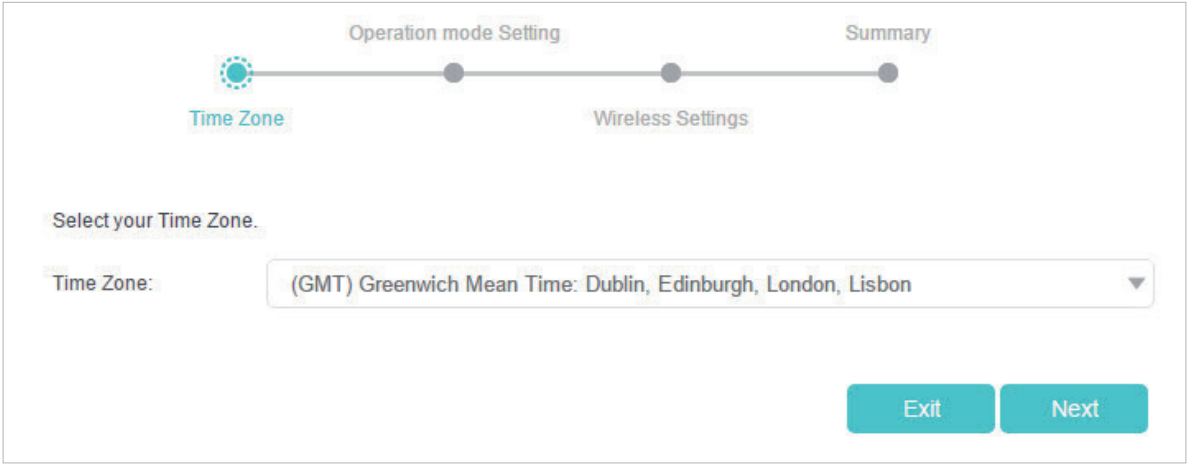
3. Select your Time Zone and click Next. .
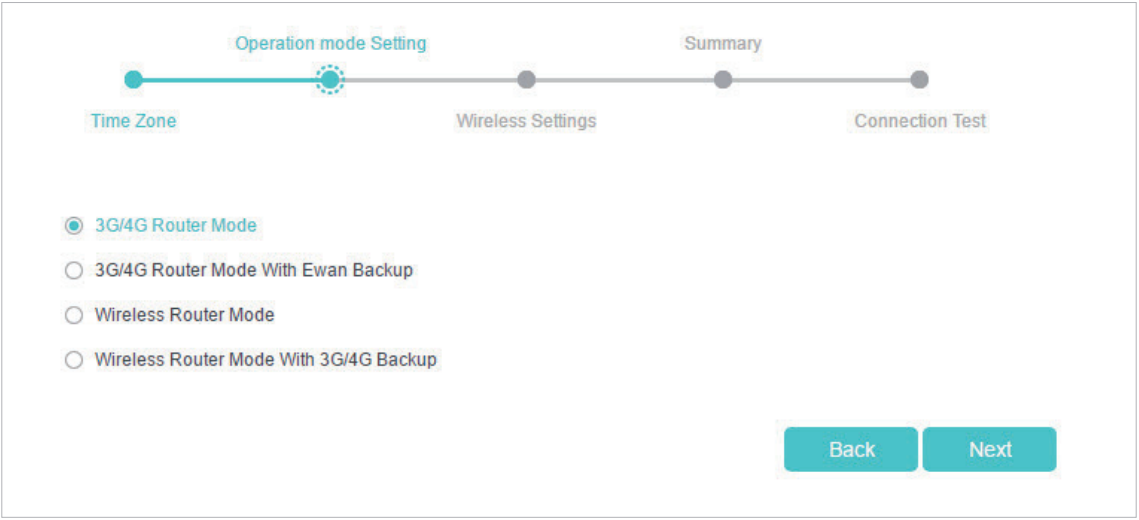
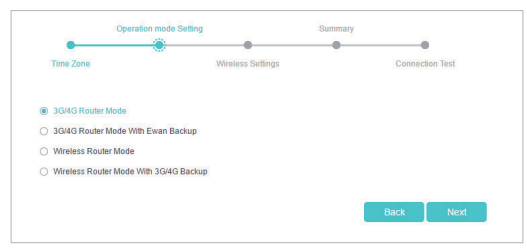
4. Select 3G/4G Router Mode and click Next.
Note: The router can be configured with a primary 3G/4G connection and WAN connection as a backup solution to ensure “always-on“ internet connectivity.
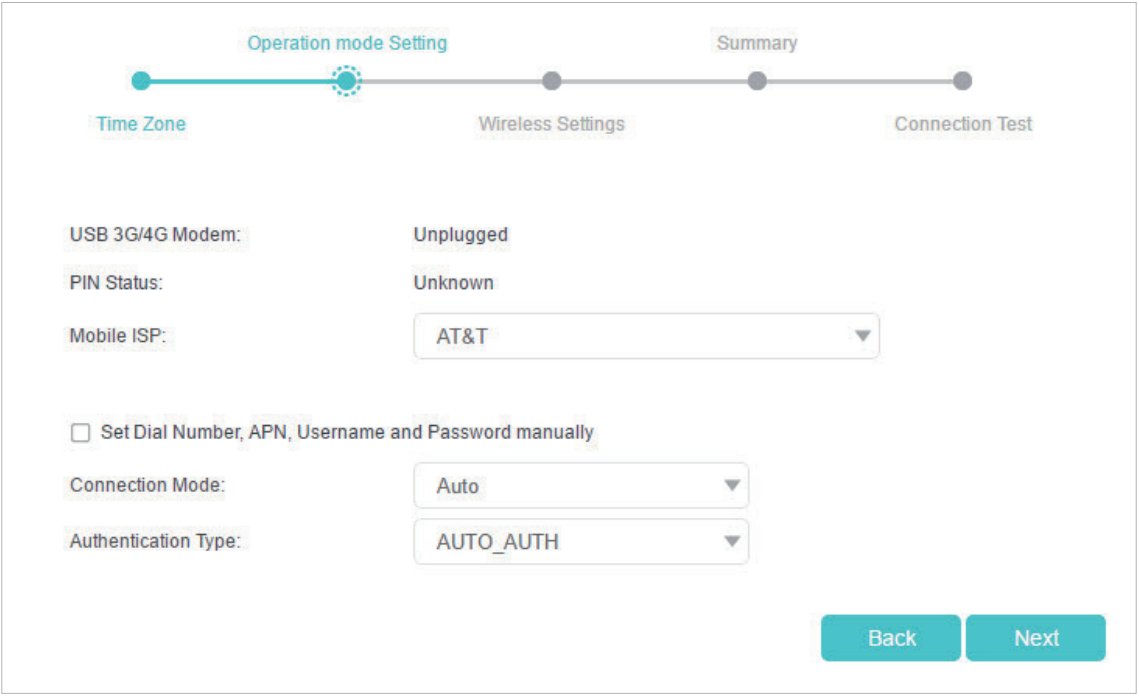
5. Select your Mobile ISP or manually set them using the parameters provide by your mobile ISP, if your ISP is not listed, click Next.
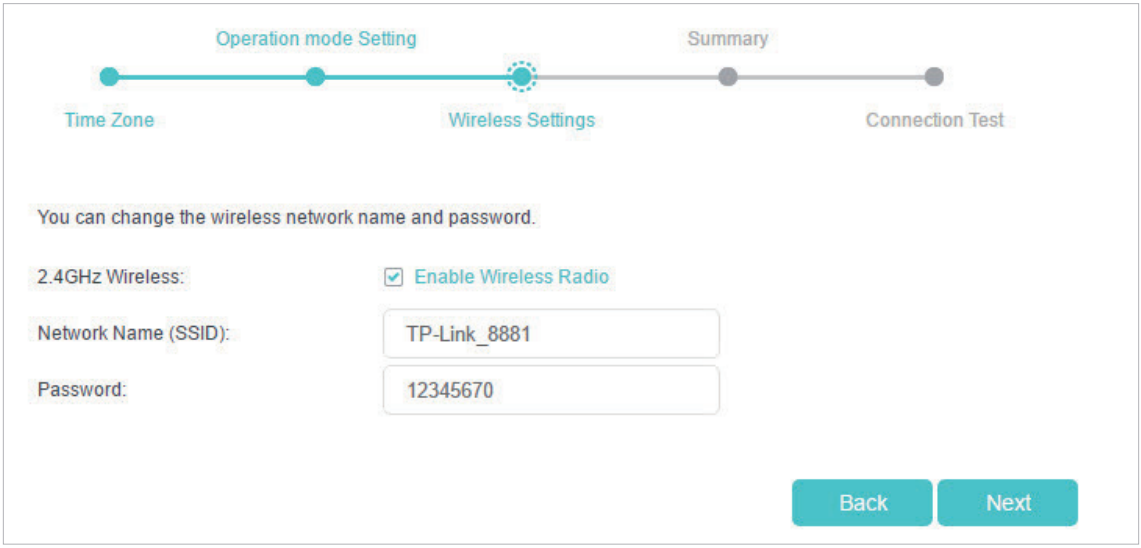
6. Either customize your Network Name (SSID) and Password or keep the default ones, and then click Next.
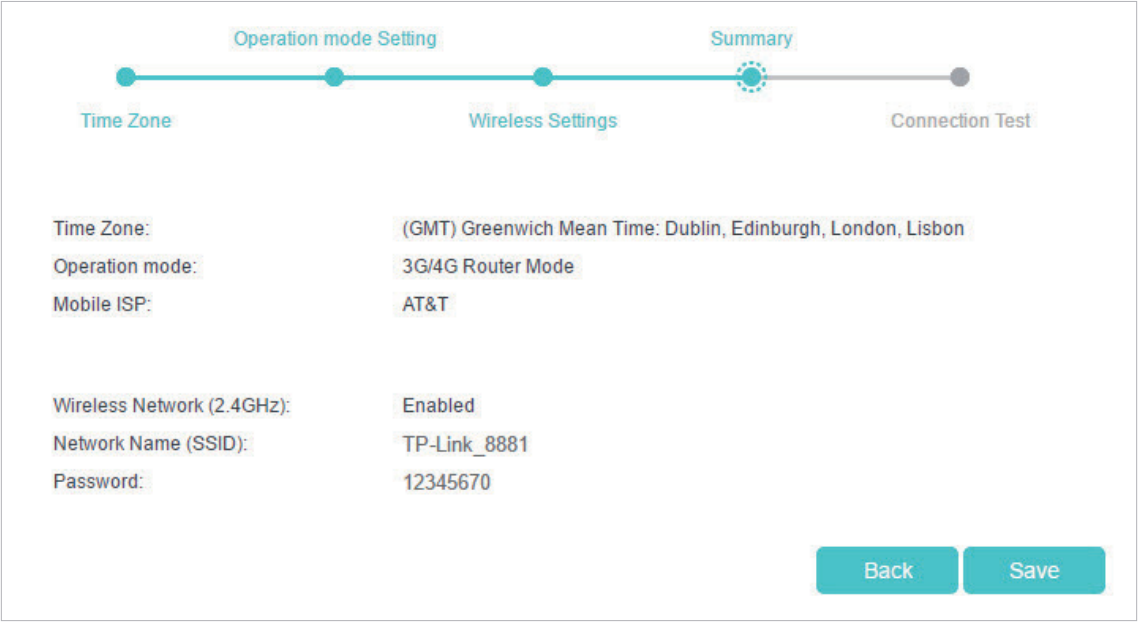
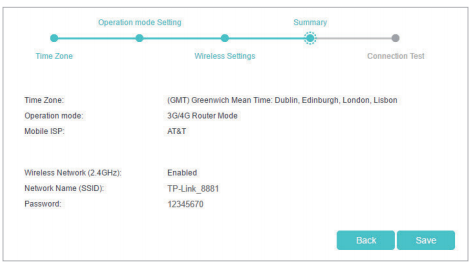
7. Check the wireless settings, note them down for future use and click Save.
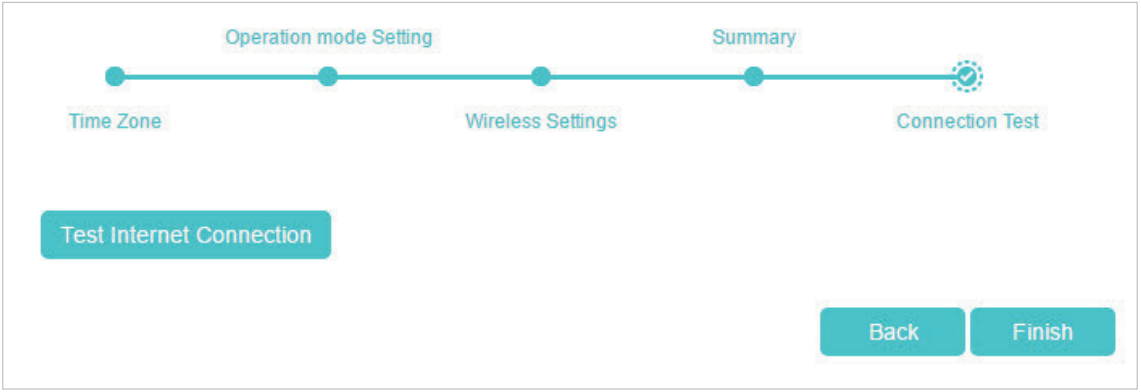
8. Click Finish to complete the configuration.
Step 2 - Using the TP-TL-MR3020 to Connect Wirelessly to a Network
1. Switch the operation mode to AP.
2. Log in the router. For instructions, please refer to the first step.
3. Select your Time Zone and click Next.
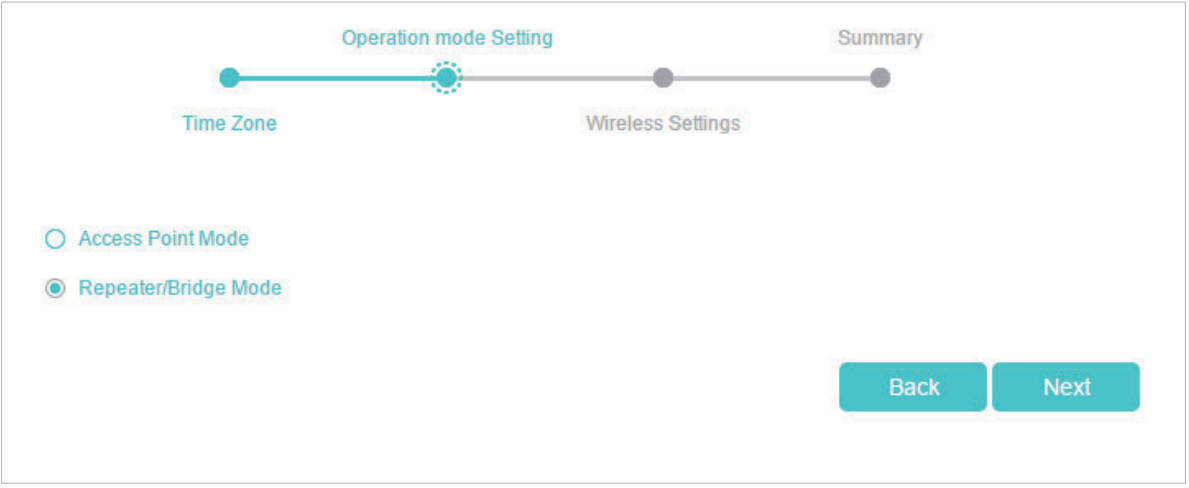
4. Select Repeater/Bridge Mode and click Next.
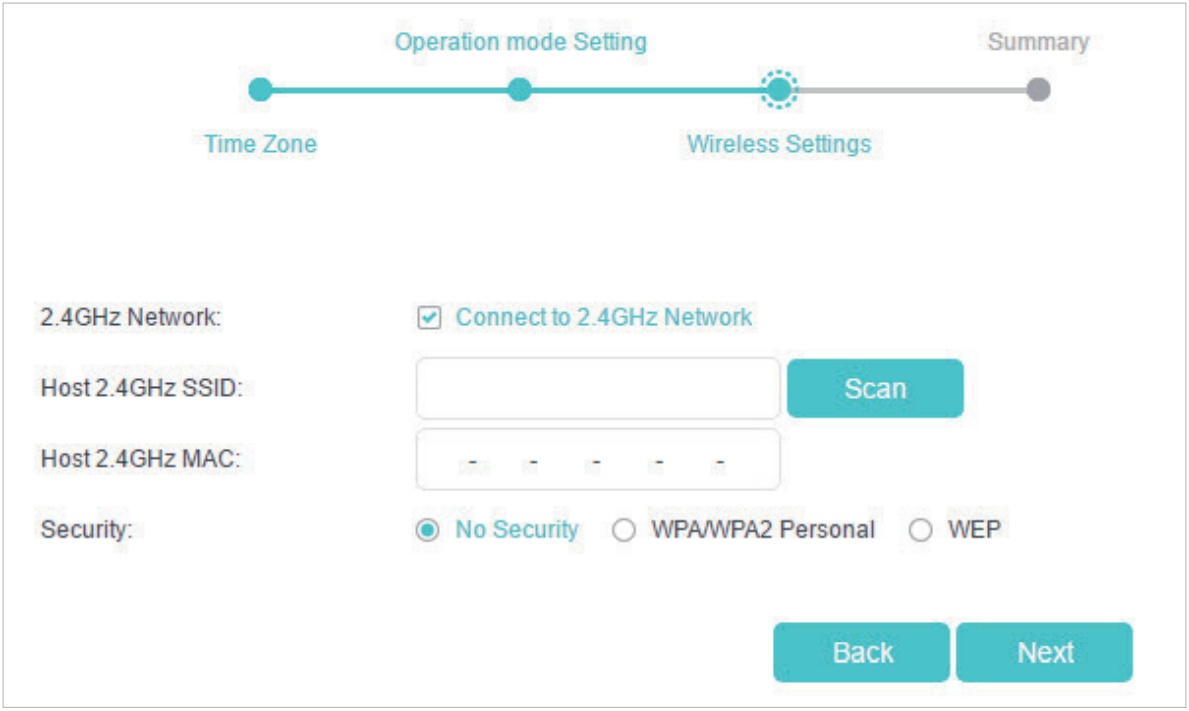
3. Click Scan to find the network you want to extend. Enter the Password for the selected wireless network if it is encrypted. Then click Next.
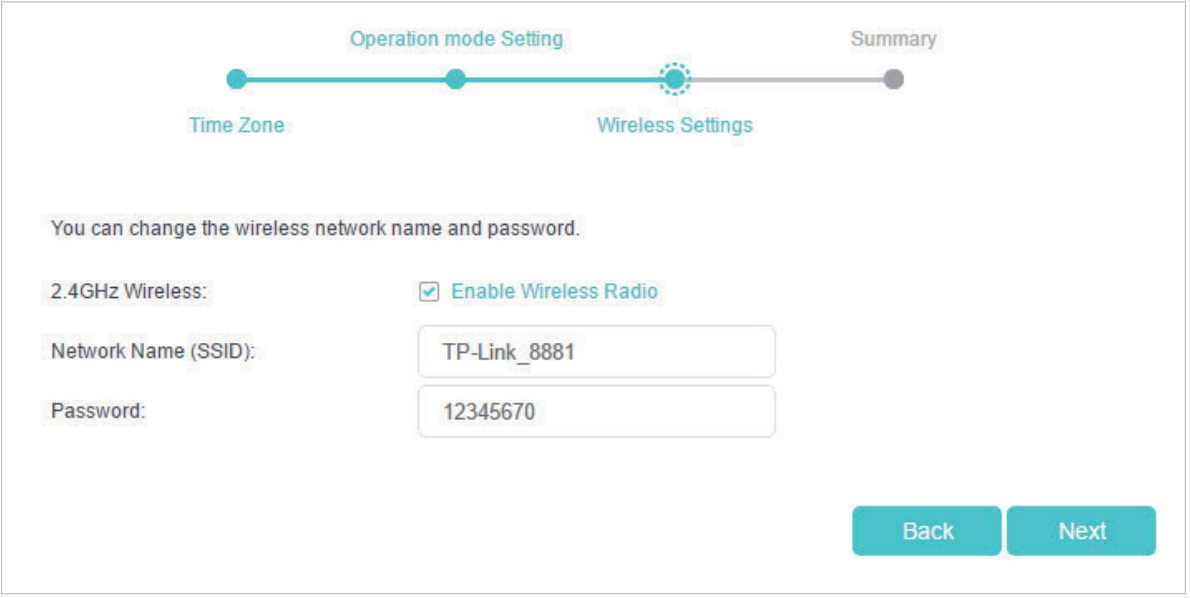
4. Either customize your Network Name (SSID) and Password or keep the default ones, and then click Next.
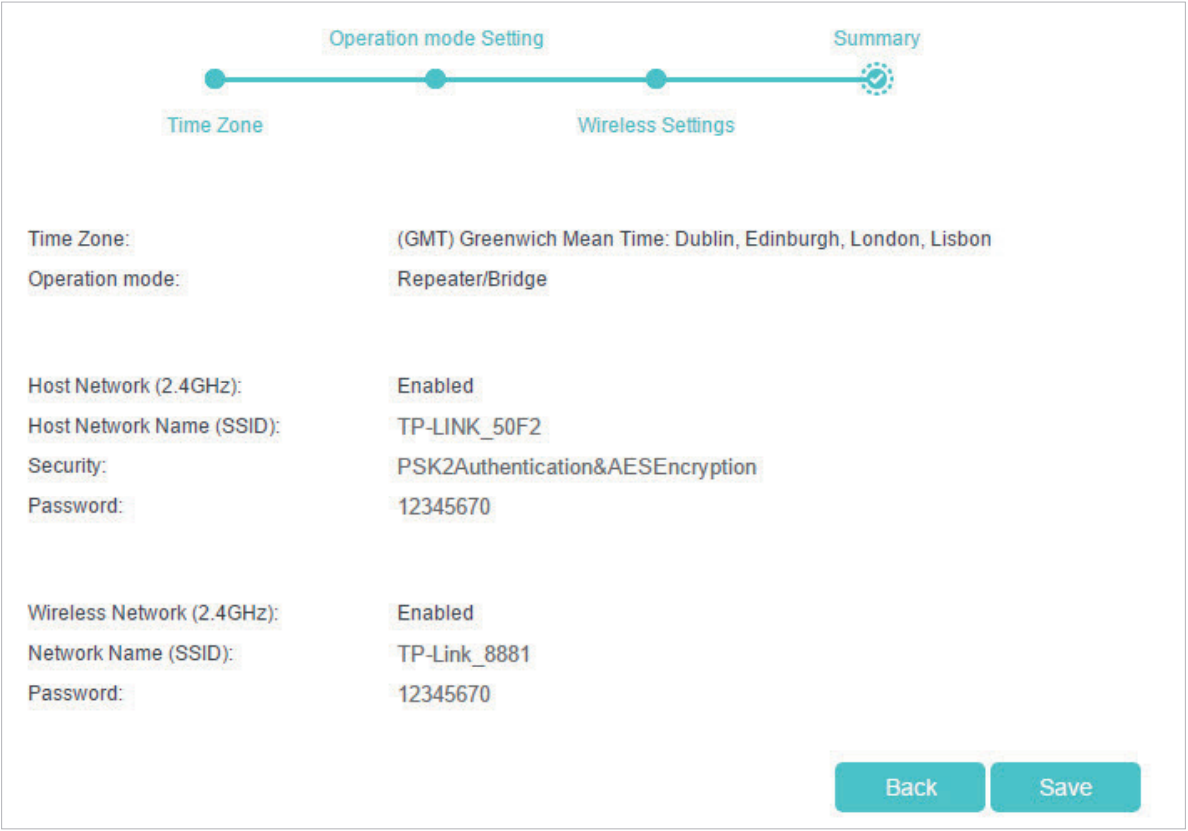
5. Click Save to complete the configuration.
Step 3 - Connecting the TP-TL-MR3020 to a Recorder
Before beginning, connect the network port of the TP-TL-MR3020 to the LAN port on the back of the recorder.
1. Right Click, and select Main Menu.2. Select Network.
3. Select TCP/IP.
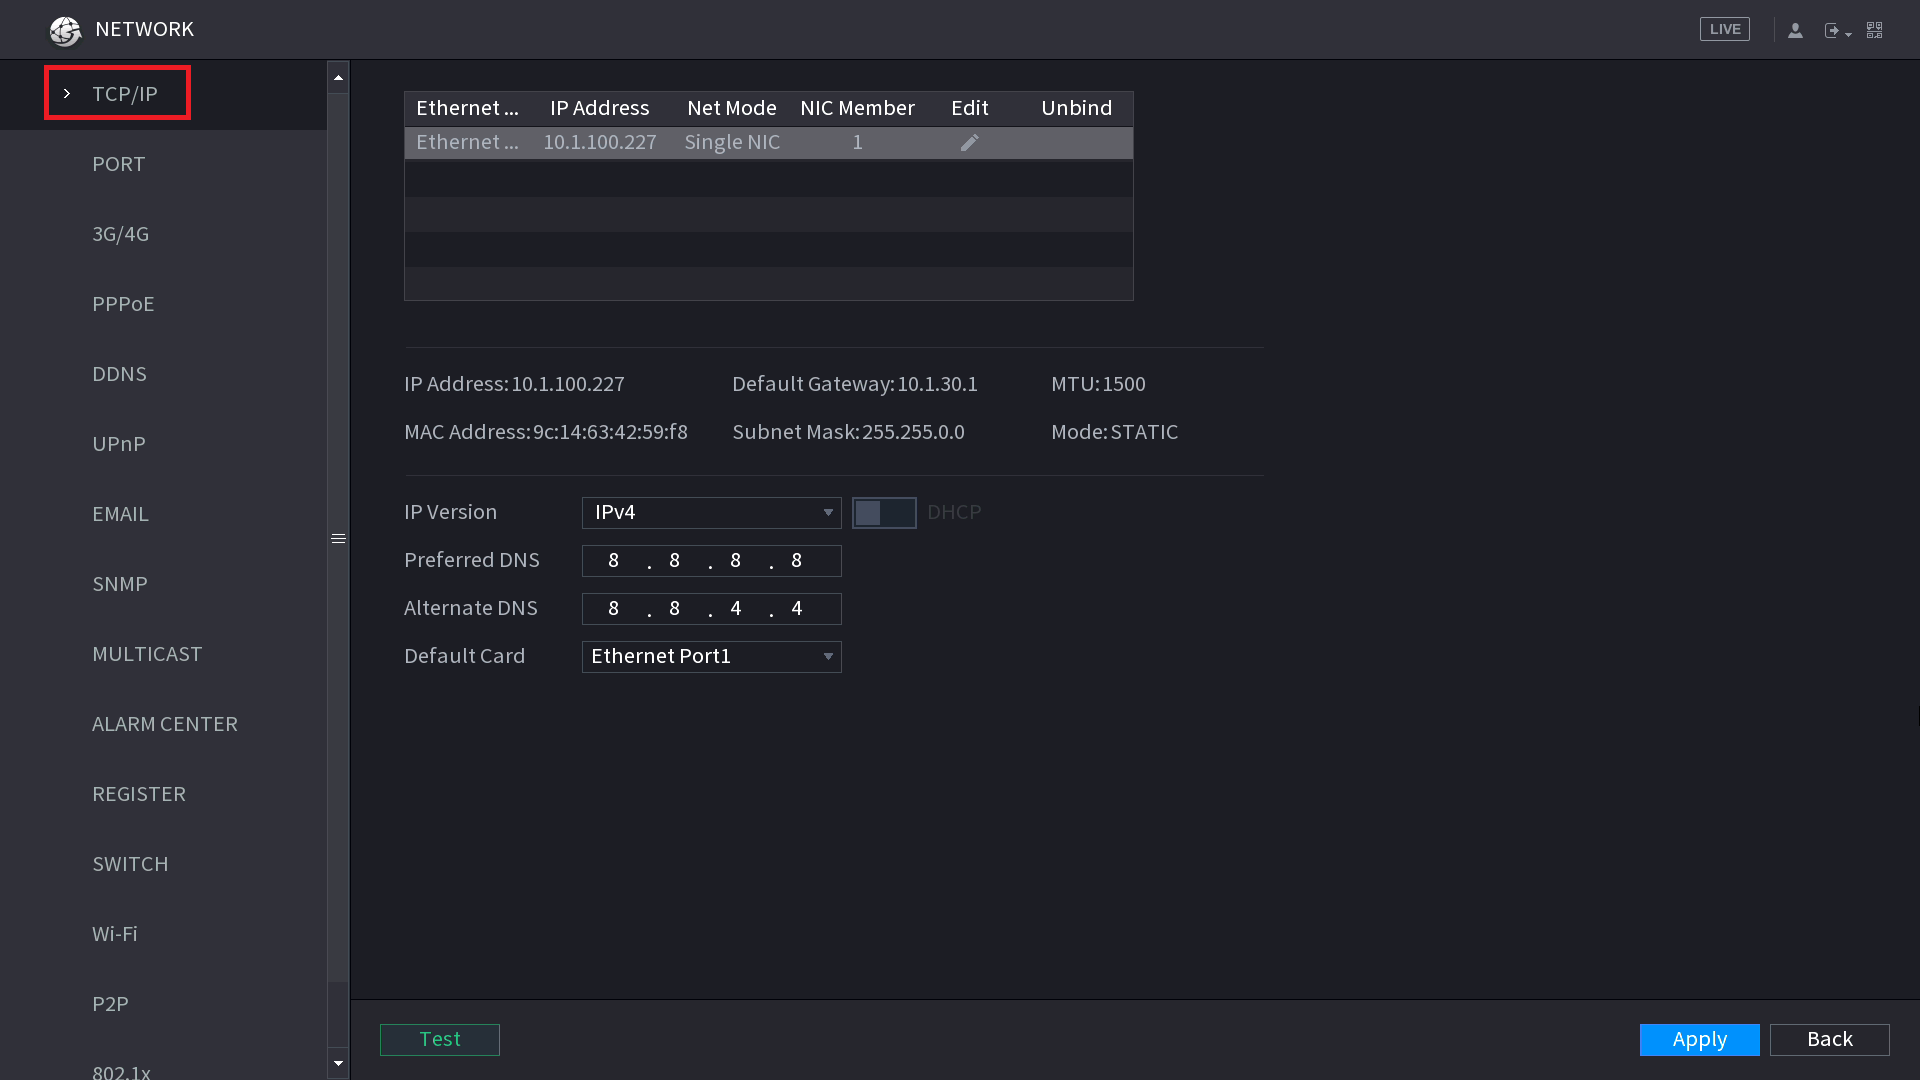
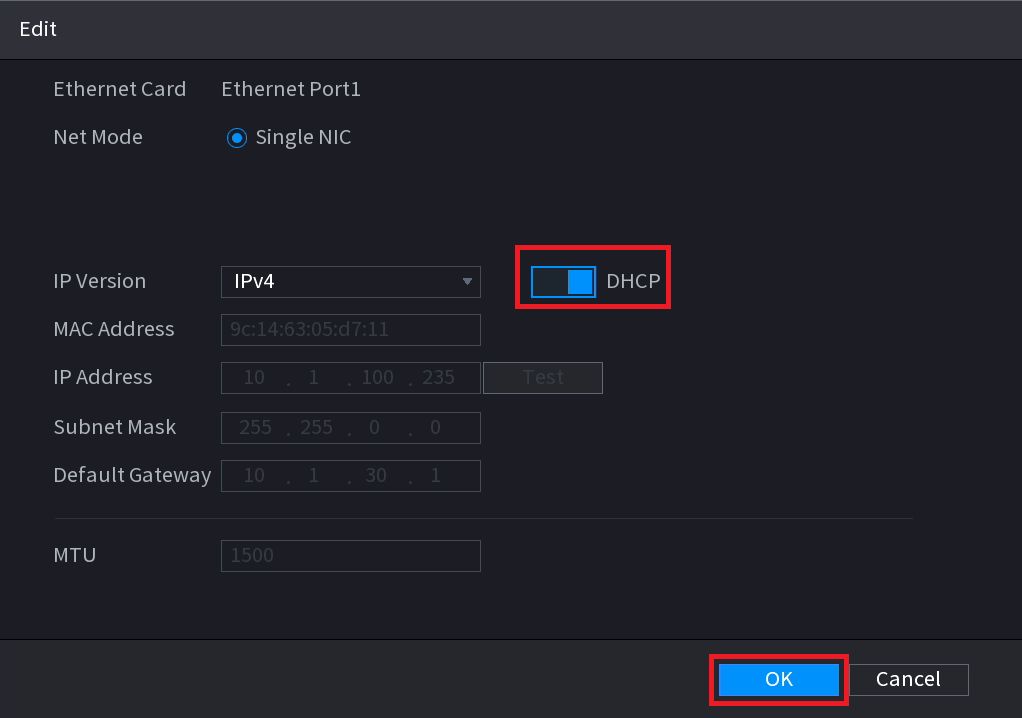
4. Click the Edit Pencil to bring up the page to modify the IP Settings.

5. Turn DHCP on. The IP Address should change to 0.0.0.0. Select OK to save your changes.
6. Select Apply to save your changes.
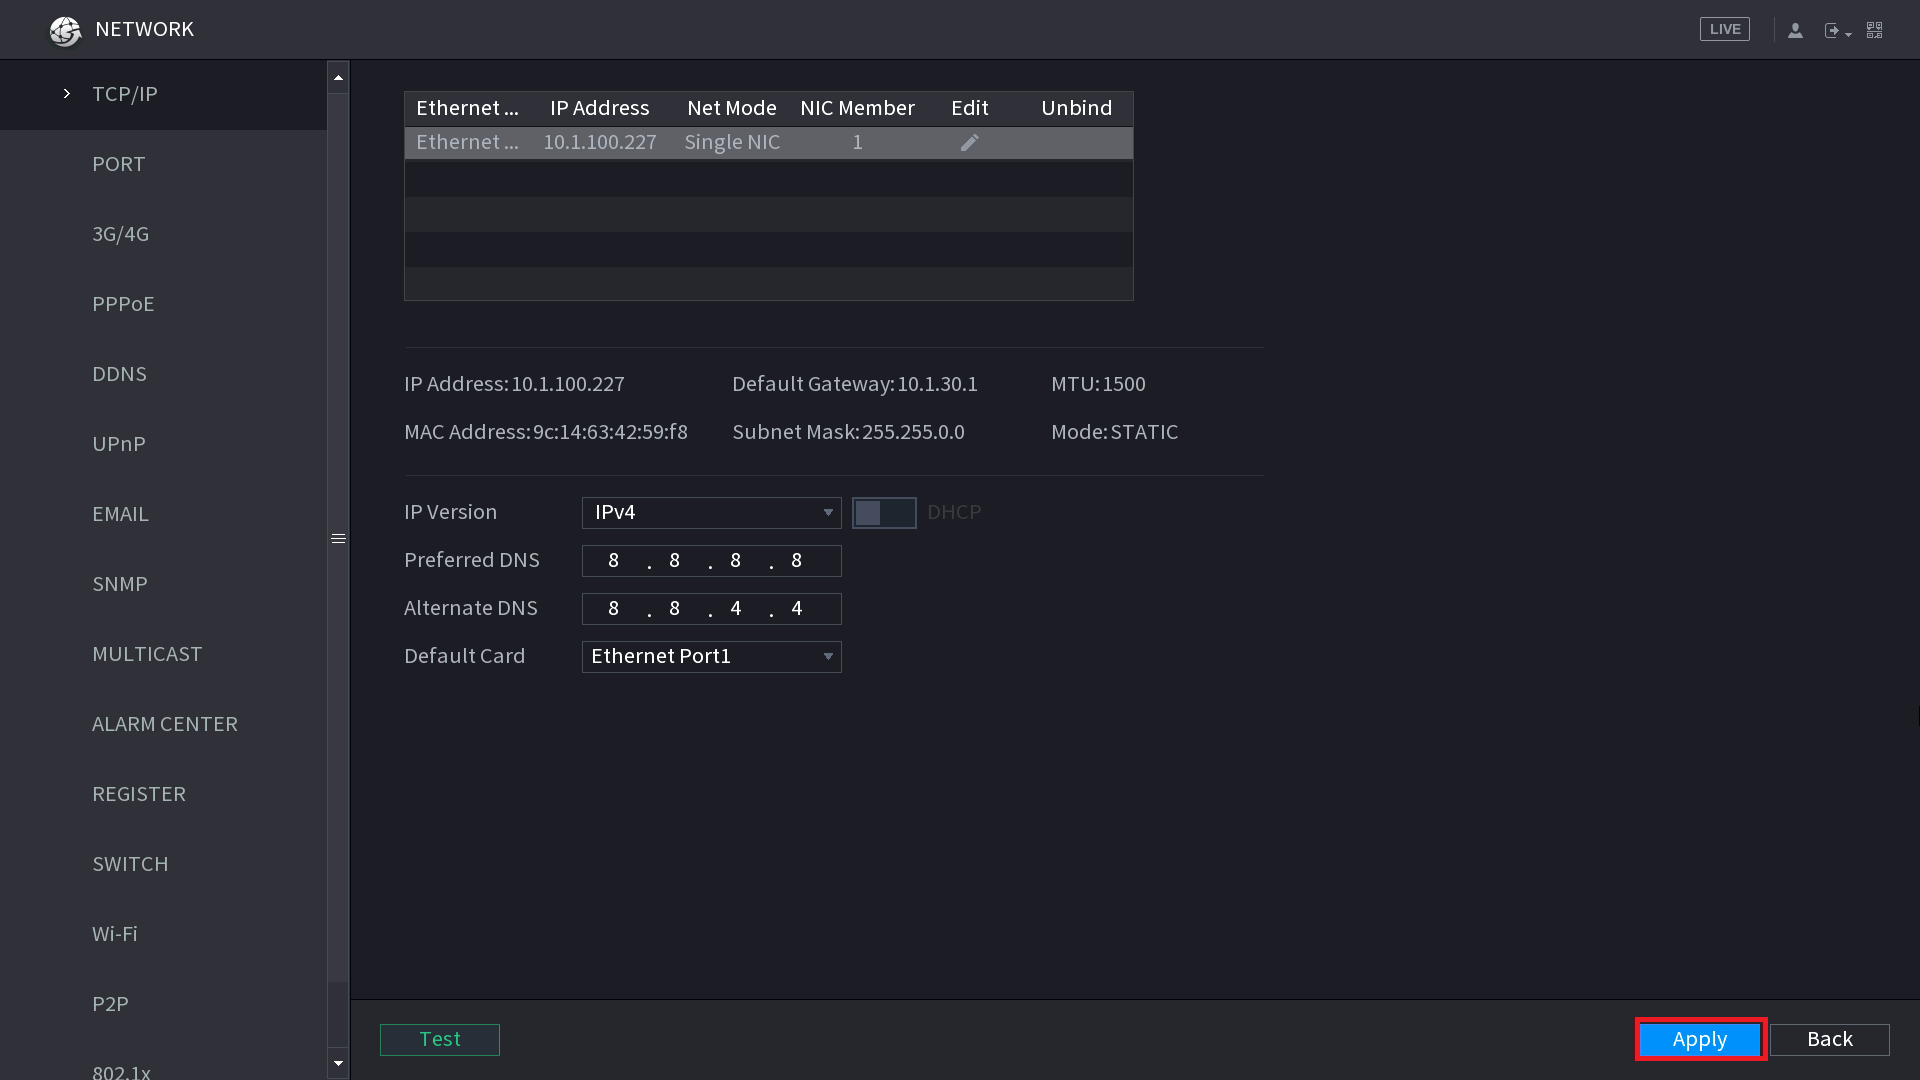
The recorder will now obtain an IP address from the TP-TL-MR3020, this can take up to 5 minutes.
For remote access setup instructions, see this article.
TP-Link Support
More information and support for this TP-Link product can be found below.