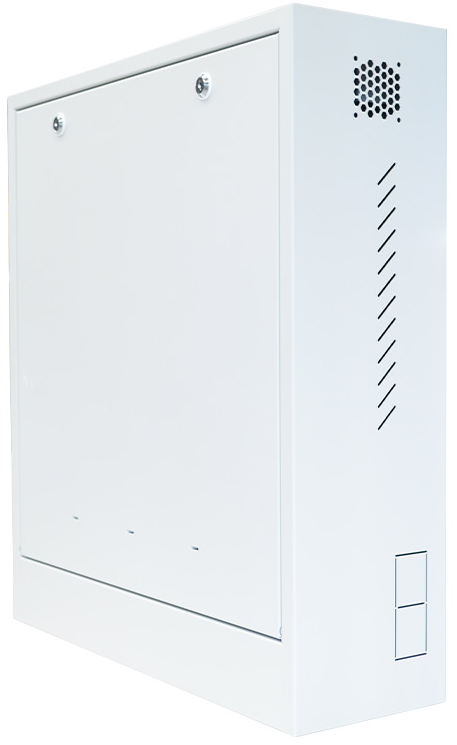
Wall Mounting
Items Required: Masonry anchors/timber coach screws, cordless drill.
- Depending on how the monitor is being installed, you may be required to install the monitor before mounting the cabinet. See monitor mounting for more information.
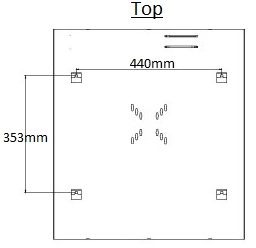
- Mark the 4 screw hole positions on the wall where the cabinet is to be mounted. Ensure that the cabinet is going to be mounted to timber studs, or to a masonry wall.
- Remove the door from the cabinet, by opening the cabinet and pulling the release handles.
- Mount the cabinet to the wall, ensure it if secured firmly to the wall.
- Reinstall the door.
Monitor Installation
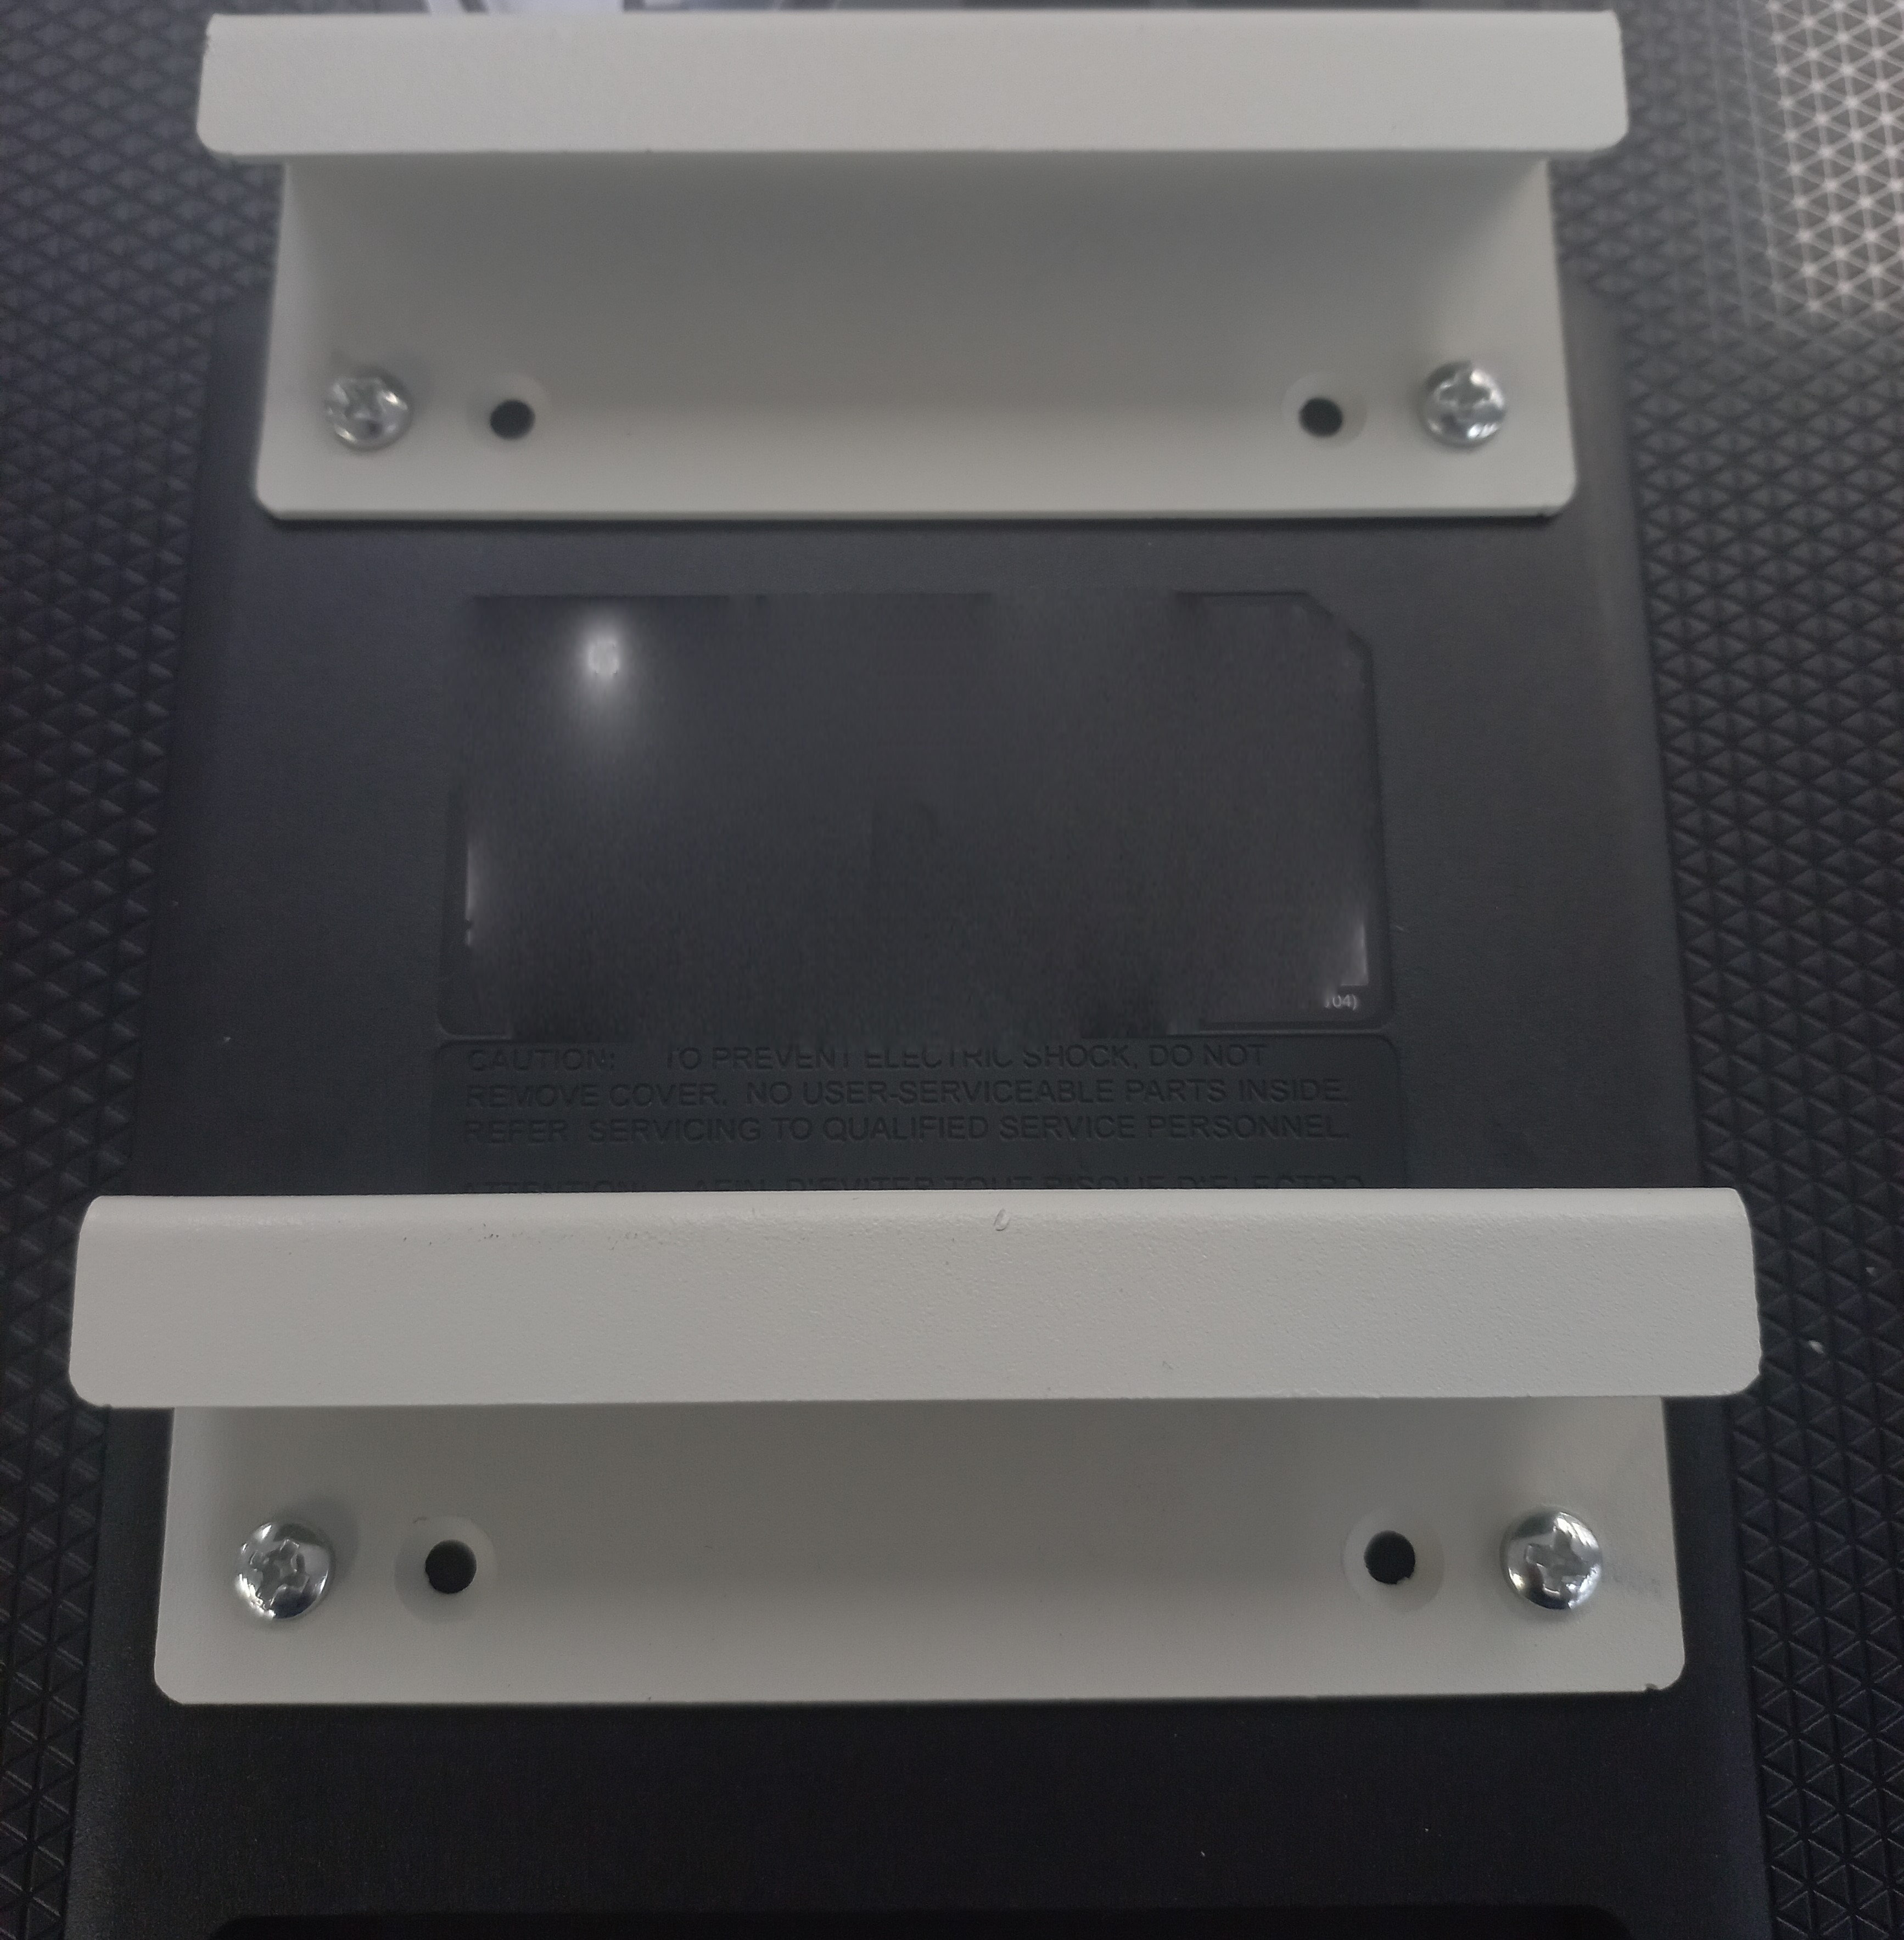
This cabinet is designed to fit up to a 24" monitor with 50x50/75x75/100x100 VESA mounts.
The monitor must have vertical / downwards-facing input ports and power connectors.
If the monitor has 100x100 VESA mounts, follow method 1. For monitors with 50x50 or 75x75 VESA mounts, follow method 2.
Compatible Monitors:
LCDFL24V
LCDAOC24 (Requires Right Angle HDMI Adapter - HDMIBMTF)
LCDFL24G (Requires Right Angle HDMI Adapter - HDMIBMTF)
LCDFL22G (Stand on monitor must be removed. Use mounting Method 2, top 2 VESA screws only)
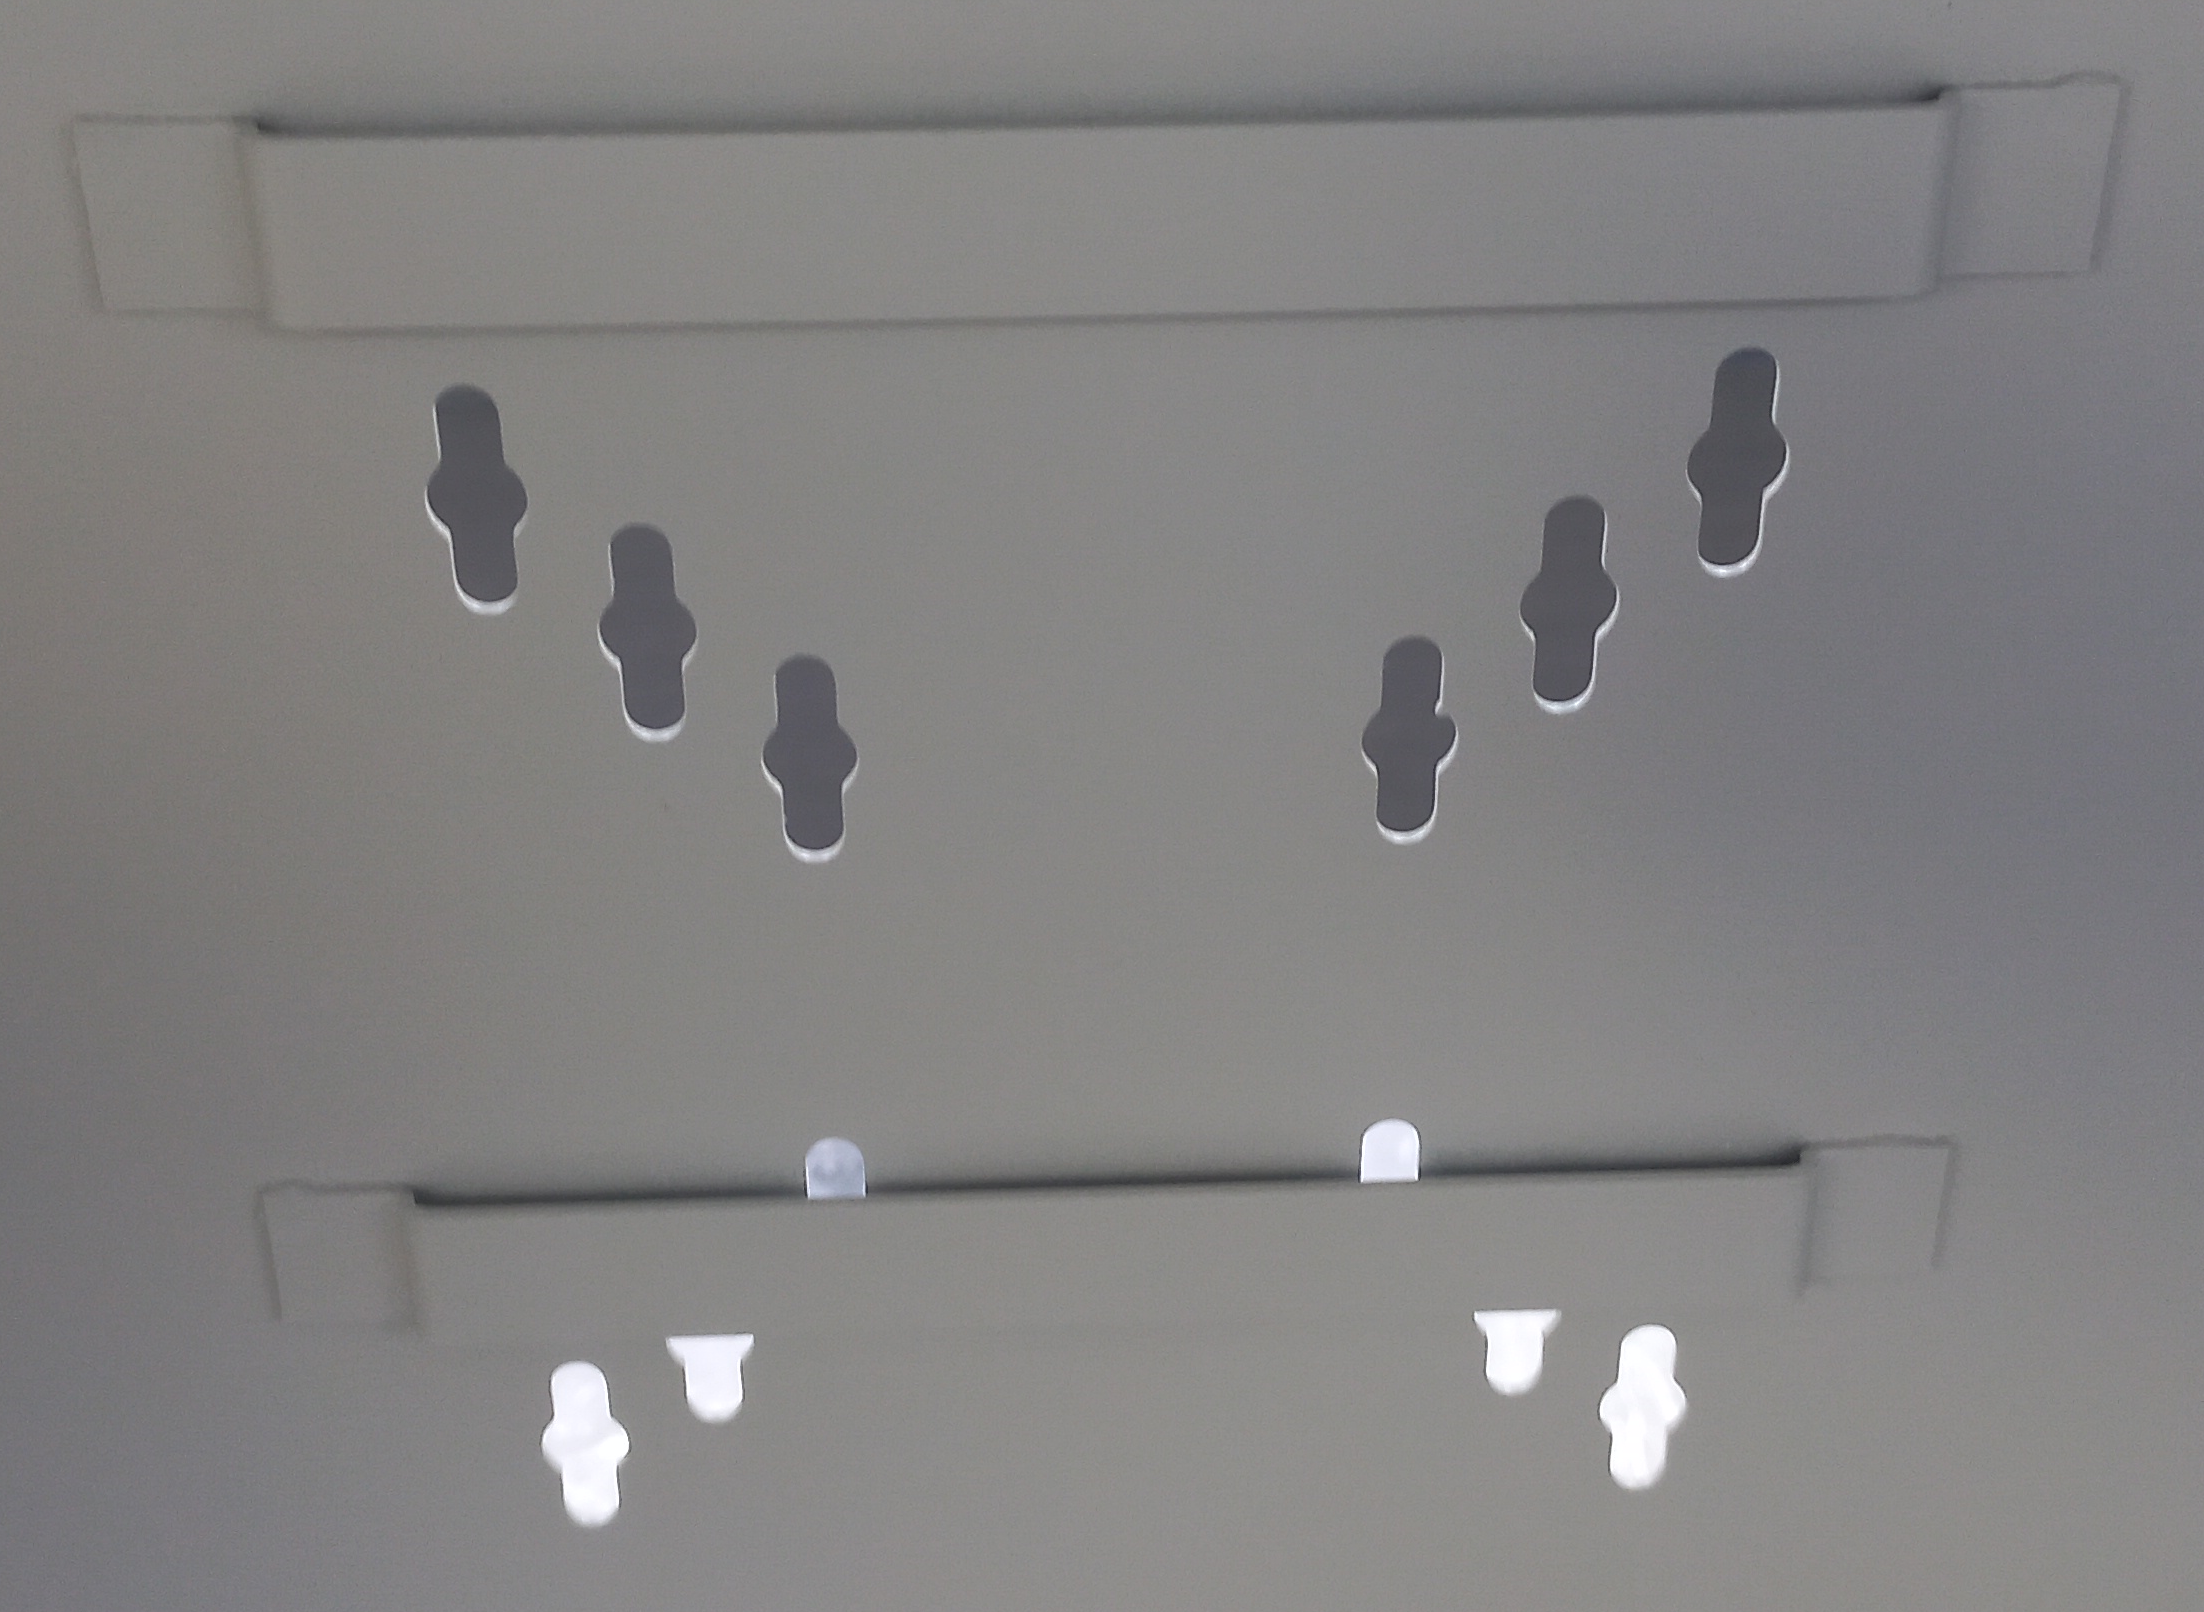
Method 1 - 75x75 & 100x100 VESA Monitor - Bracket Mounting
This method allows you to attach the monitor using mounting tabs, which makes for quicker installation.
Items Required: Phillips screwdriver
- Using the included VESA mounting brackets and 4x Philips screws.
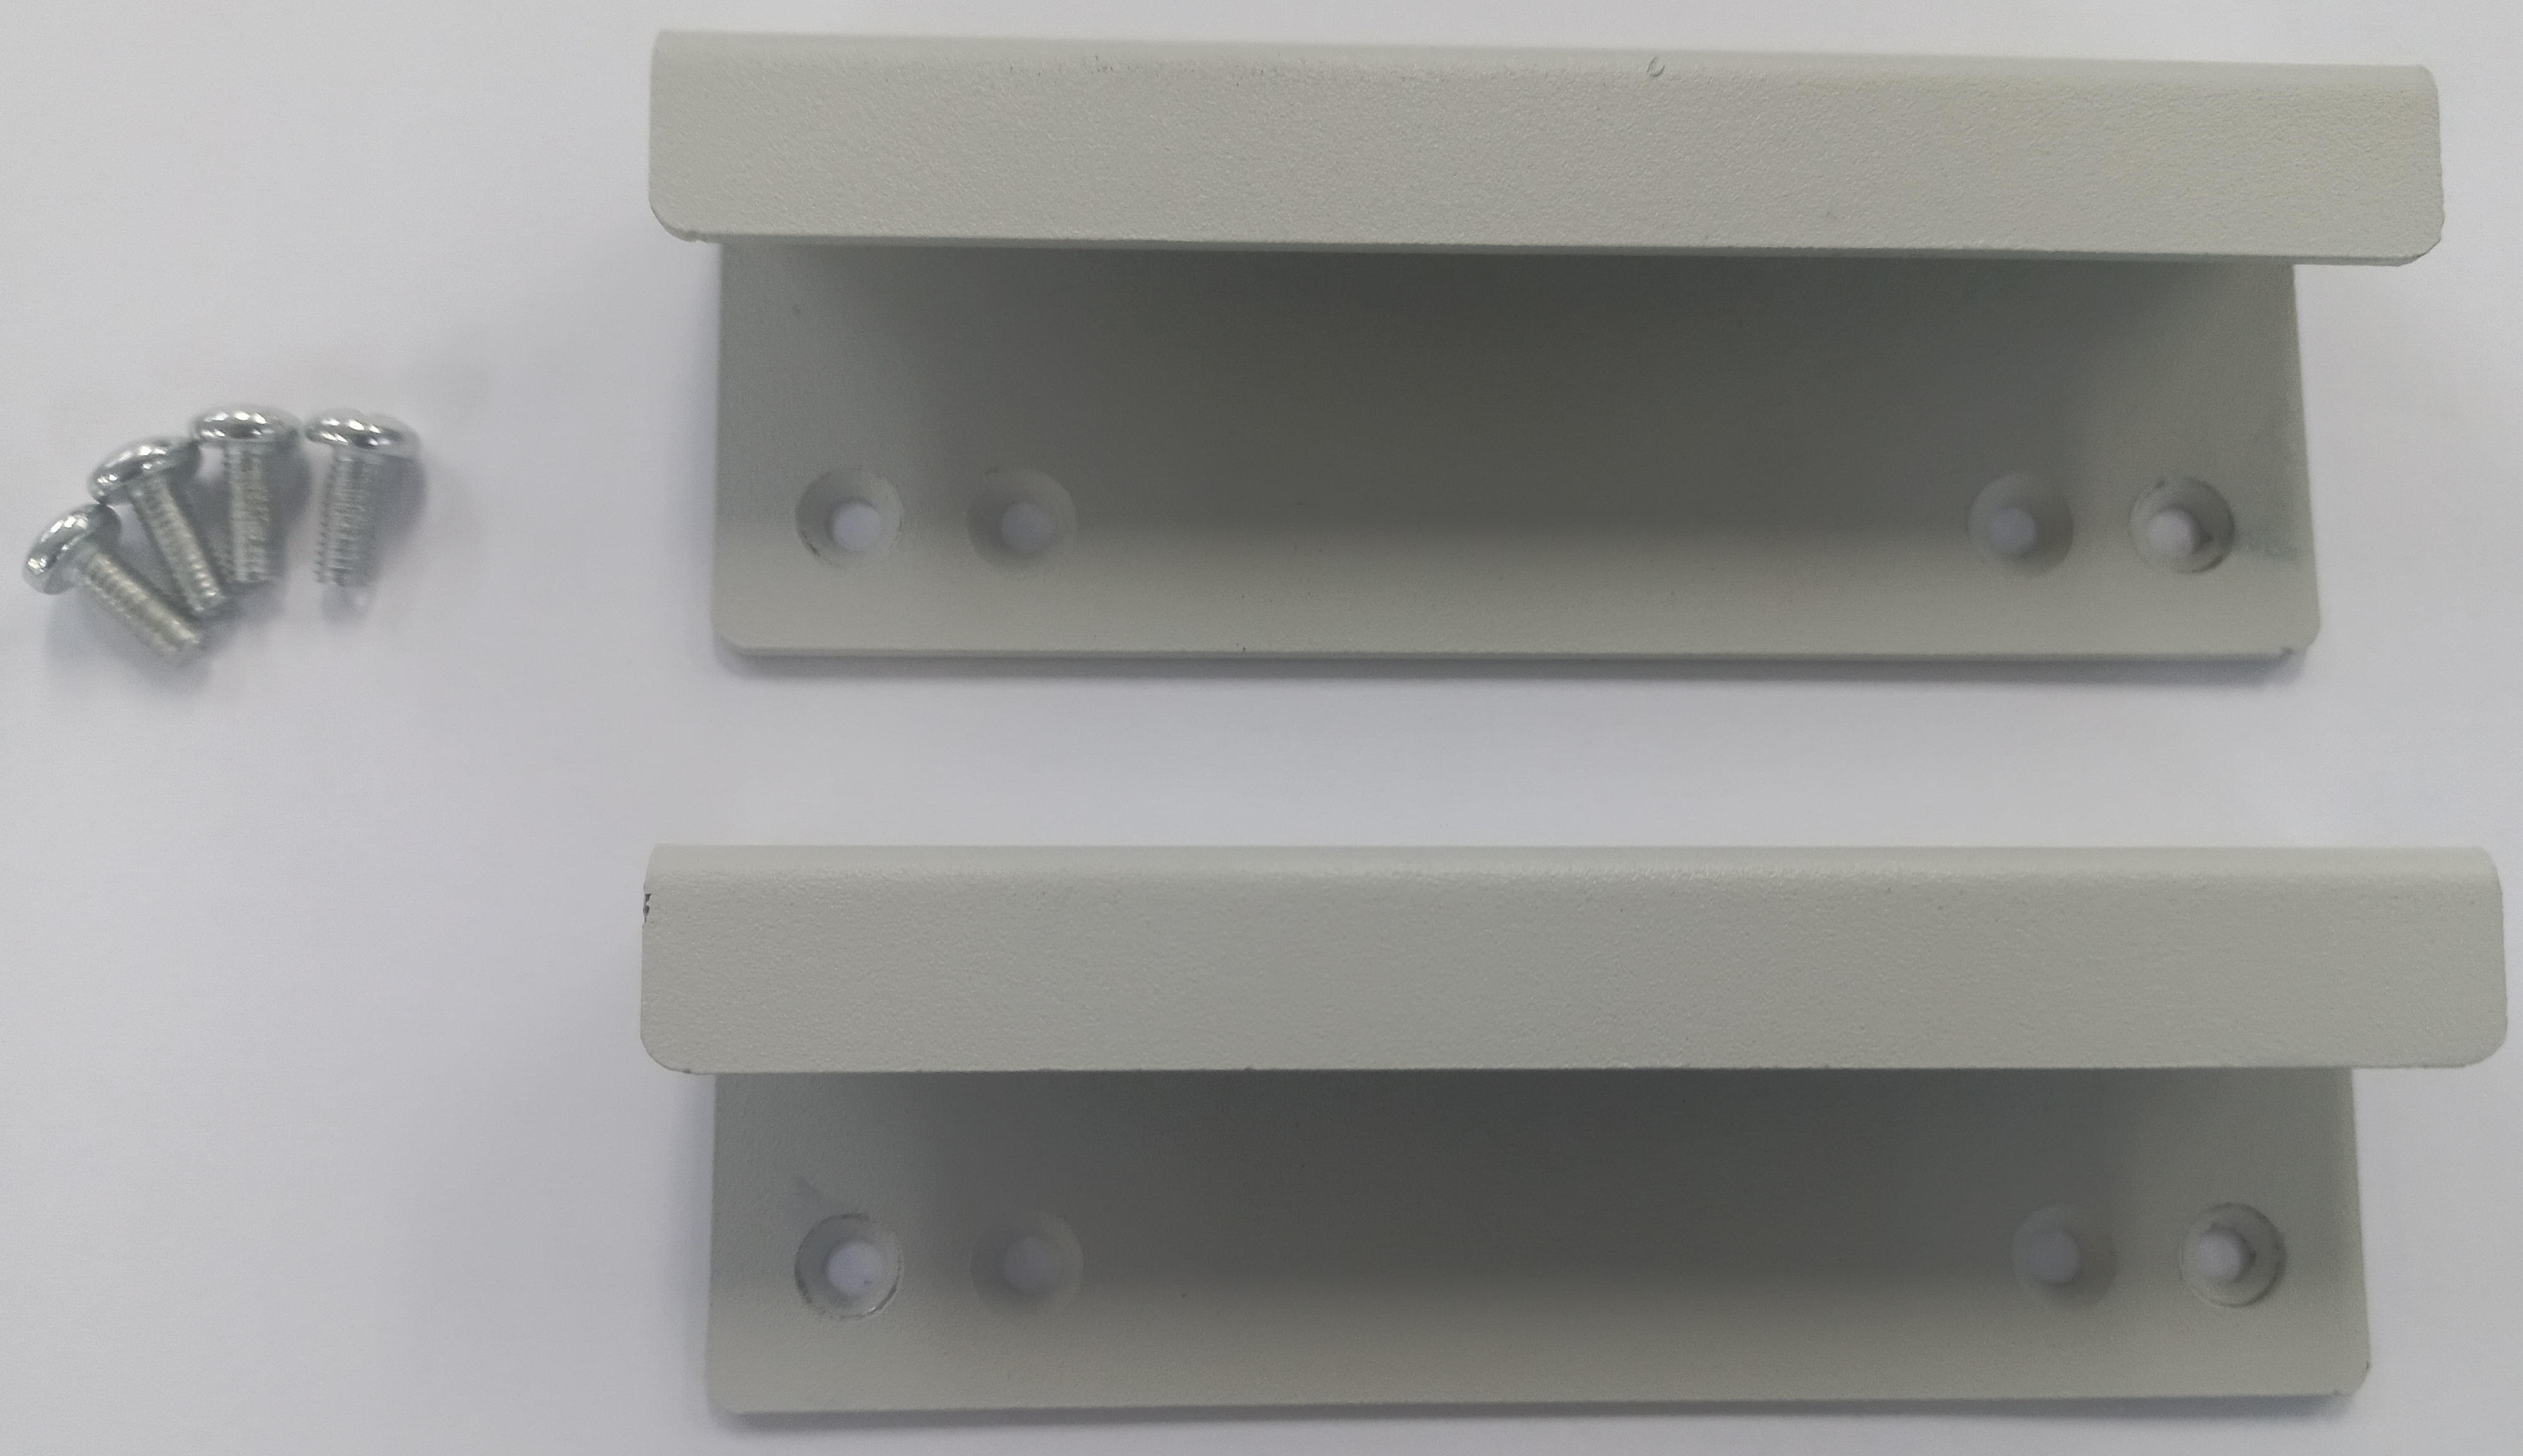
- Attach the brackets to the rear of the monitor. If using a 75x75 VESA monitor, only attach the top bracket to the monitor.
- Attach the cables to the monitor.
- Carefully fit the monitor onto the tabs within the cabinet.
- Shut the door of the cabinet, ensure that the door does not touch the monitor.
Method 2 - 50x50, 75x75 &100x100 Monitor - Cabinet Mounting
This method allows you to attach the monitor directly to the cabinet. This can only be done when the cabinet is not mounted to the wall.
Items Required: Phillips screwdriver
- Attach the cables to your monitor
- With the cabinet not mounted to the wall, line up your monitor with the screw holes in the rear of the cabinet.
- If using a 50x50 VESA monitor, you will be required to drill a hole in the bracket to allow the screw to pass through the cabinet.

- Fit the supplied 4x screws to the monitor to secure it to the cabinet.
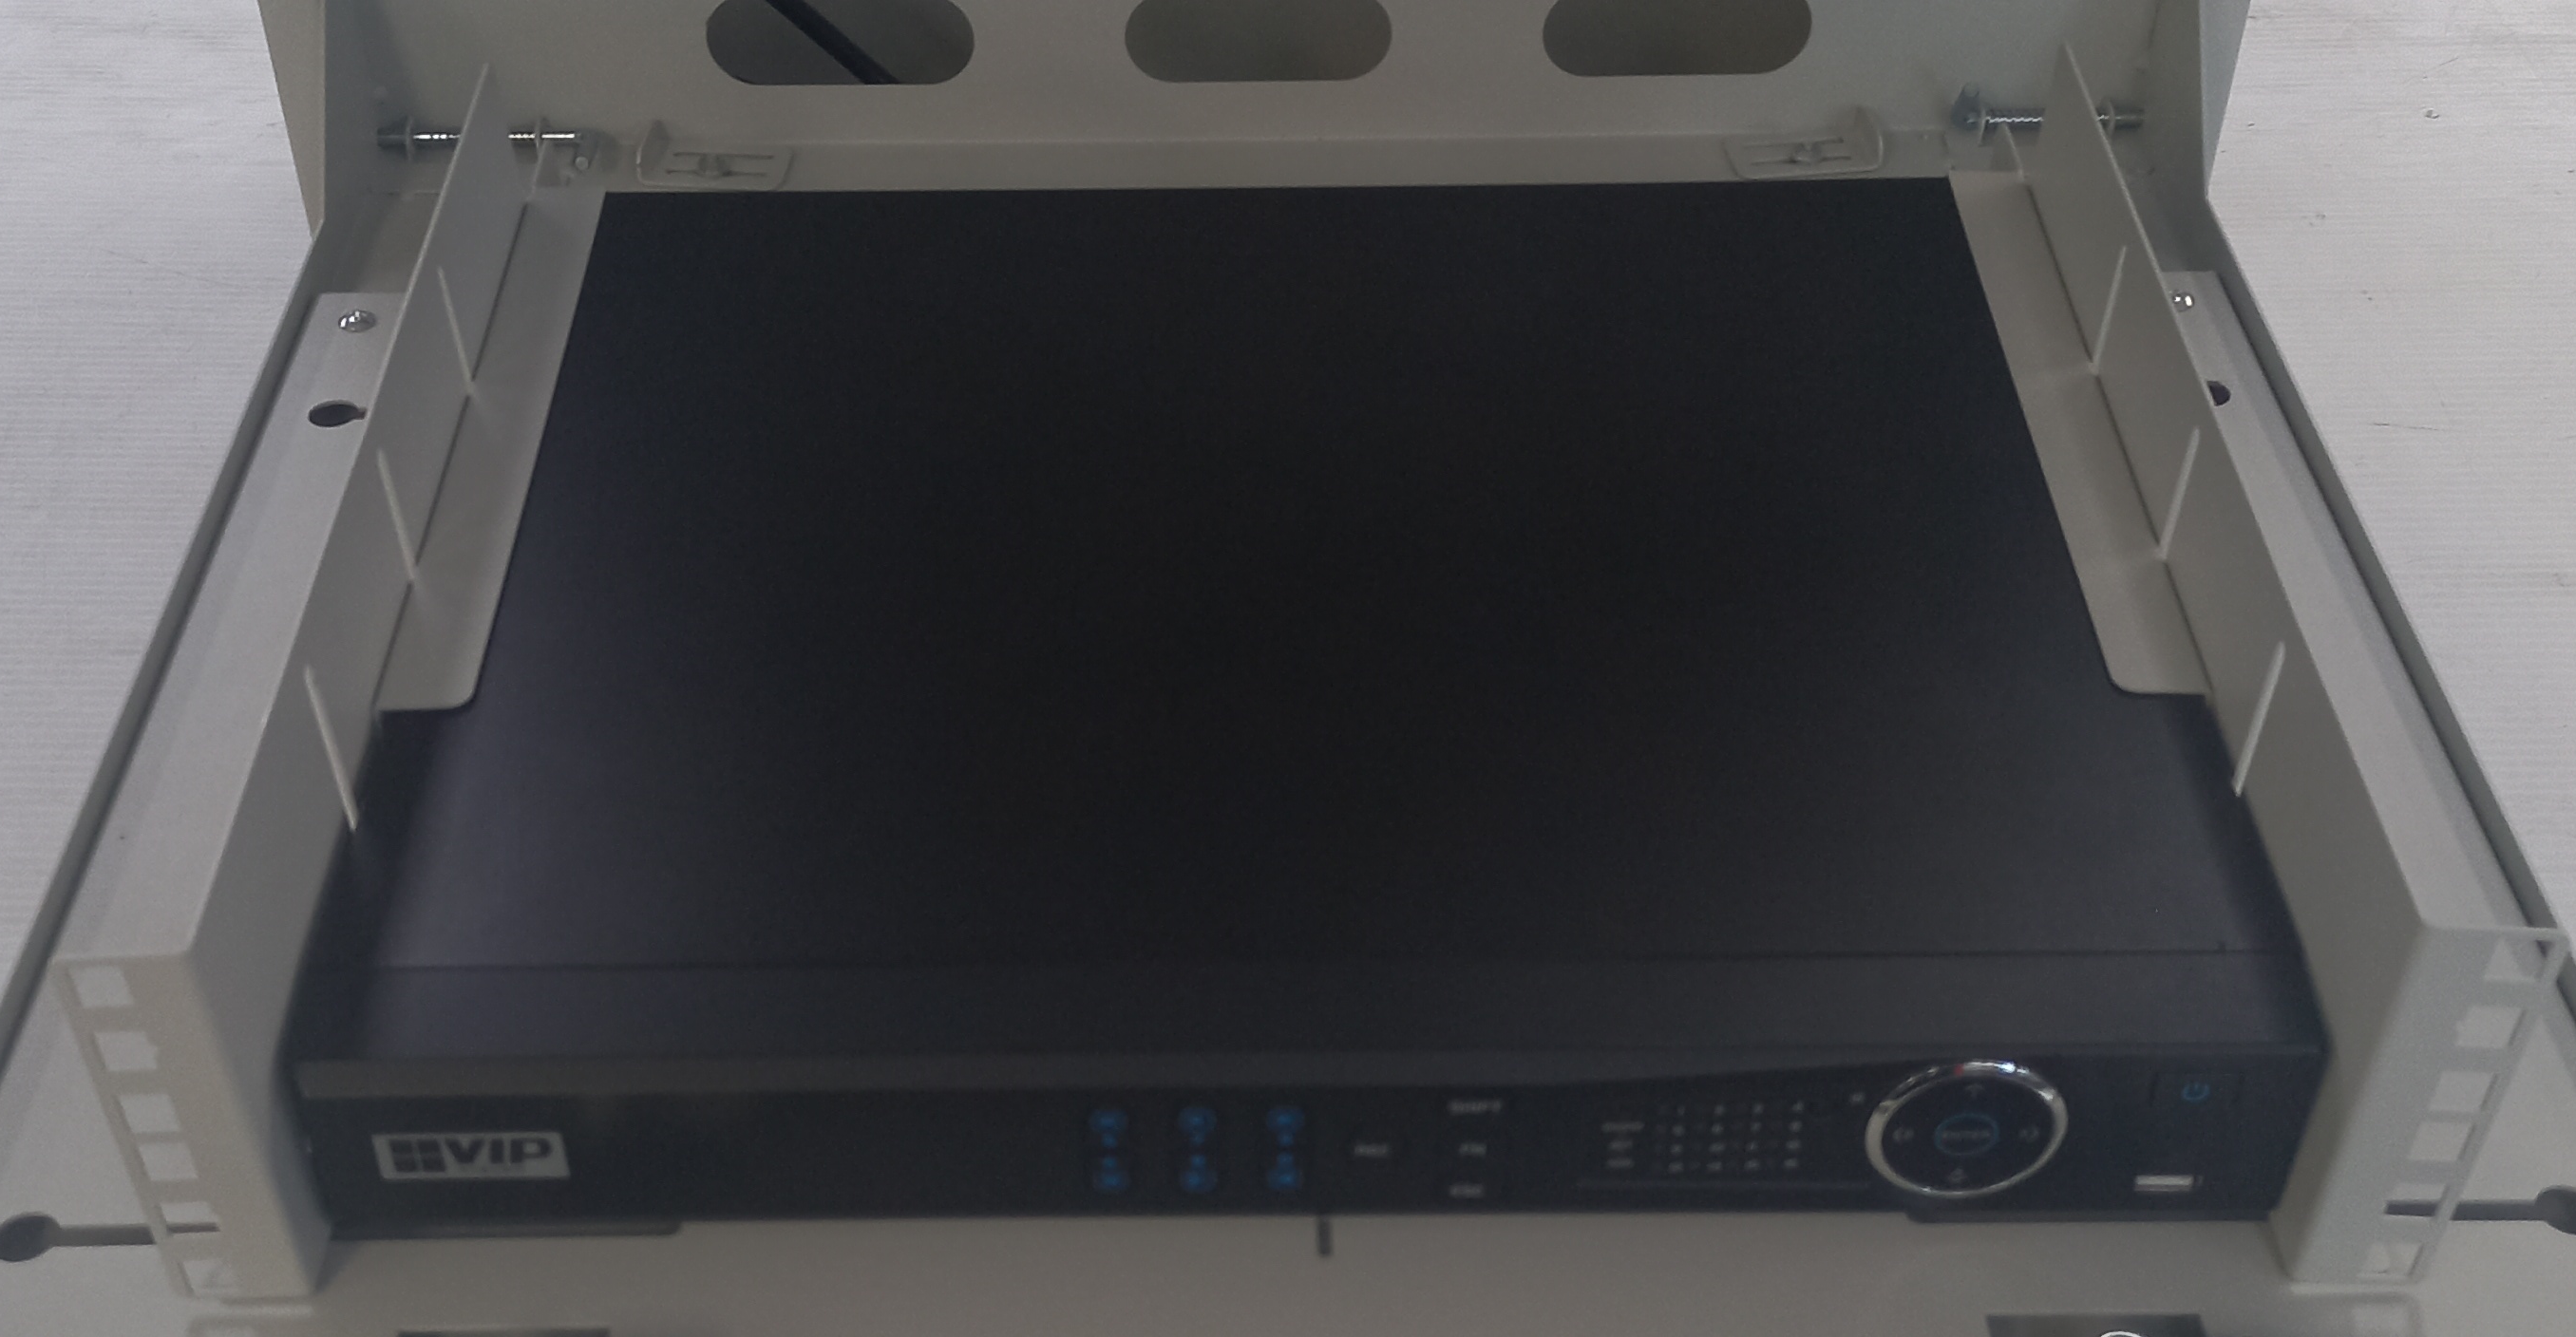
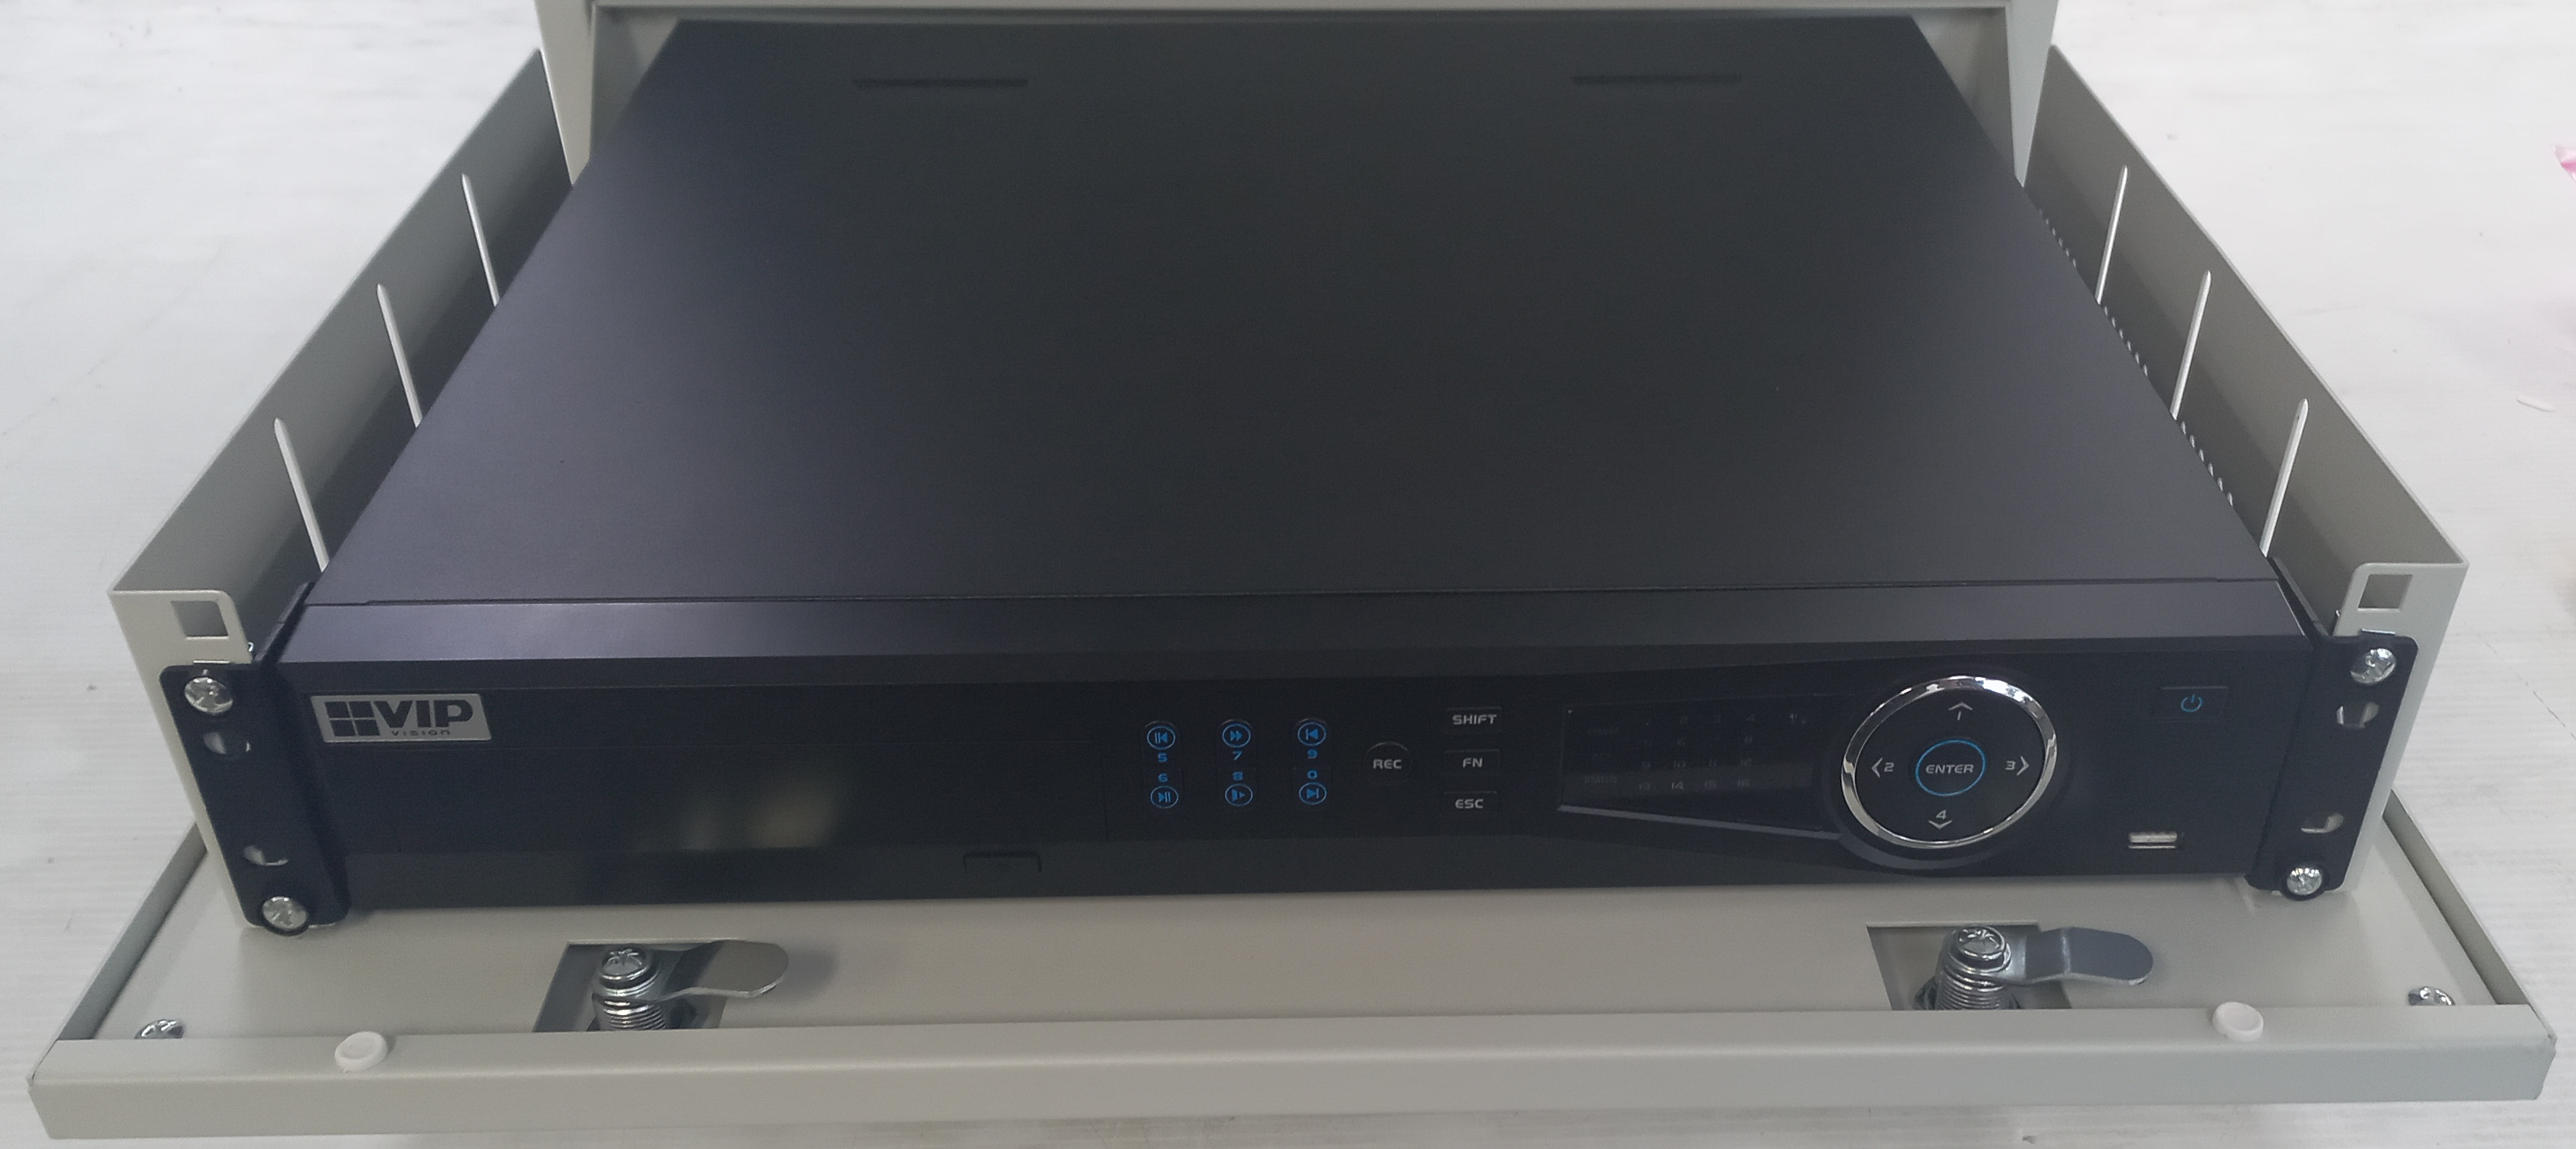
Recorder Installation - Rack Mount Type
If the recorder you are using has rack mount tabs, follow the instructions below. If it does not have rack mount tabs, follow the instructions for Non Rack Mount Type.
Items Required: Phillips screwdriver, 8mm spanner, recorder rack mount tabs, M6 cage nuts and bolts
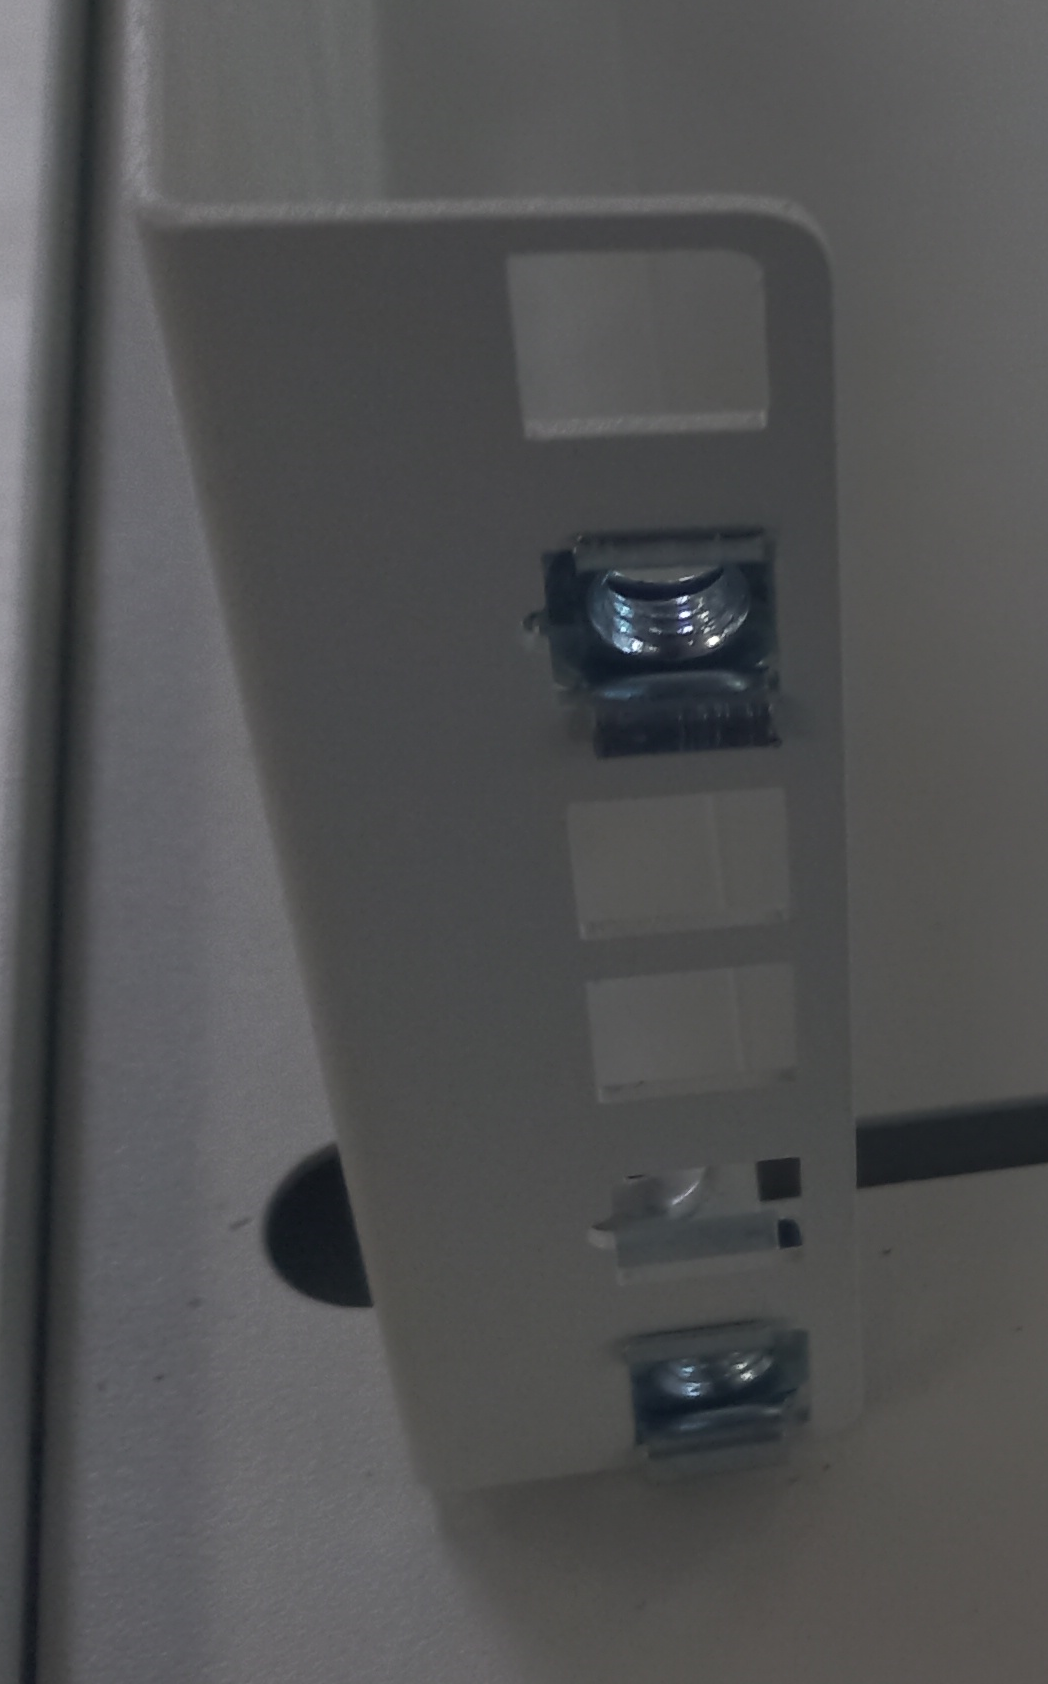
- Attach the rack mount tabs to your recorder. The tabs should be mounted as close to the front panel of the record as possible. The rack mount tabs are usually located in the recorders accessory box.
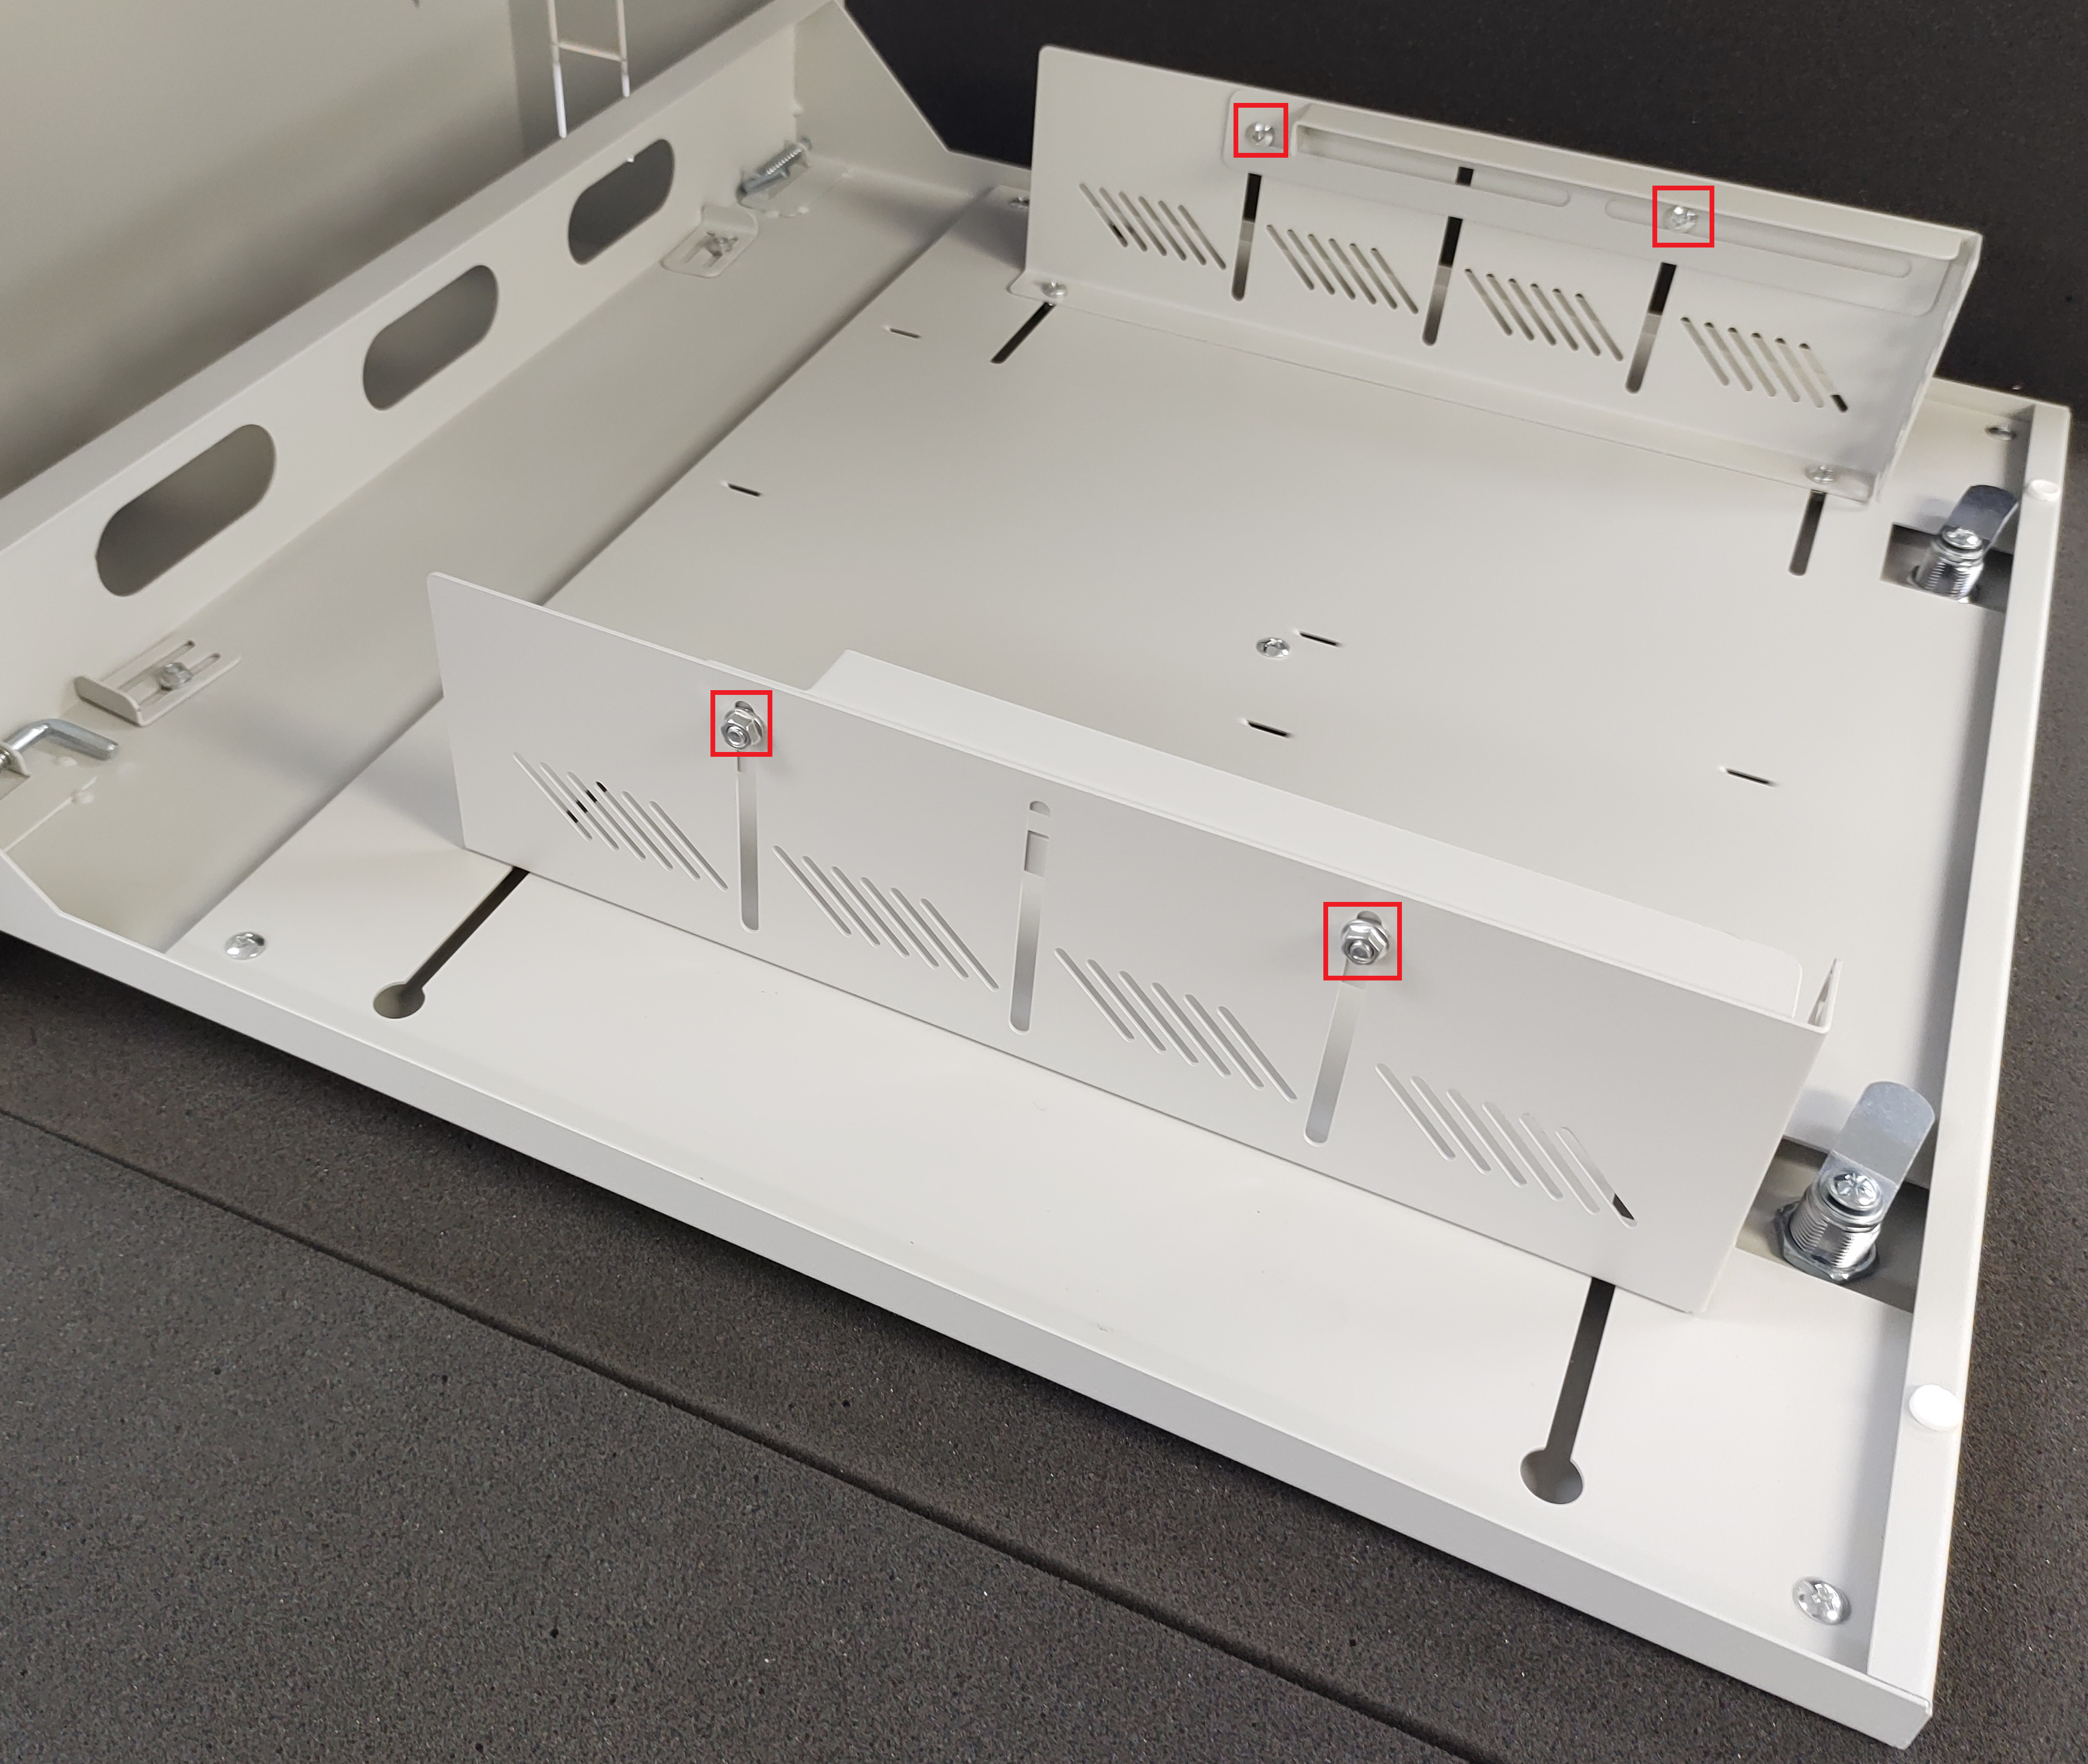
- Remove the top supports from the cabinet, by removing the 2 nuts and bolts from each side. These supports will not be required.

- Loosen the side supports.

- Place the recorder between the 2 side supports, and move the supports to line up with the rack mounting tabs.
- Install the cage nuts into the side supports lining up with the recorders' mounting tabs.
- Remove the recorder, leaving the side supports in the same position. Tighten the side supports.
- Place the recorder back into the cabinet, ensuring the recorders rack mount tabs are sitting in front of the holes in the side supports.
- Install the rack mounting bolts to secure the recorder.
Recorder Installation - Non Rack Mount Type
Tools Required: Phillips screwdriver, 8mm spanner.
- Remove the top supports from the cabinet, by removing the 2 nuts and bolts from each side.
- Loosen the side supports.
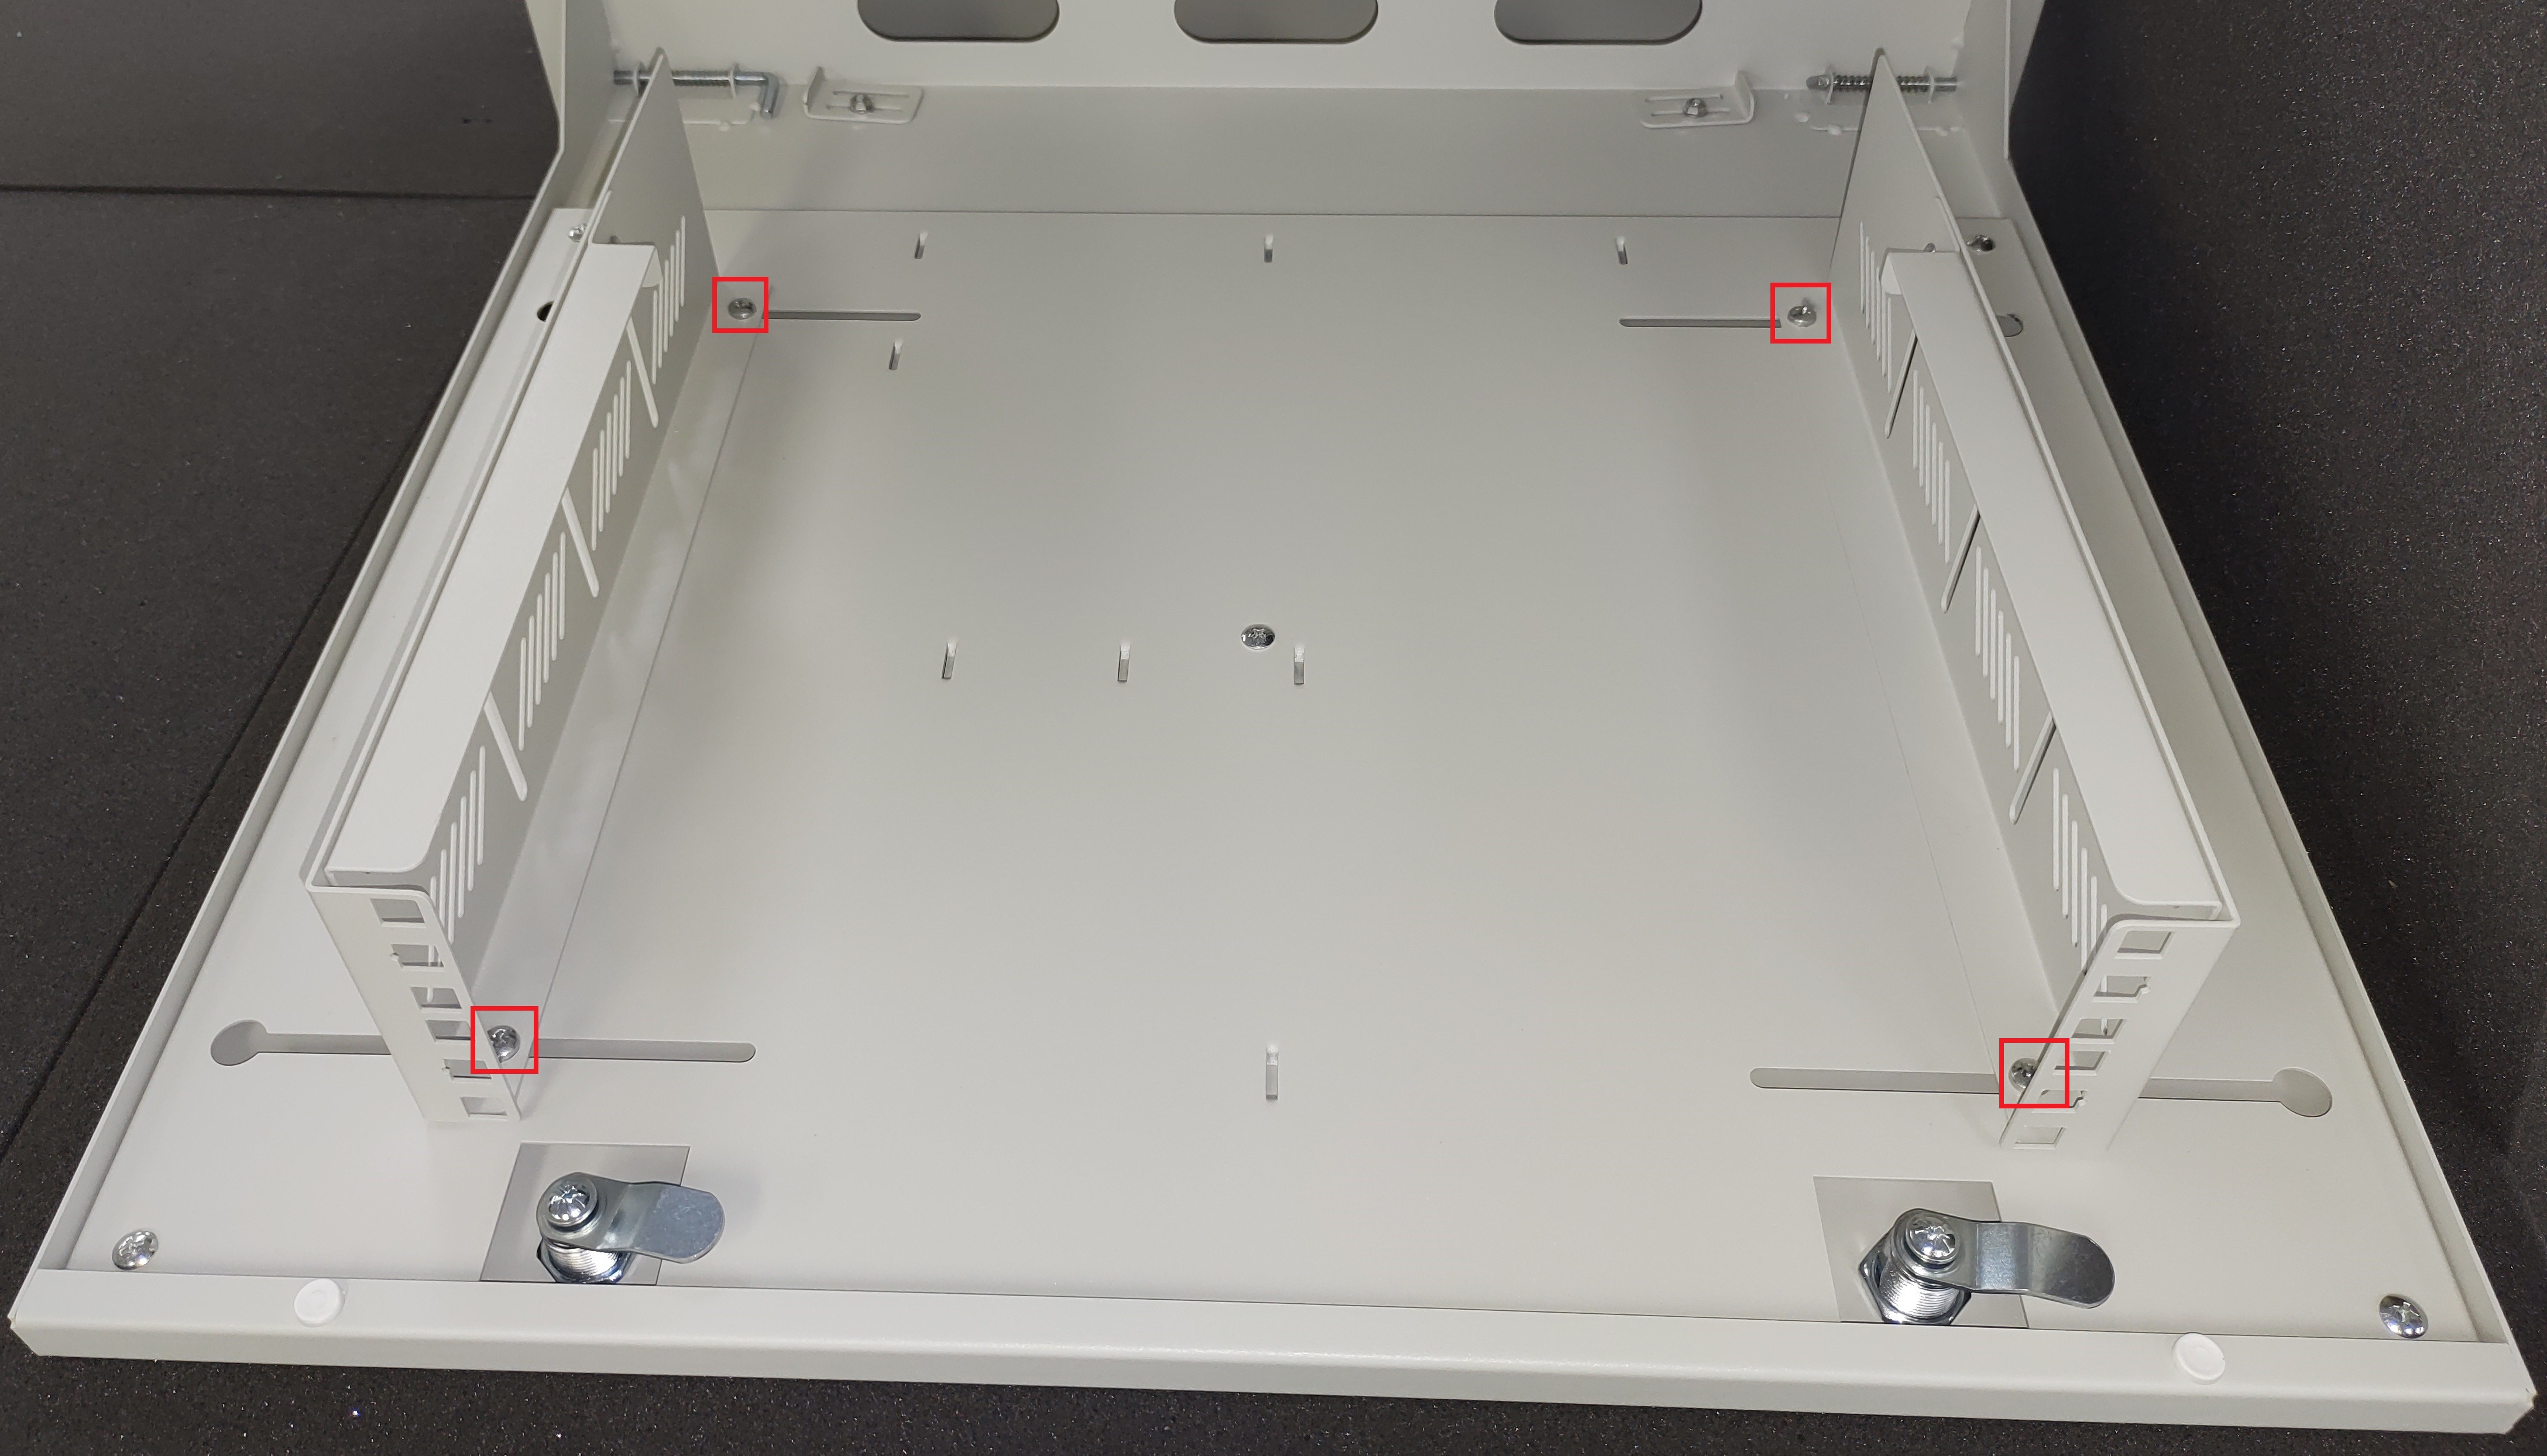
- Orientate the side supports so the rack mount tabs are facing outwards.
- Place the recorder between the 2 side supports, and move the supports to sit flush with the recorder. Tighten the side supports
- Place the recorder back into the cabinet, and reinstall the top supports. Ensure that the supports are place towards the rear of the recorder, to stop it moving backwards.