SmartPSS Setup
Smart PSS is software designed for PC and Mac, for live viewing and playback.
Adding a Device to Smart PSS
1. Open Smart PSS and login with the username and password you have set
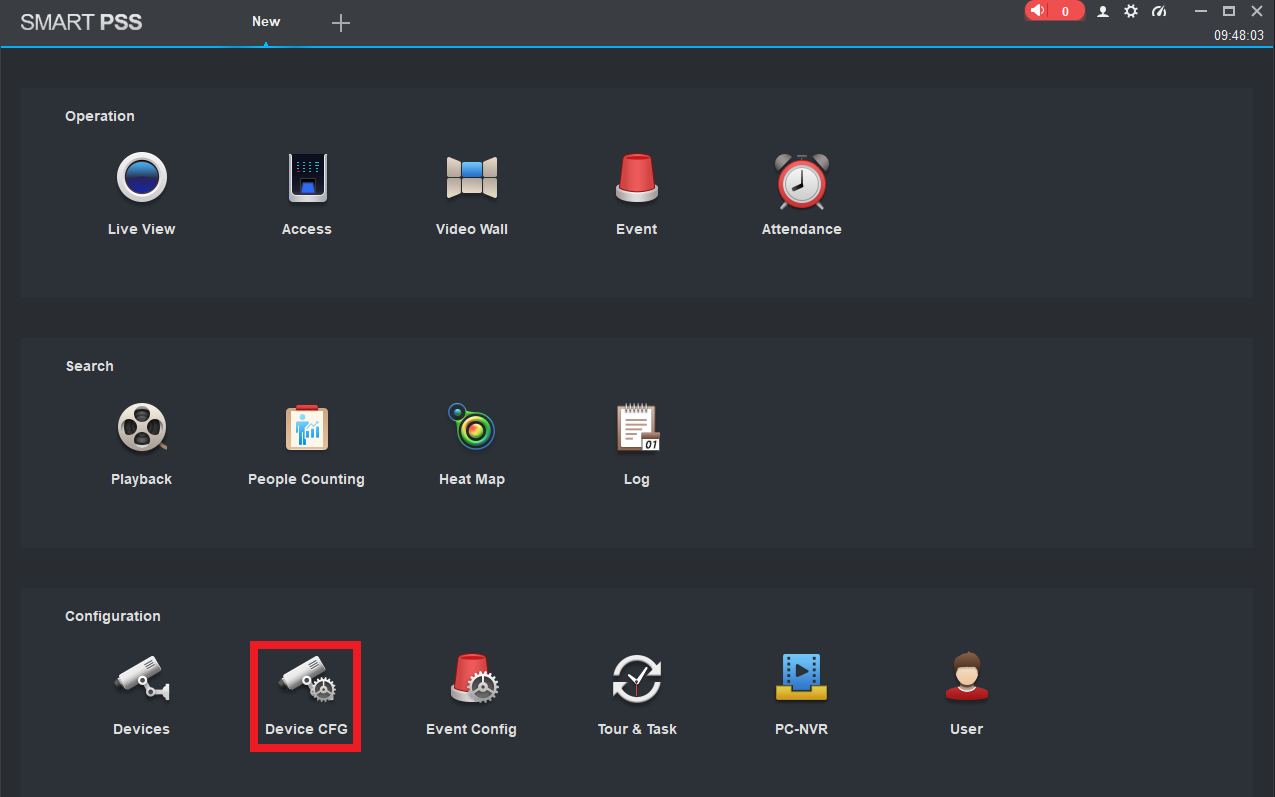
2. Select Devices.
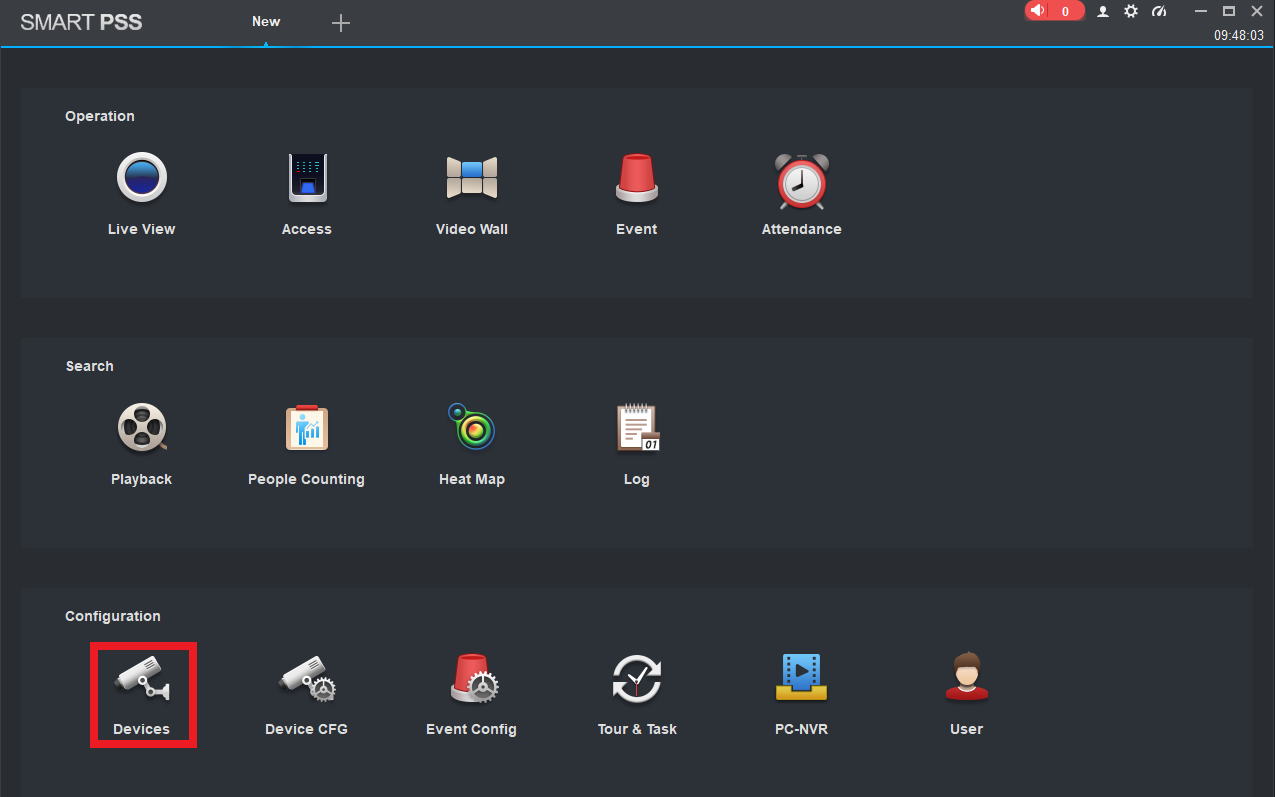
3. Select Add.

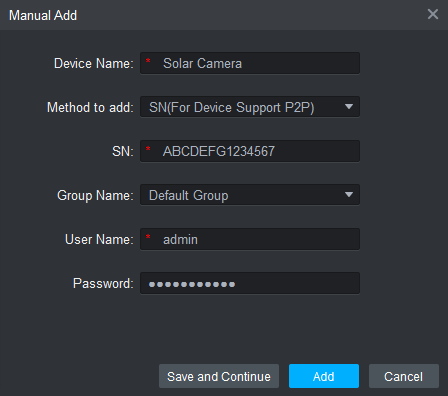
4. Enter the device login details. Device Name: Enter a reference name for the site/recorder. Method to add: Choose between the Serial Number and IP address. SN or IP/DOMAIN: Enter the SN or IP of your device. Group Name: If using multiple sites, you can group them for easier viewing. User Name: The username of the account you are using to login. Password: The password of this account. Select Add.

Live Viewing using Smart PSS
1. Open Smart PSS and login with the username and password you have set
2. Select Live View.
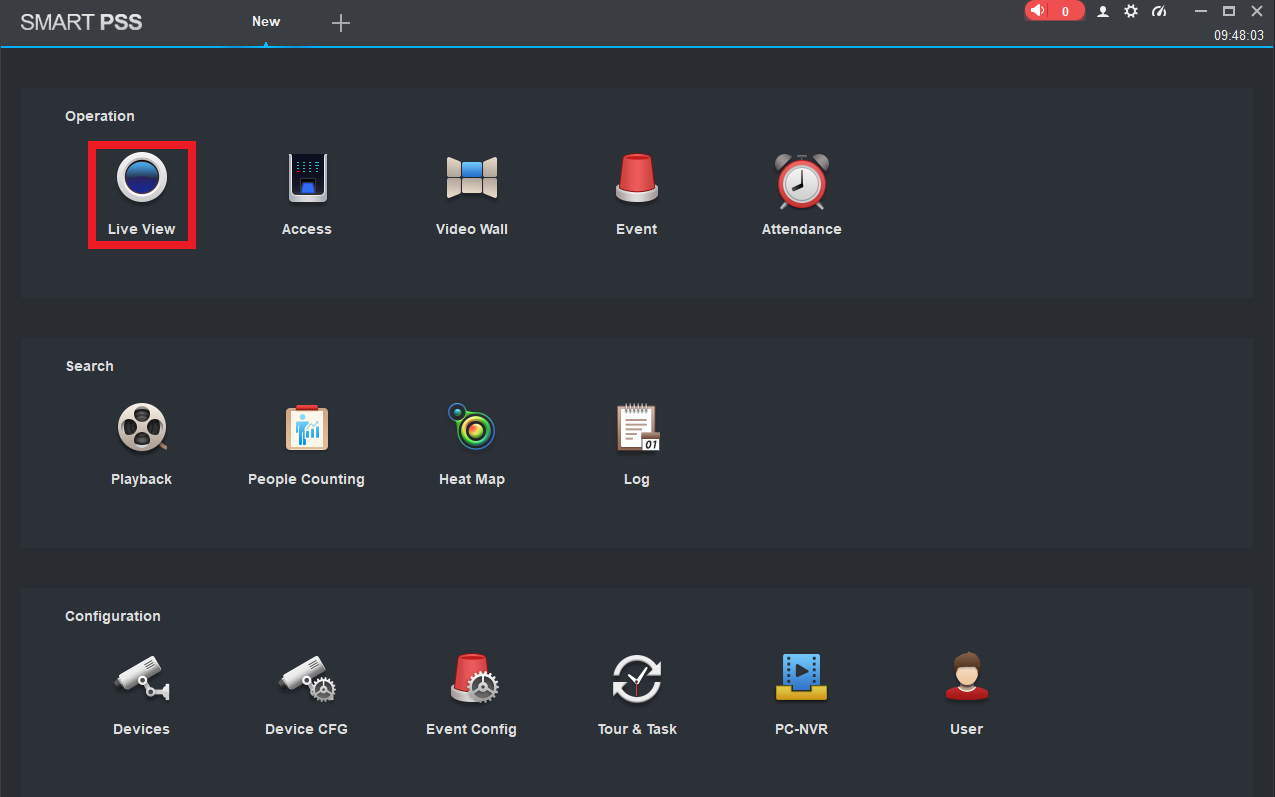
3. Double click on the camera that you wish to view.
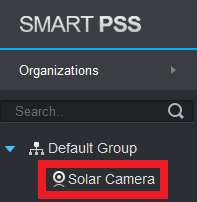
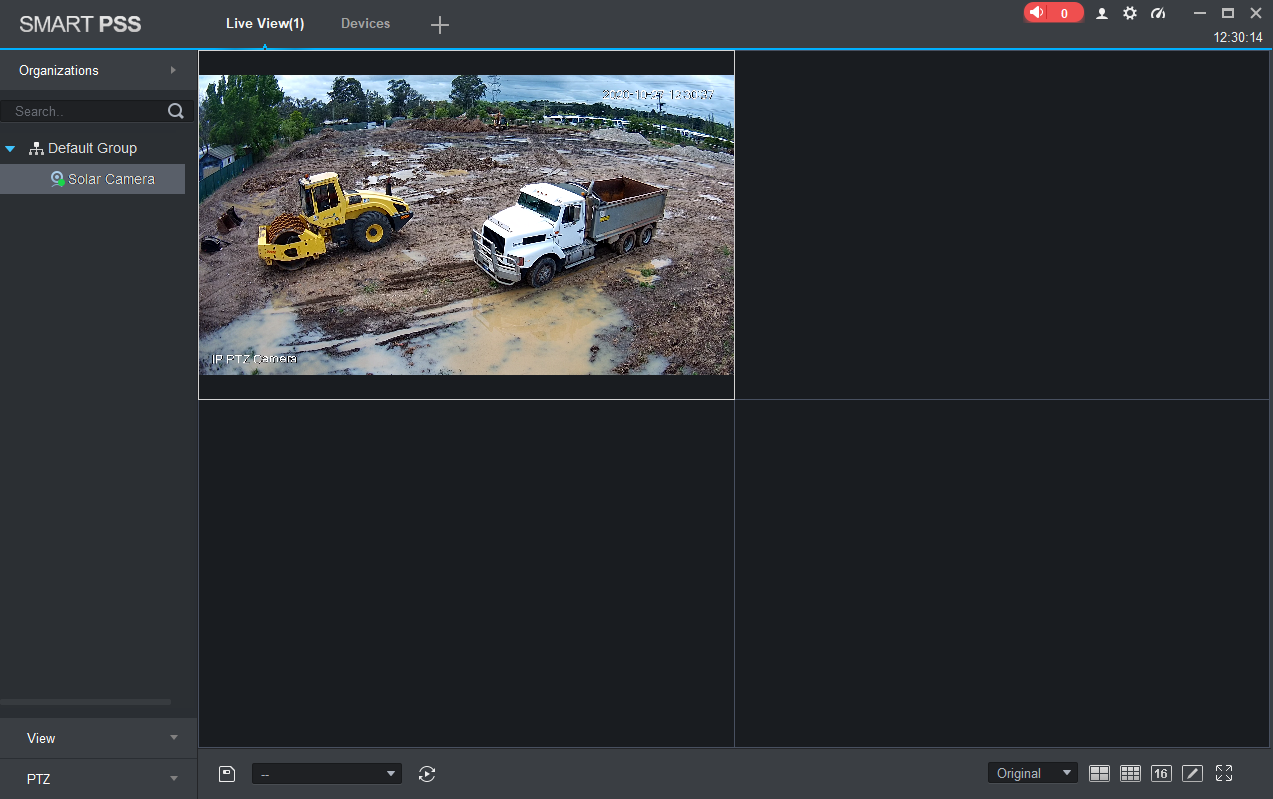
4. The camera will now be displayed on screen.
Playback using Smart PSS
1. Open Smart PSS.
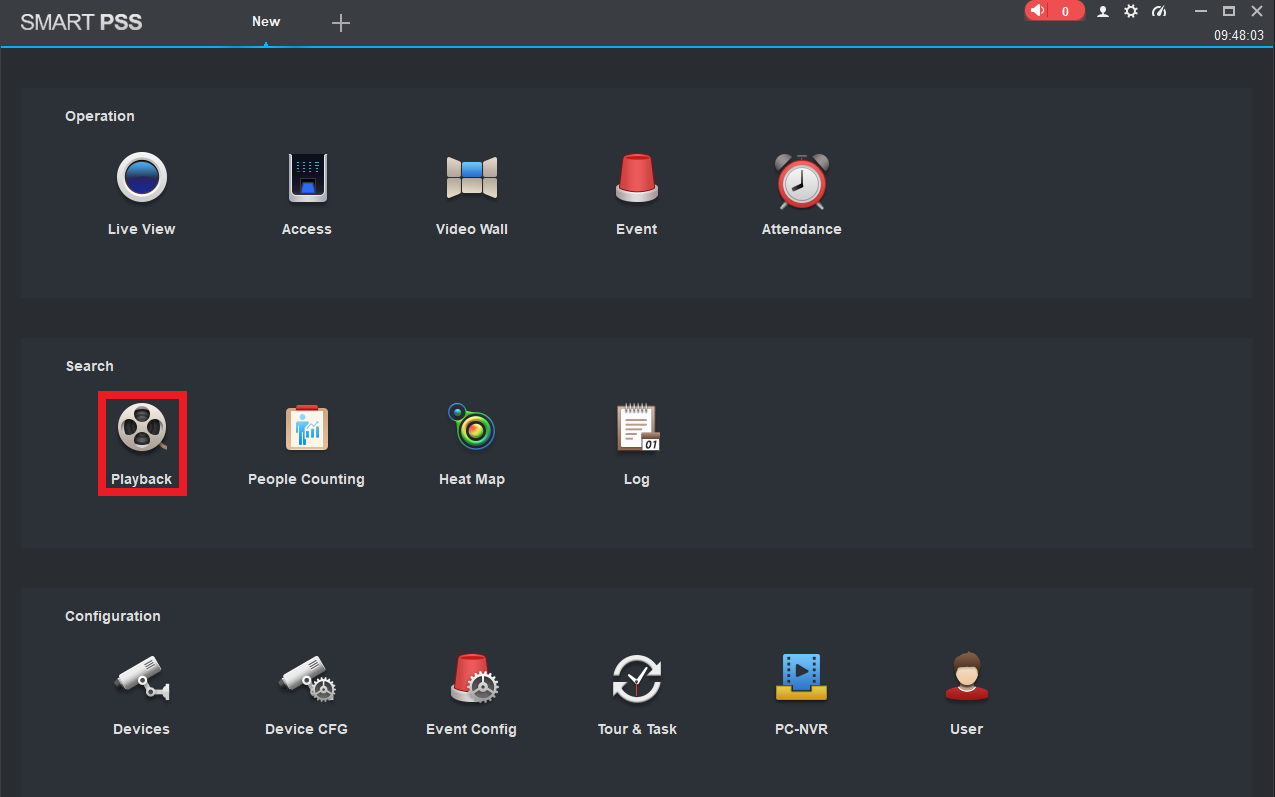
2. Select Playback.
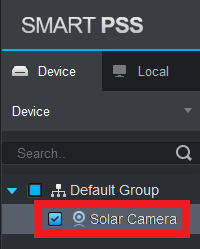
3. Put a check in the box next to the camera you wish to playback.
4. Select the start date and time, and end date and time. Select Search. The days with a blue dot, indicate there is recording on that day.
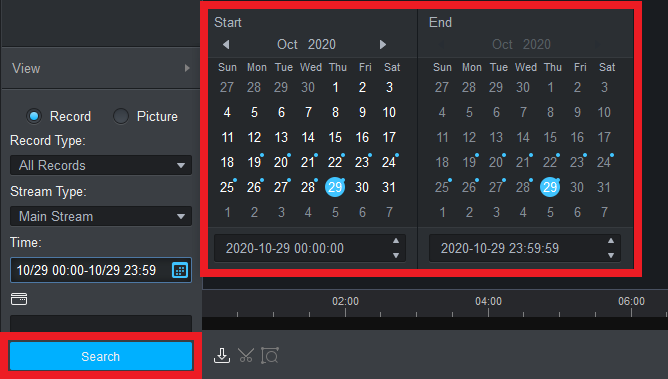
5. Press Play to begin playing back the footage. Click on the timeline to skip to a particular time.

Setting Camera Home Position (PTZ Camera's Only)
1. First, follow the Live Viewing using Smart PSS steps above.
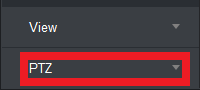
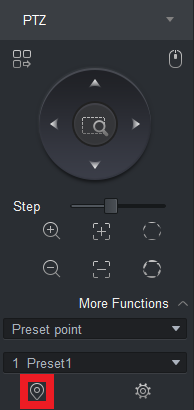
2. Click PTZ to expand the PTZ control menu.
3. Select More Functions.
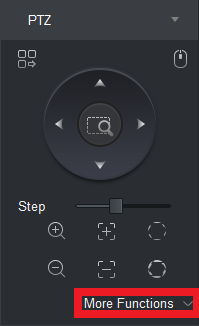
3. Press the locate button to view the current preset 1 location.
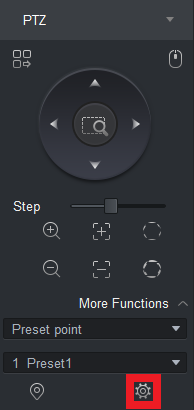 5. Press the Save button to save the current camera view as preset 1. If you wish to adjust other preset points, repeat this step, changing the preset number.
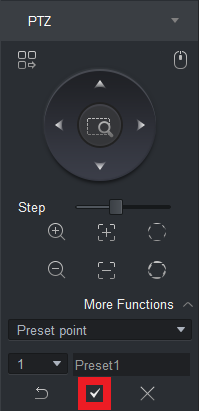
Web Interface Setup
Access Cameras Web Interface Using Smart PSS
Smart PSS must first be installed, and the device you wish to connect to added and online.
1. Open Smart PSS and login with the username and password you have set
2. Select Devices.
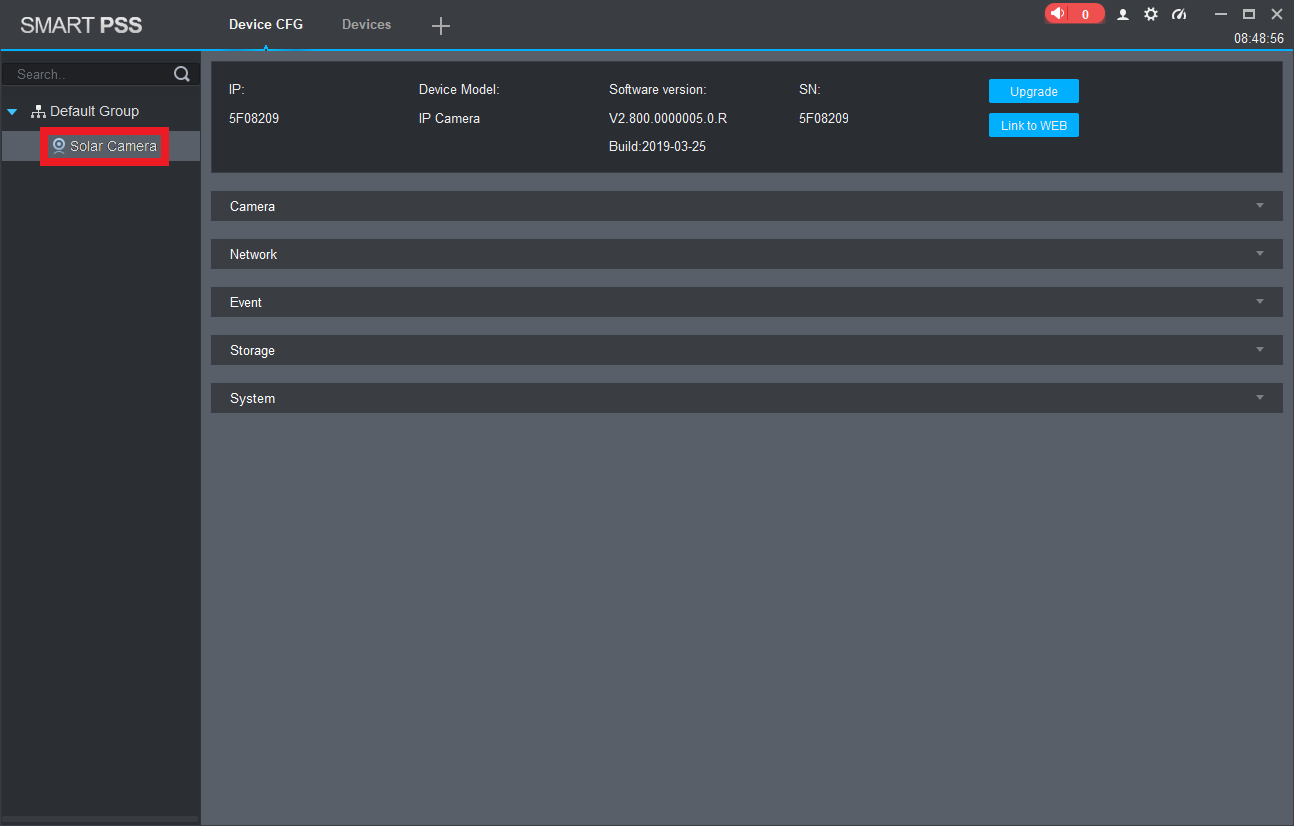
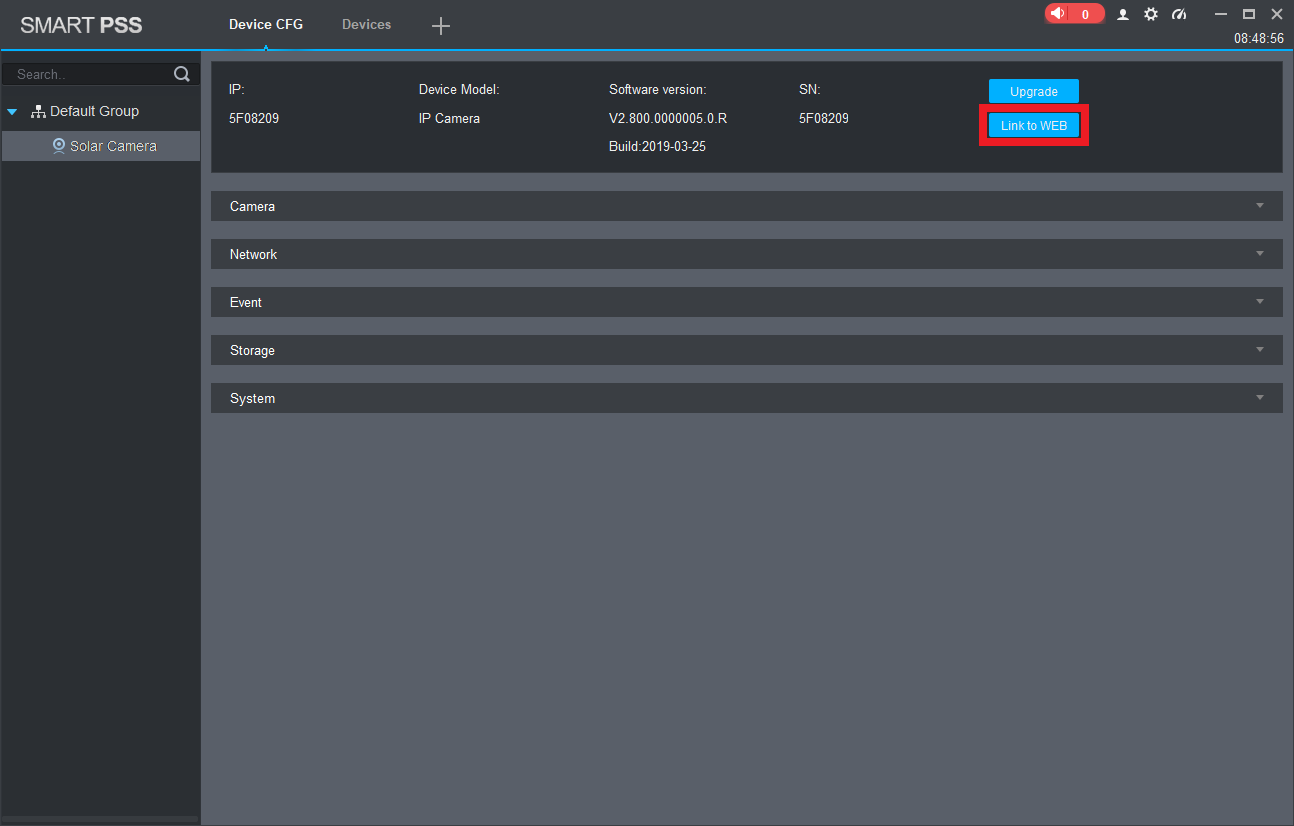
4. Select Link to Web. It can take up to 1 minute for the connection to be made.
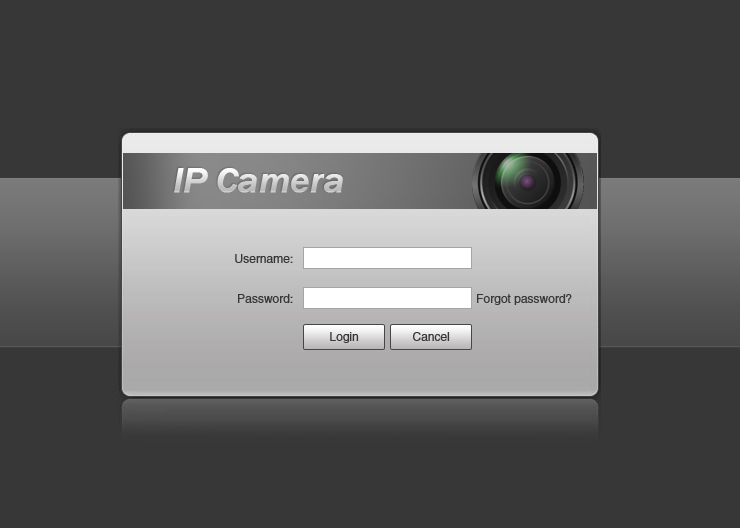
5. Once connected, a web browser will open. Enter the camera username and password. You are now logged into the cameras web interface.
Time Lapse Setup
How to configure time lapse schedule and snapshots.
1. Connect to the IP Camera through the web interface.
2. Select Setting.

3. Select Camera, Video, then Snapshot.
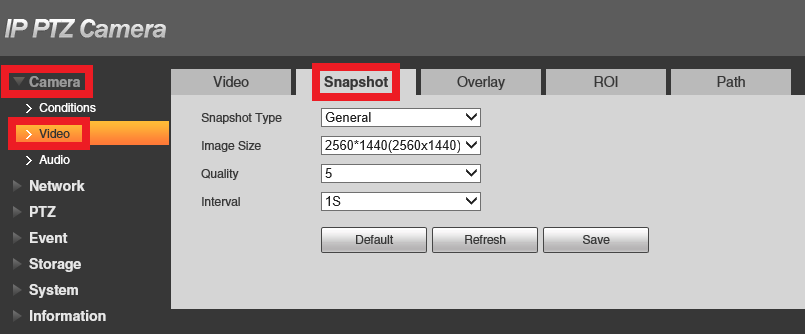
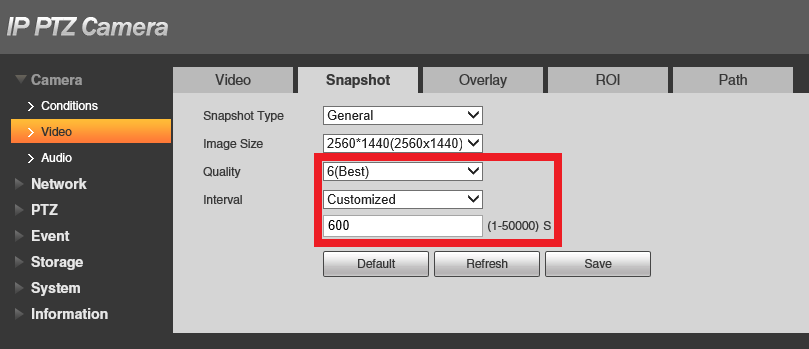
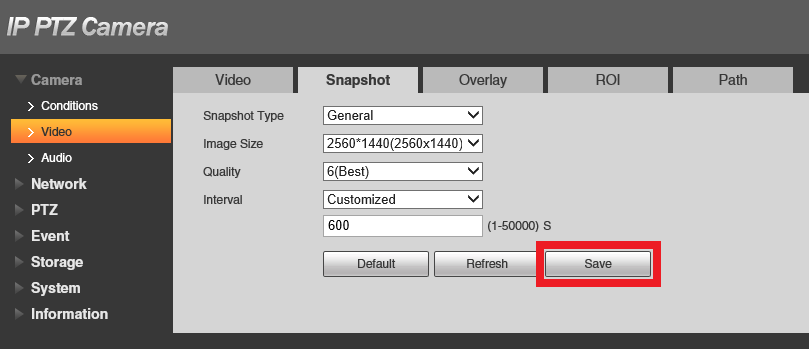
5. Select Save.
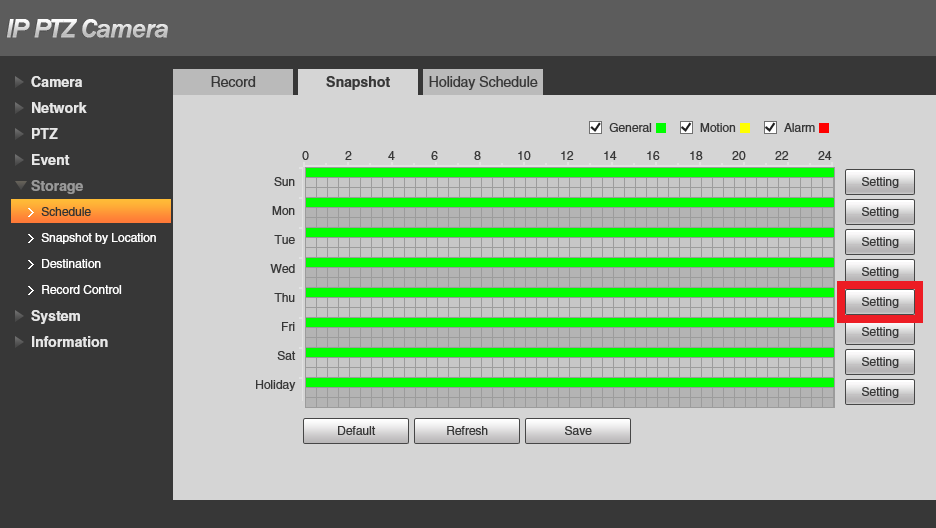
6. Select Storage, Schedule then Snapshot.
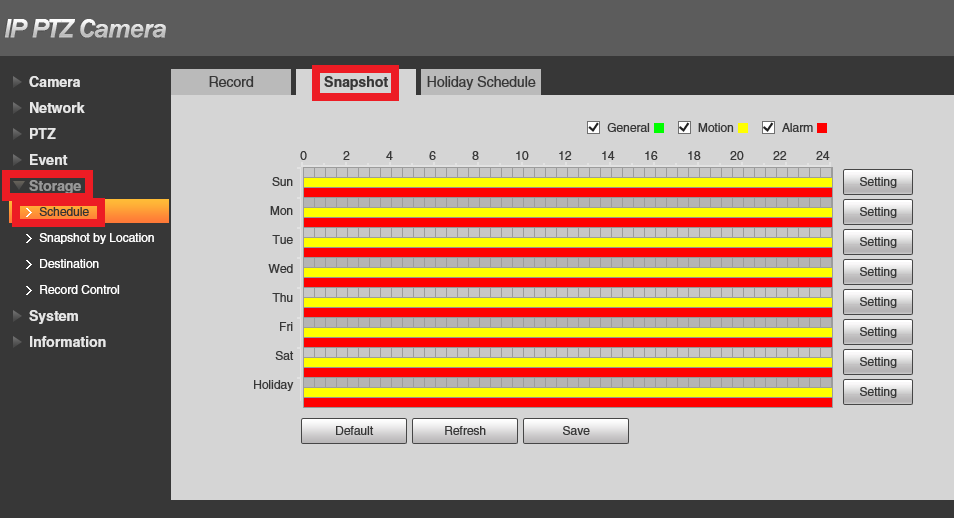
7. Select Setting.
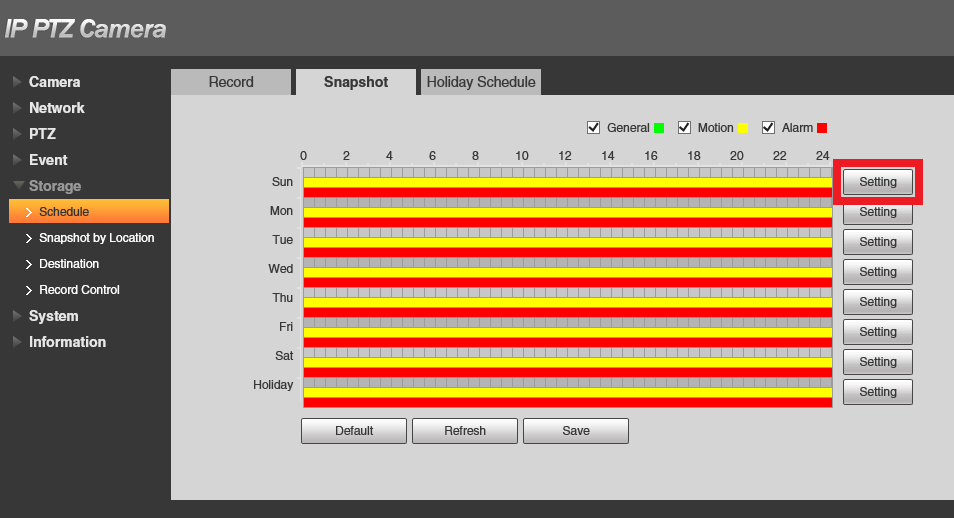
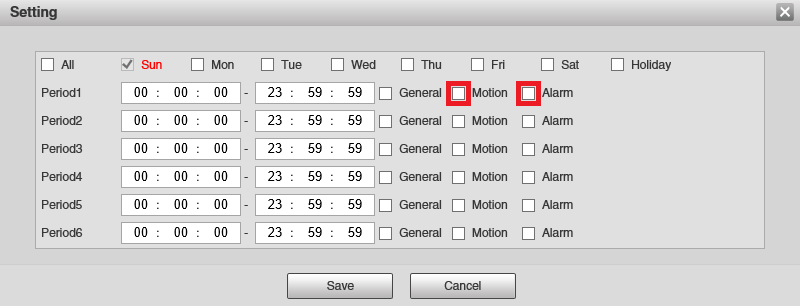
8. Uncheck the motion and alarm option.
 9. Select All and General, then select Save.
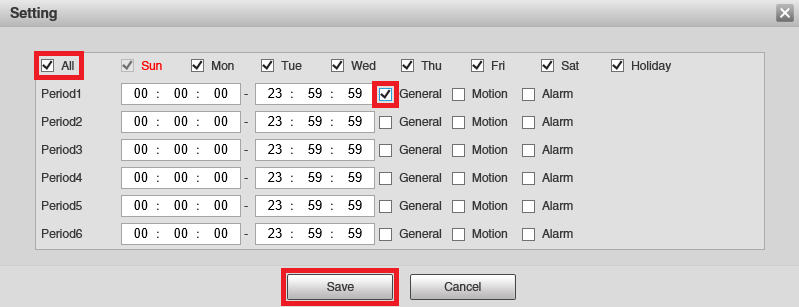
10. The schedule is now set for all day, every day. If you wish to customise this, select the Settings button next to the day you would like to edit.
 11. Change the time to suit your requirements, then select Save. In this example, the schedule is set to only take snapshots between 6:00 and 16:00 on a Thursday.
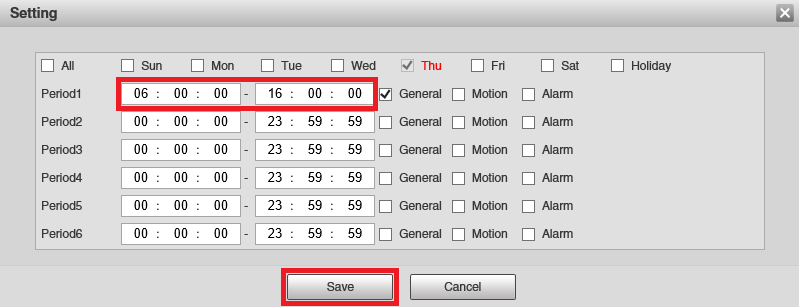 12. Select Save.
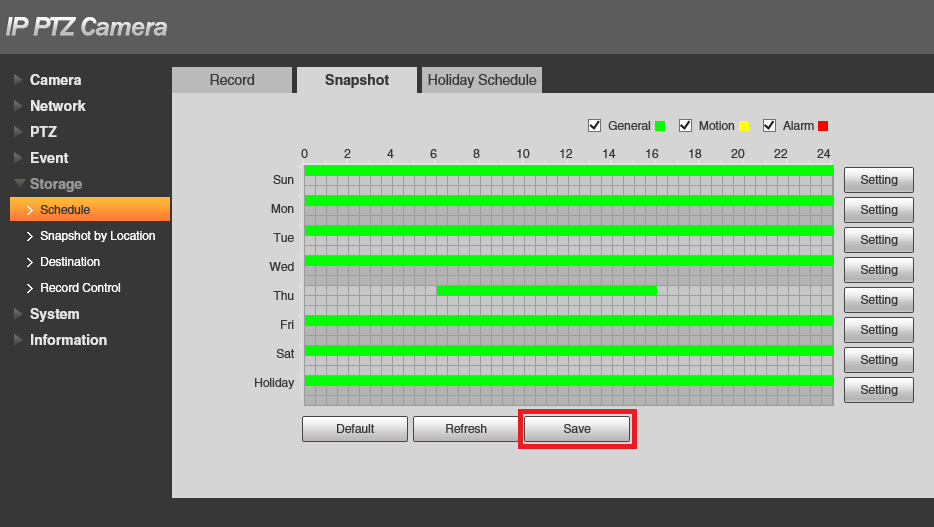
13. Select Storage, then Destination.
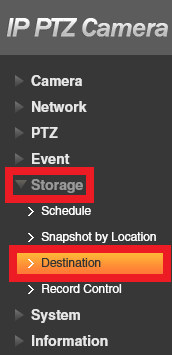
14. Select where the snapshots will be stored. Local - SD Card in the camera, FTP - to a FTP Server, or NAS - a network storage drive. Select Save.

SFTP Setup
SFTP is used for storing snapshots or video to an off site SFTP server. It is normally used to store only snapshots, as sending video to the server will use a large amount of bandwidth.
SFTP server connection details are required before beginning.
Before starting, ensure that you have setup either recording or snapshot destination to be FTP.
1. Connect to the IP Camera through the web interface.
2. Select Setting.
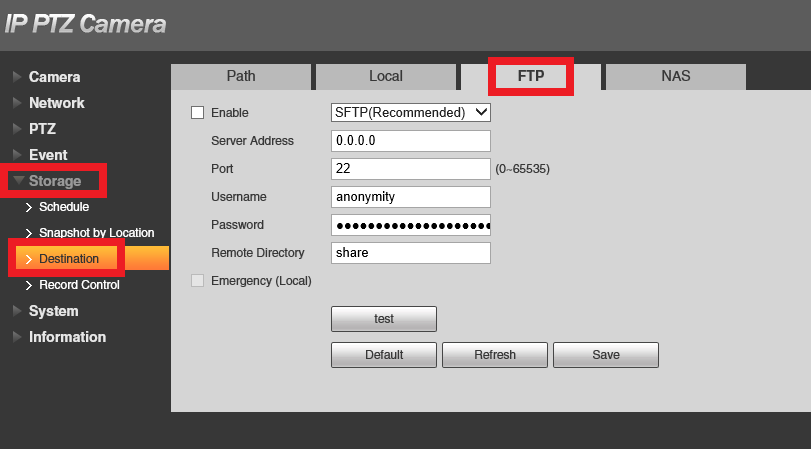
4. Select Enable. Enter the SFTP server details, then select Save.
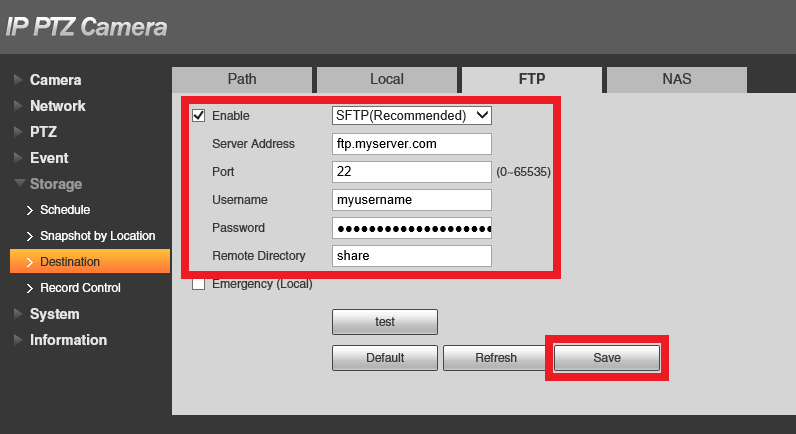
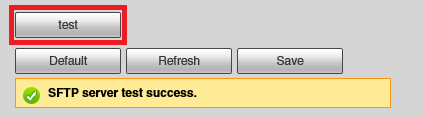
5. Select test. It can take up to 1 minute for this test to be performed. If the test fails, ensure the SFTP details are entered correctly.
Setting PTZ Presets (PTZ Camera's Only)
1. Connect to the IP Camera through the web interface.
2. Select Setting.
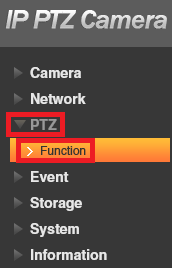
3. Select PTZ, then Function.
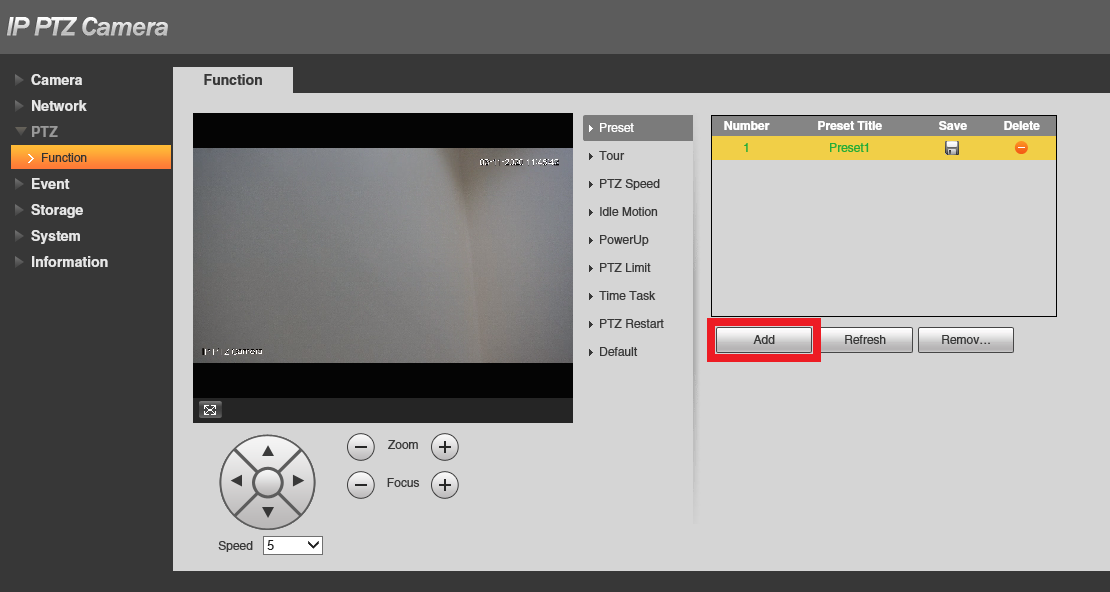
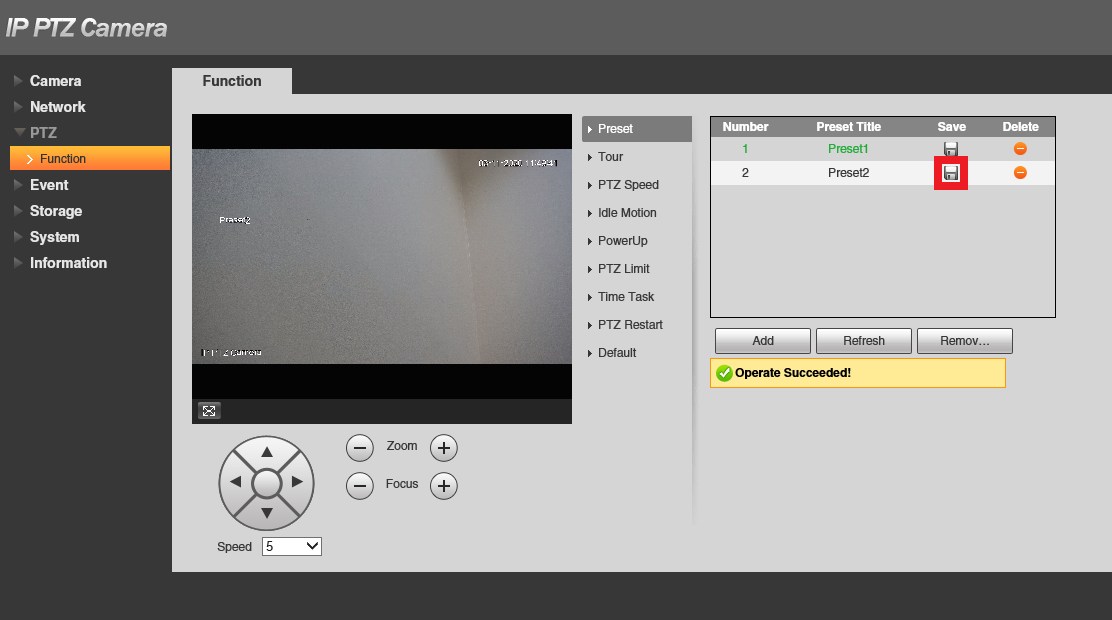
5. Using the PTZ controls, move the camera to a position you would like to save as a preset.
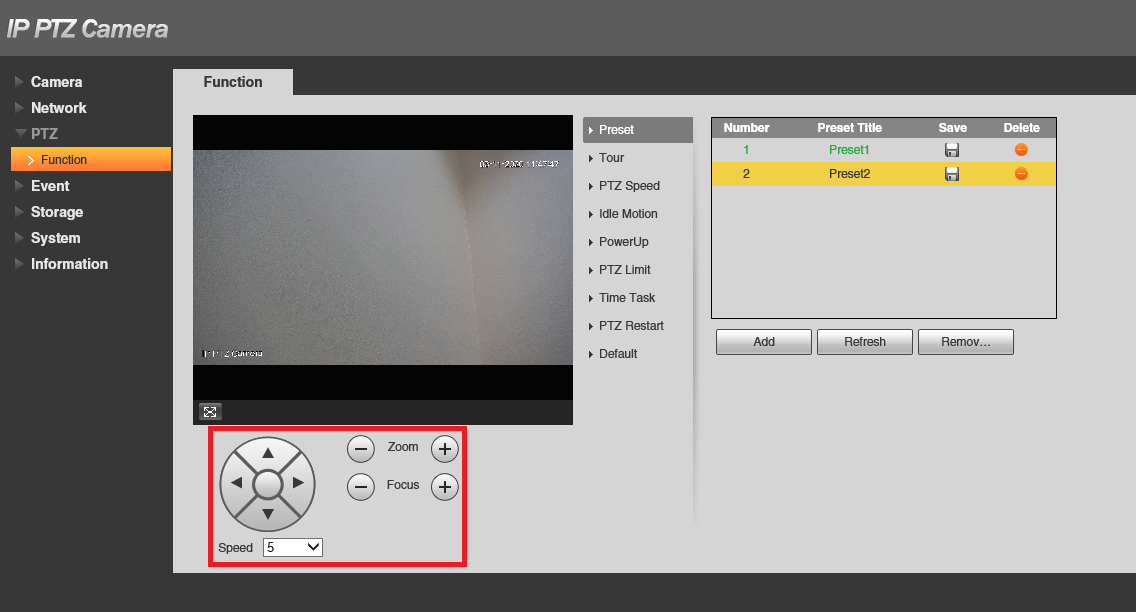
6. Select the Save button next to the preset you have added.
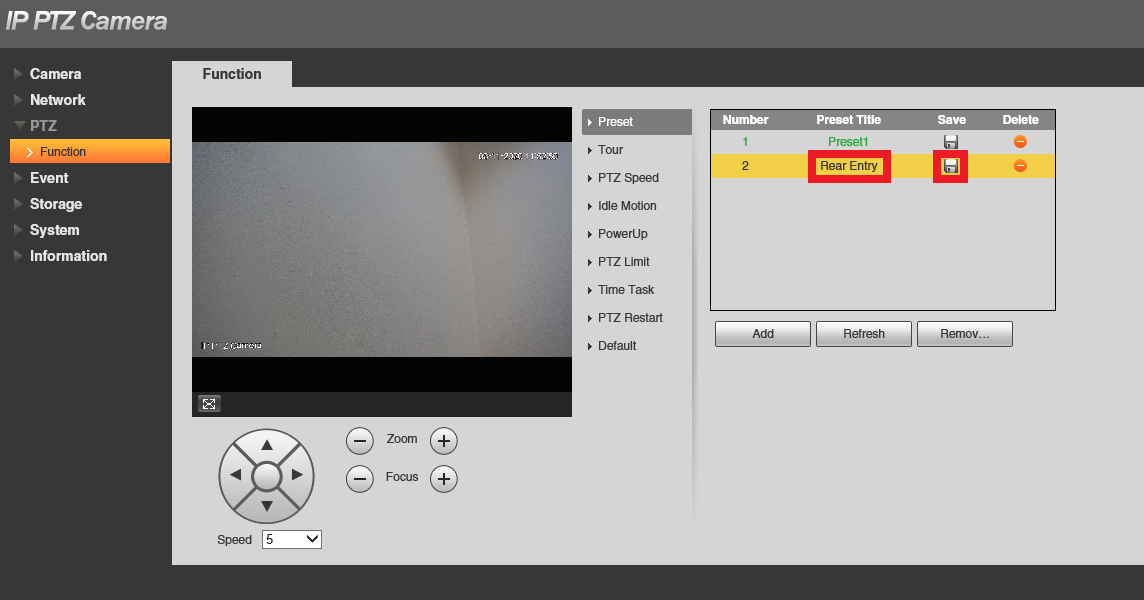
7. Give the preset a name, by double clicking on the Preset Title. Select the Save button. Repeat Steps 4 - 7 to add additional presets.
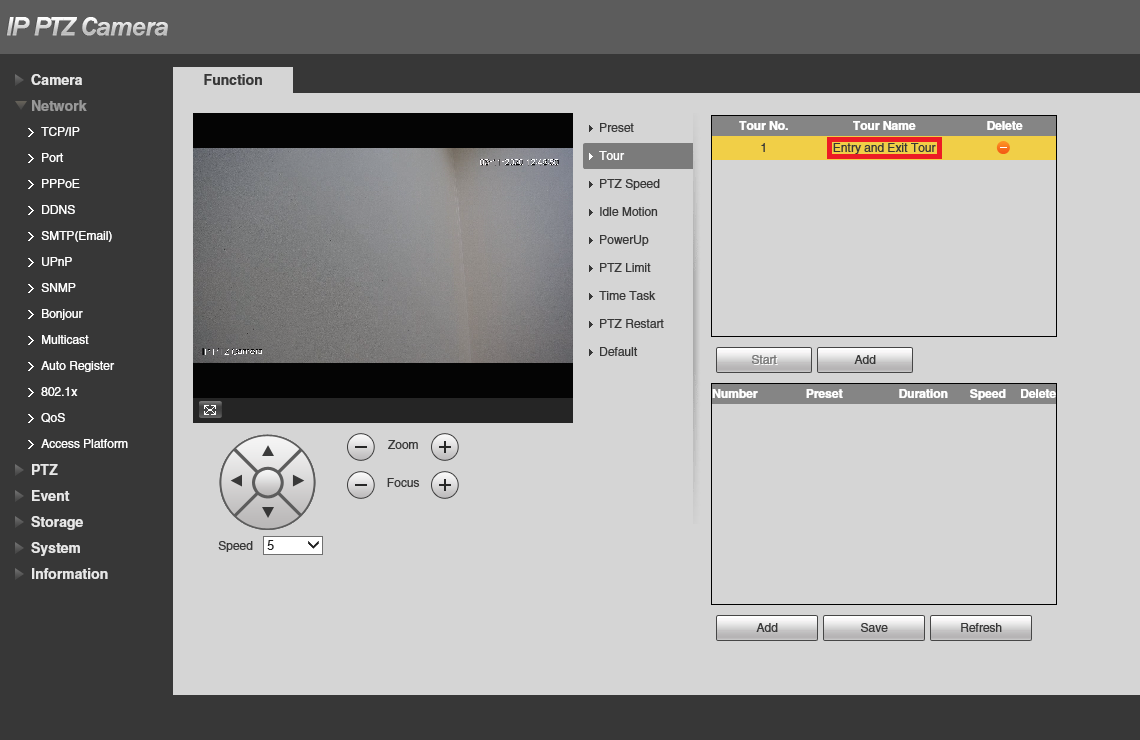
Setting PTZ Tours (PTZ Camera's Only)
Before beginning, ensure that there is presets configured for the points the camera will be looking at in the tour.
1. Connect to the IP Camera through the web interface.
2. Select Setting.
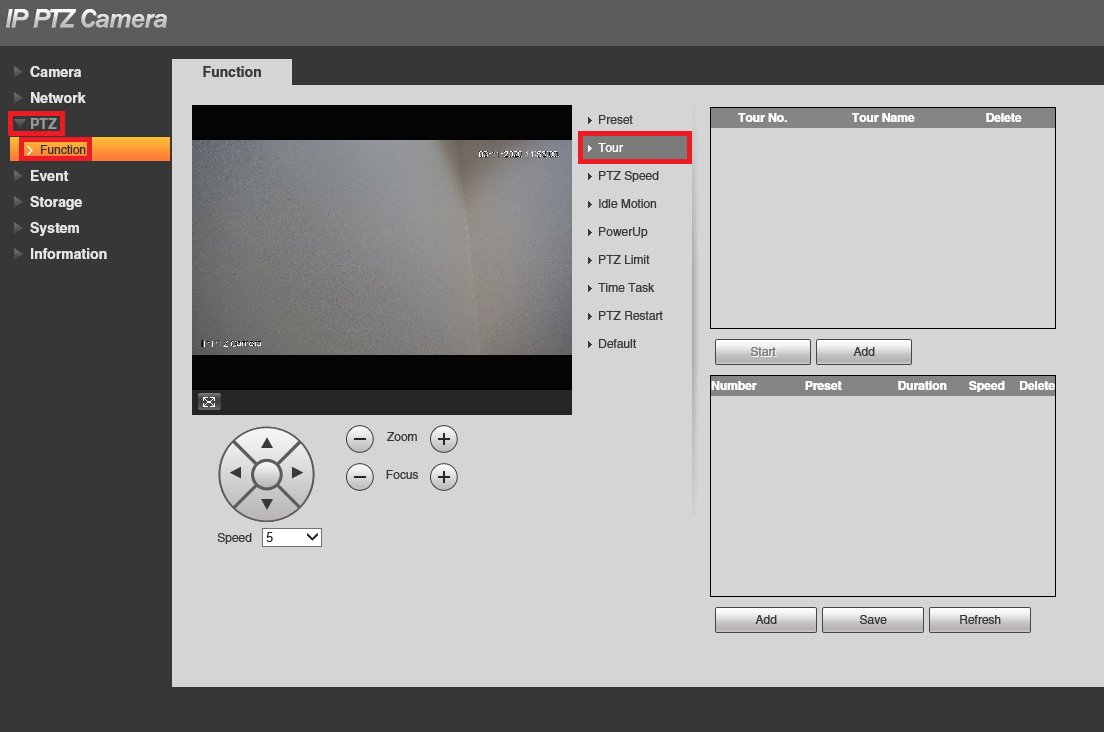
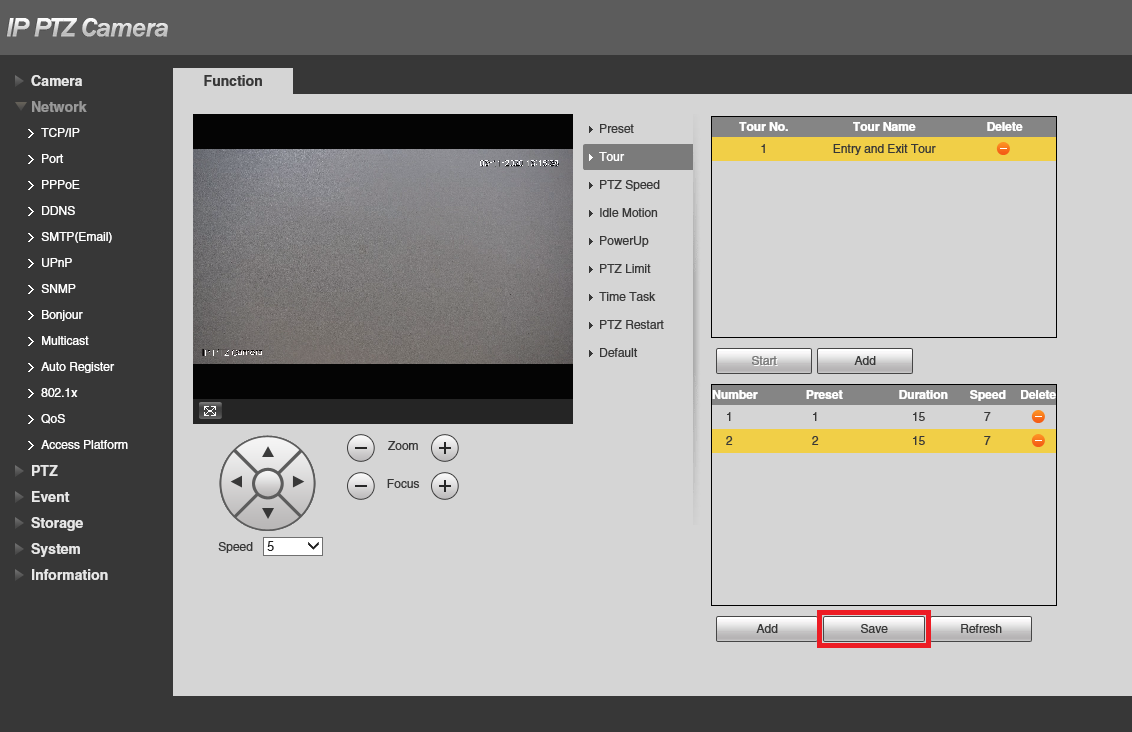
3. Select PTZ, Function, then Tour.
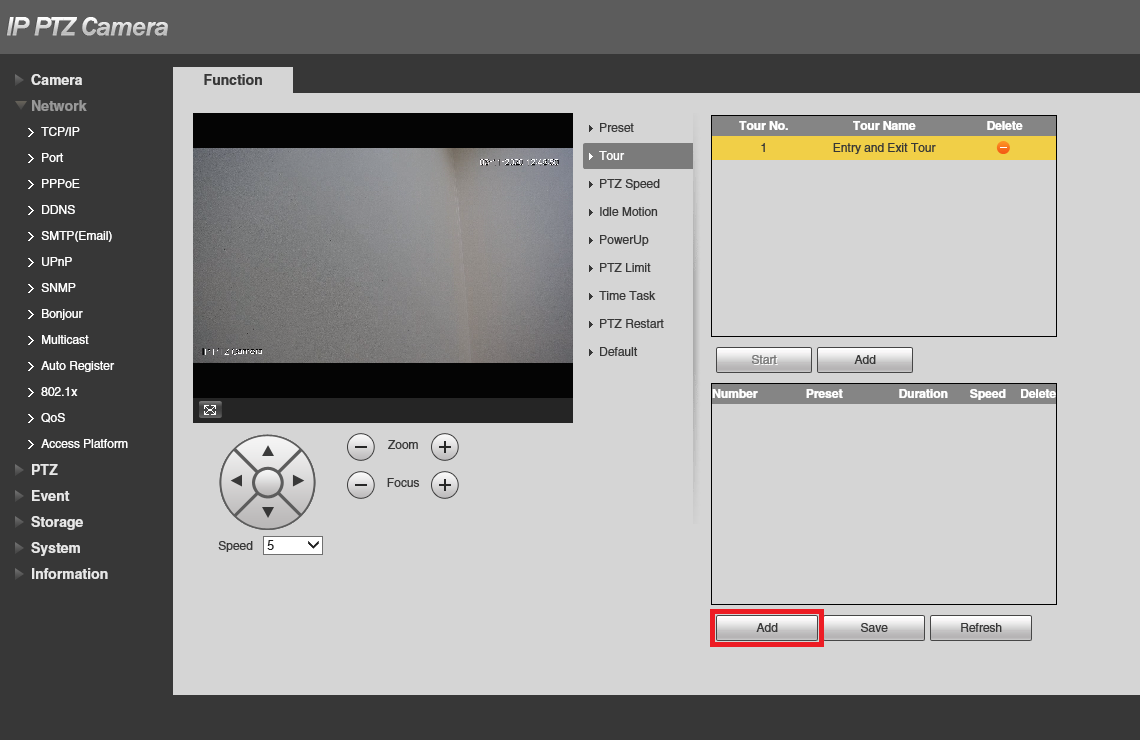
4. Select Add.
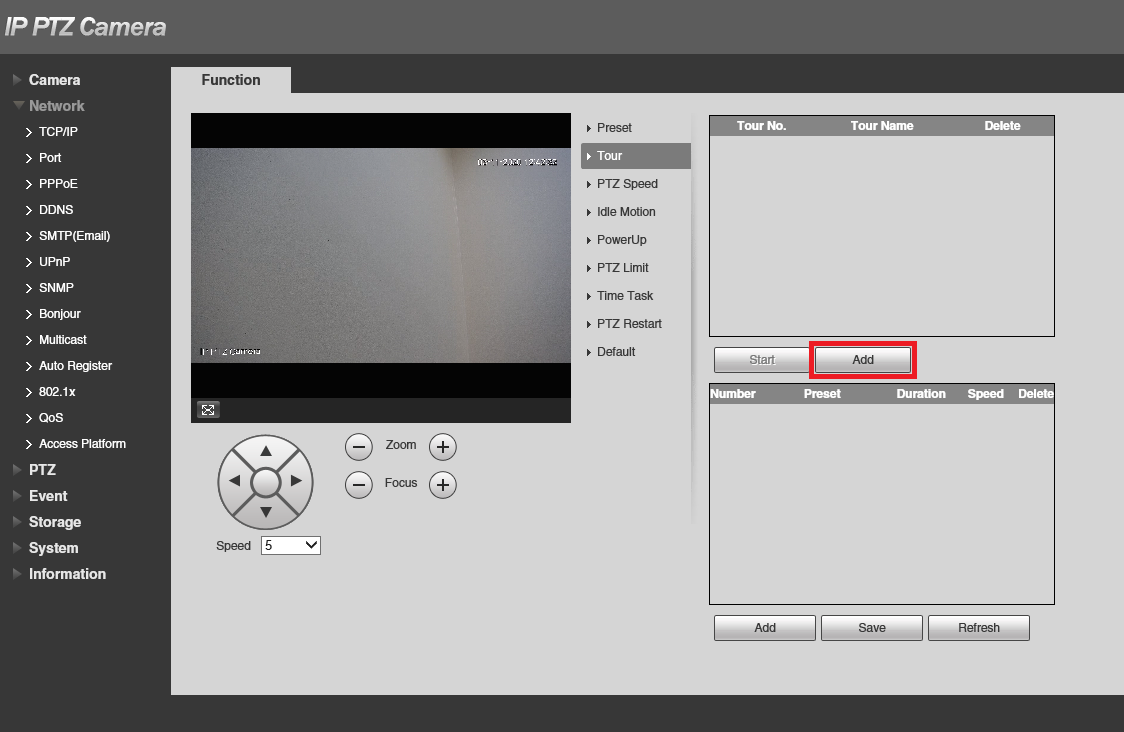
6. Select Add.
7. Select which presets are going to be in the tour, by selecting the preset number.
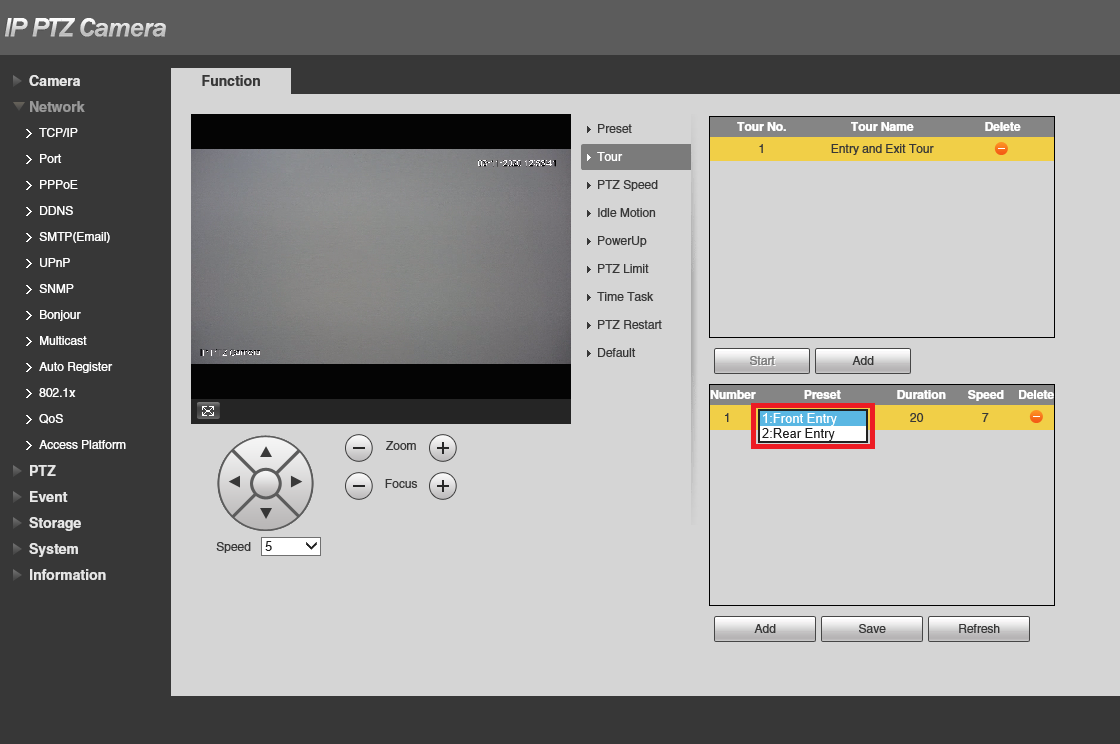
8. Set the duration and speed. Duration - How long before switching to the next preset. Speed - How quickly the camera move to get to the next preset.
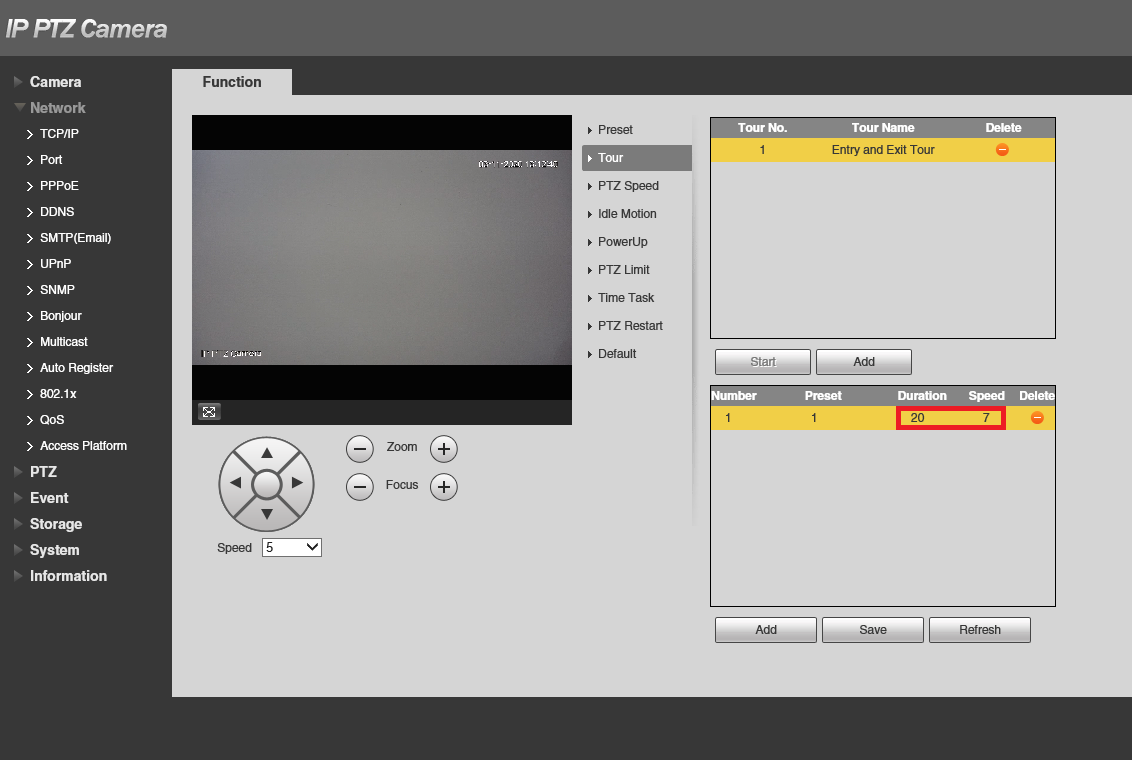
9. Repeat Steps 6-8 to add additional presets. Select Save
Idle Motion Setup (PTZ Camera's Only)
Idle motion is a feature on PTZ cameras, which allows the camera to automatically resume a tour or go back to a preset, after a set period of time. For example, if you move the camera manually using the PTZ controls, after set time, the camera will resume what it was doing before it was moved.
1. Connect to the IP Camera through the web interface.
2. Select Setting.
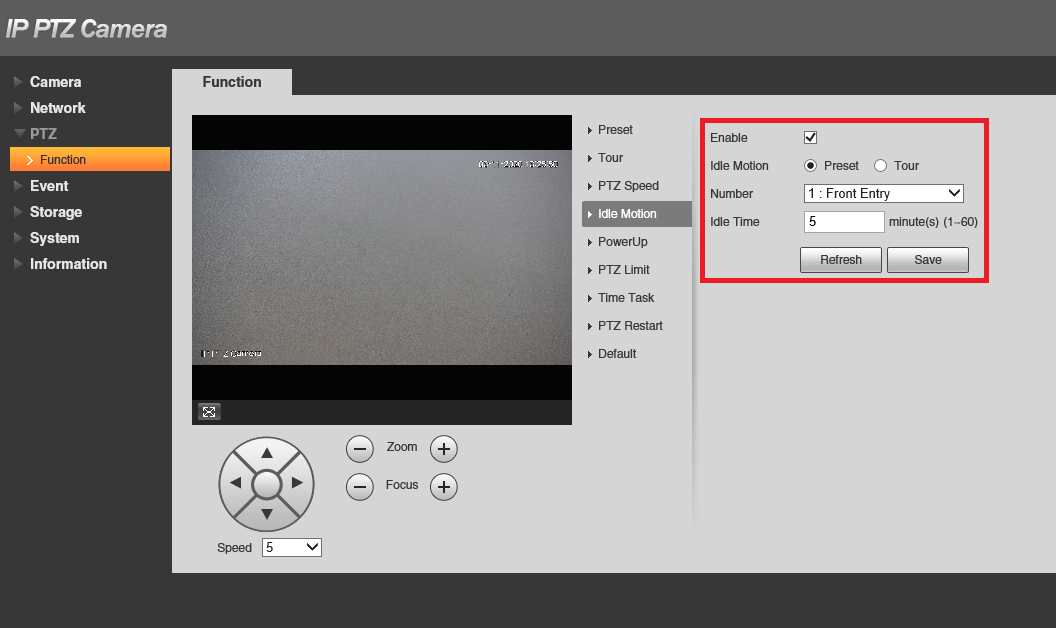
3. Select PTZ, Function then Idle Motion.
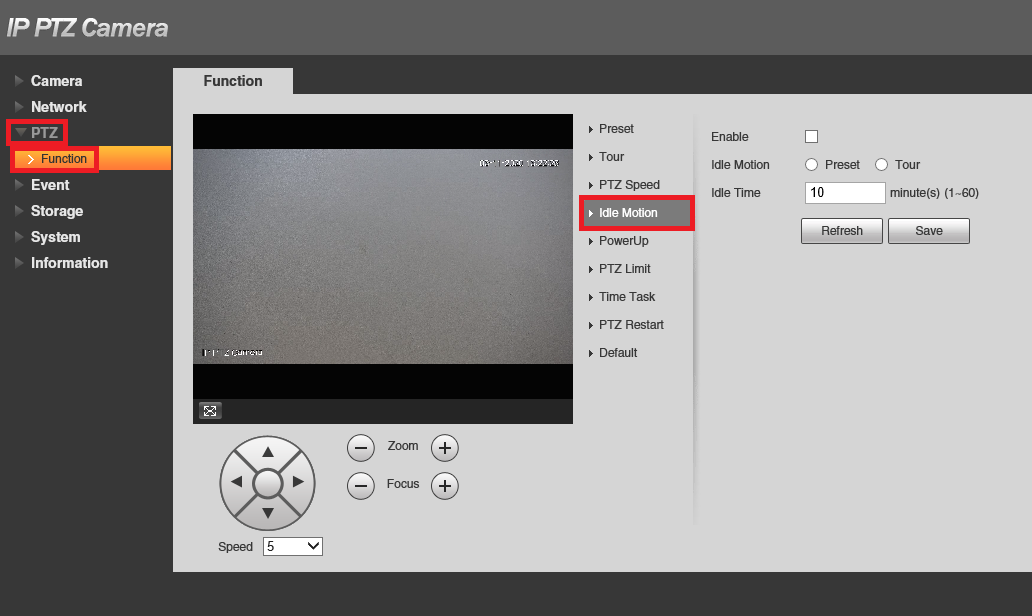
4. Put a tick in the Enable box. Select either Preset or Tour, and a tour/preset number. Enter an Idle Time - How long before idle motion takes effect, from the last time the camera was moved manually. Select Save.
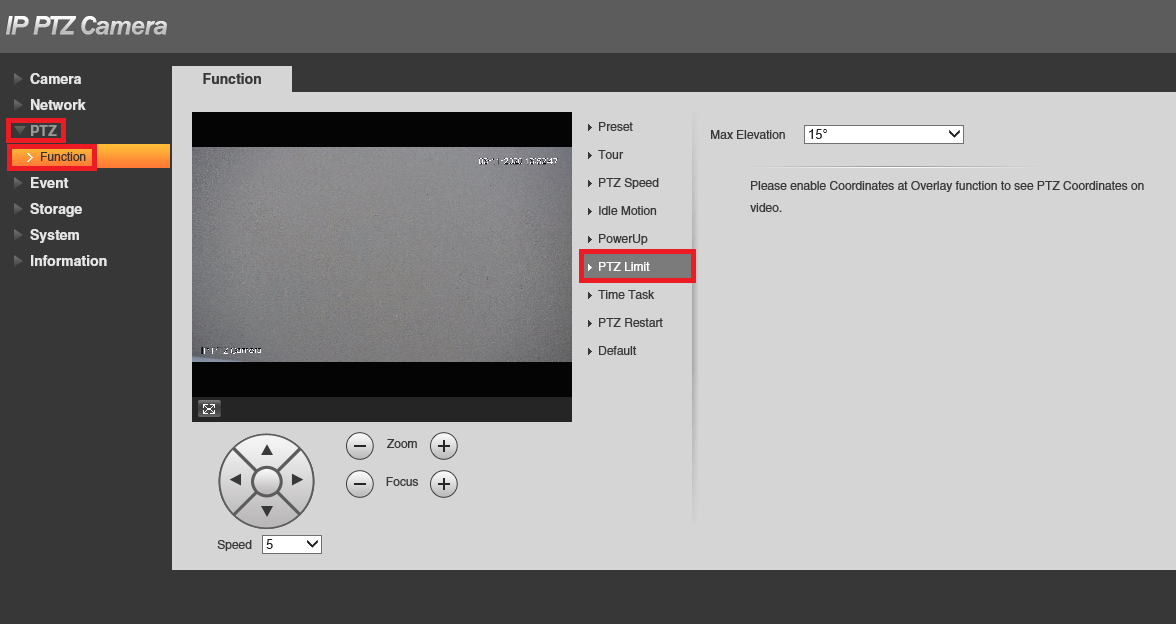
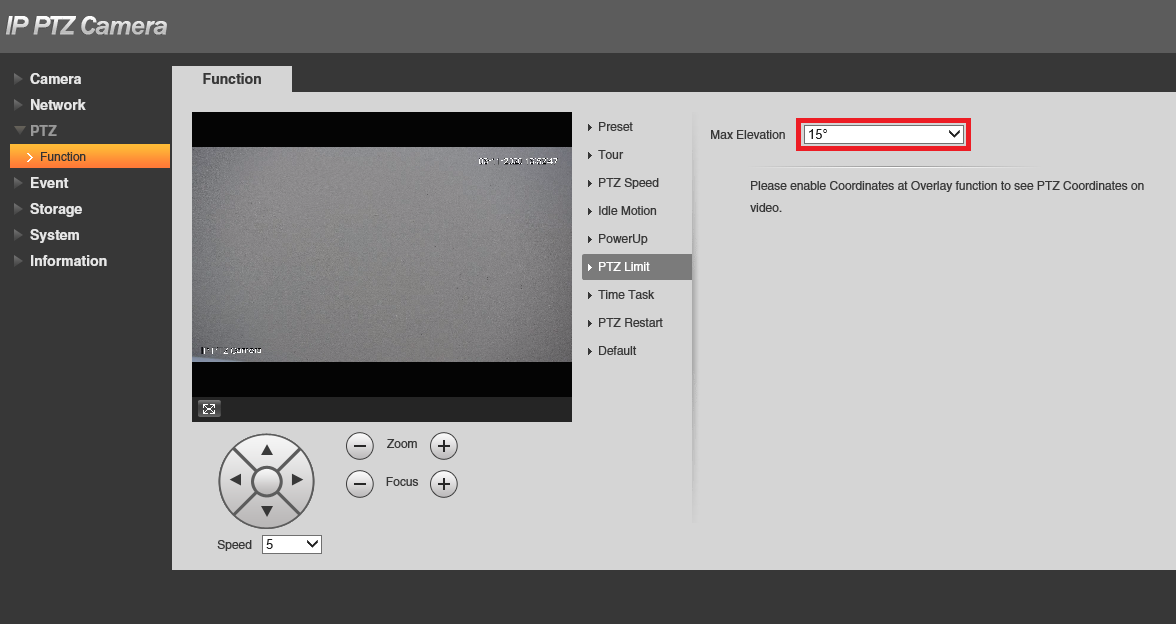
PTZ Limit Setup (PTZ Camera's Only)
In some case it may be necessary to adjust the camera's elevation limit. The lower the angle, the further the camera can look horizontal.
1. Connect to the IP Camera through the web interface.
2. Select Setting.
3. Select PTZ, Function then PTZ Limit.