Fisheye dewarping processes an image from a fisheye camera and produces a new image without distortion similar to the image of a regular camera. On some recorders, fisheye dewarping can only be set and viewed through the web interface of the recorder.
Below lists which recorders can fisheye dewarp through the recorder and which recorders can only fisheye dewarp through the web interface.
Fisheye Dewarping through recorder:
NVR16PRO16P-I3
NVR32PRO-I3
NVR32PRO16P-I3
NVR64PRO-I3
NVR64ULT-I
Fisheye Dewarping through web interface:
NVR4COM-I
NVR8COM-I
NVR8PRO-I
NVR16COM-I
To login to the web interface of your recorder, you would need a computer. There are 2 ways to login.
1. Connect your computer to the LAN port of your recorder or to the same network as the recorder. Make sure that your computer's IP address is in the same range as your recorder.
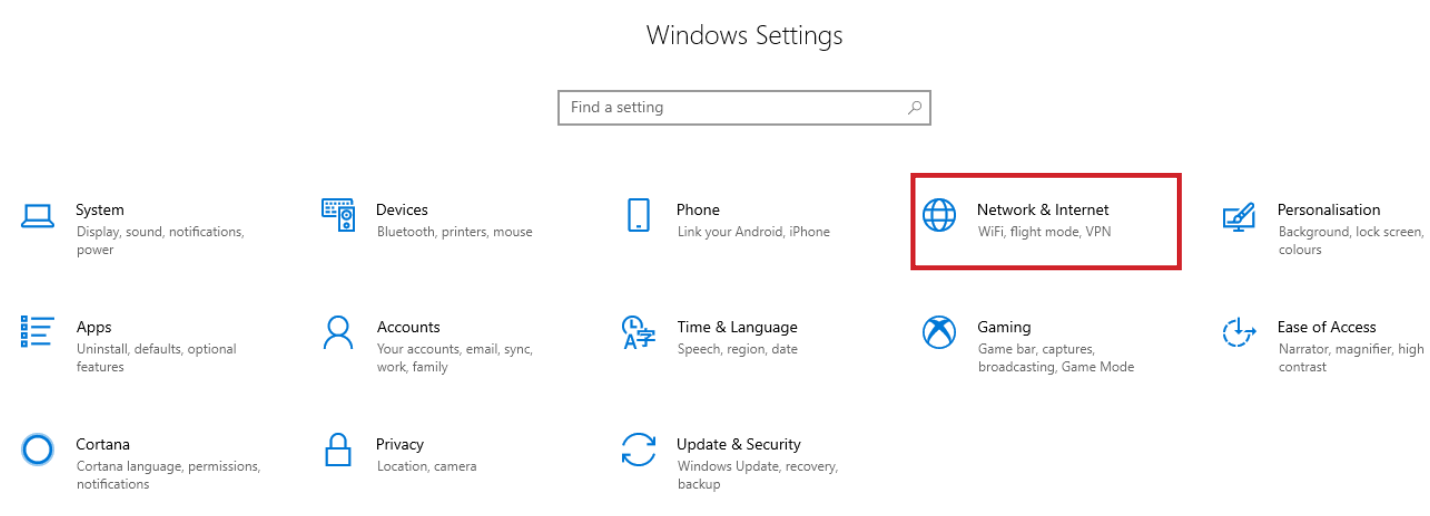
- Open Settings.
- Select Network & Internet.
- Select Status, then Change Adapter Options.
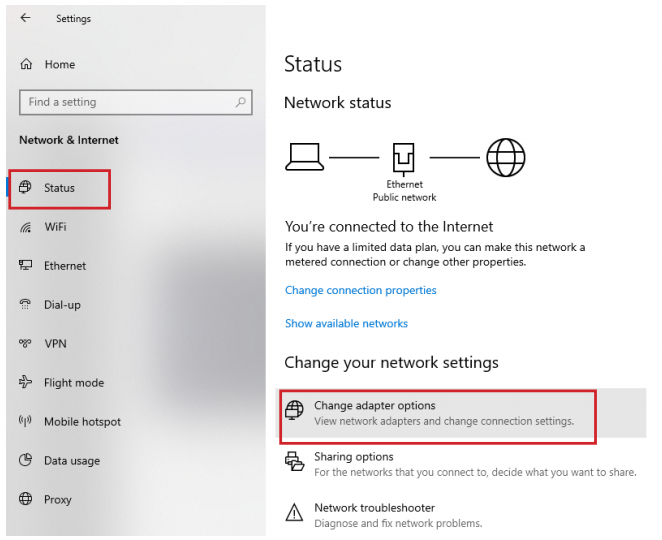
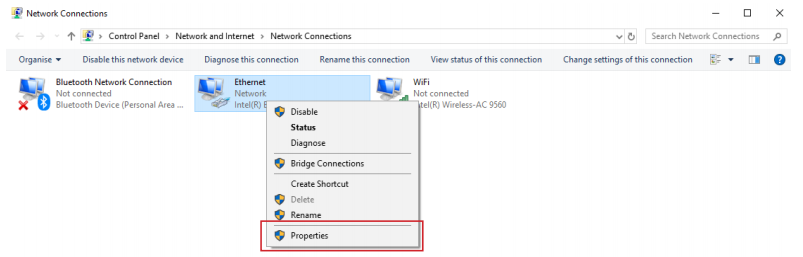
-
Right-click the network adapter you want to change the IP address for, and select Properties.
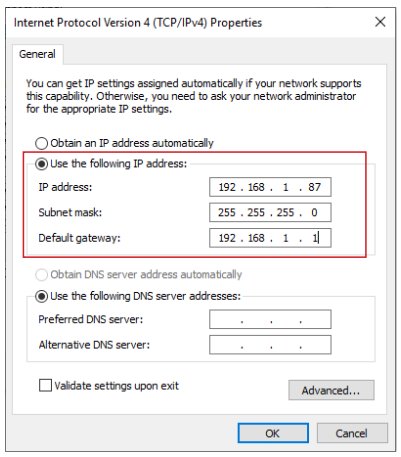
- Select the Internet Protocol Version 4 (TCP/IPv4) item.
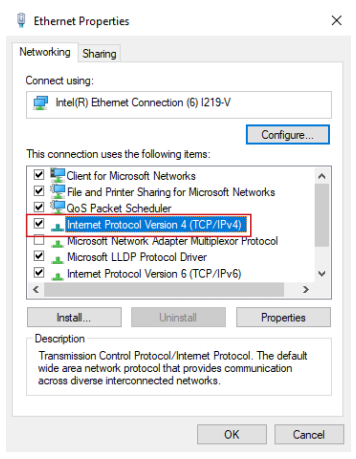
- Click Use the following IP address and enter an IP address in the same range as the device you are trying to access. (E.g when trying to access 192.168.1.108 use a IP address in the 192.168.1.x range.) Note: This cannot be the same as the device you are trying to connect to or any other device on the same network. Save your changes on both windows.
- Type the IP address of the device you are trying to access into the address bar of your web browser.
- Once finished configuring the device, change the adapter settings back to normal by following steps 1-6 and clicking Obtain an IP address automatically.
Use Internet Explorer or Microsoft Edge in Explorer mode and type the IP address of your recorder into the web browser.
2. Access the web interface through SmartPSS.
- Open Smart PSS and select Device CFG.
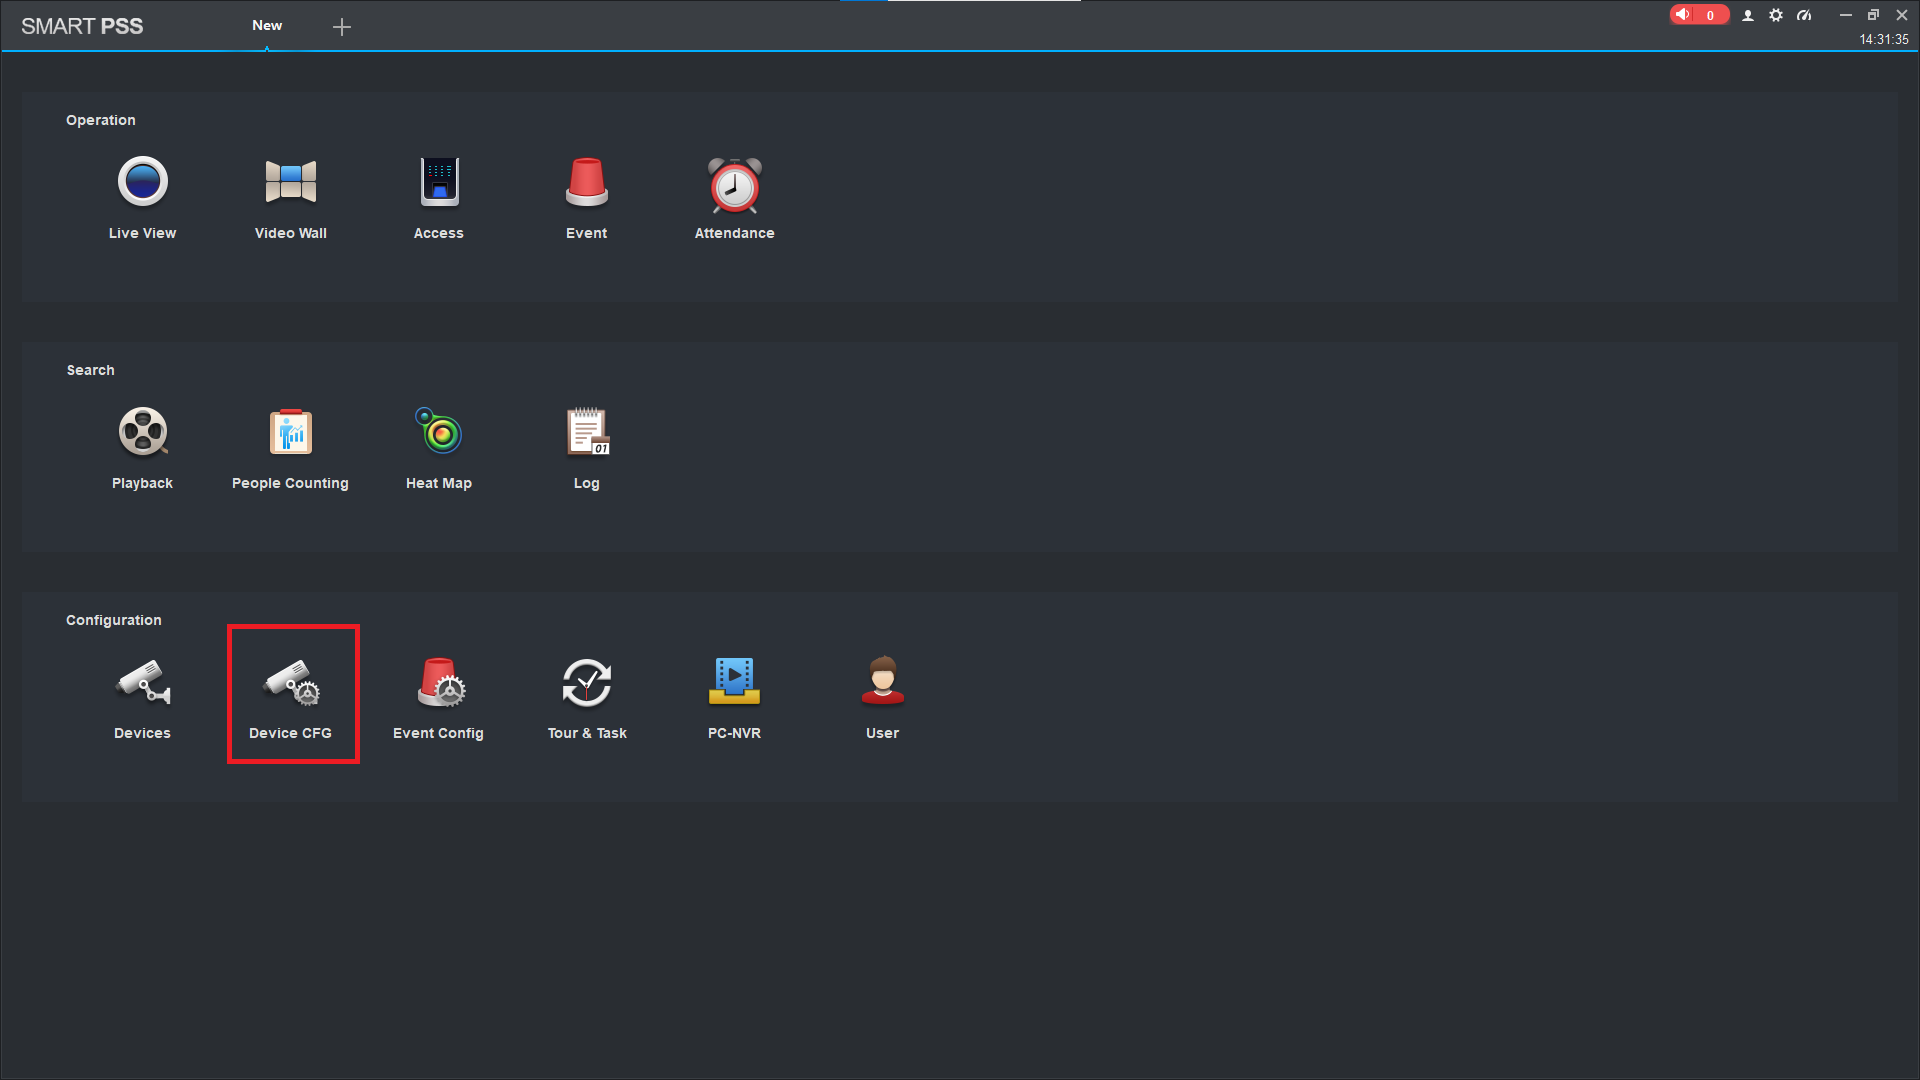
- Select your device.

- Select Link to WEB.
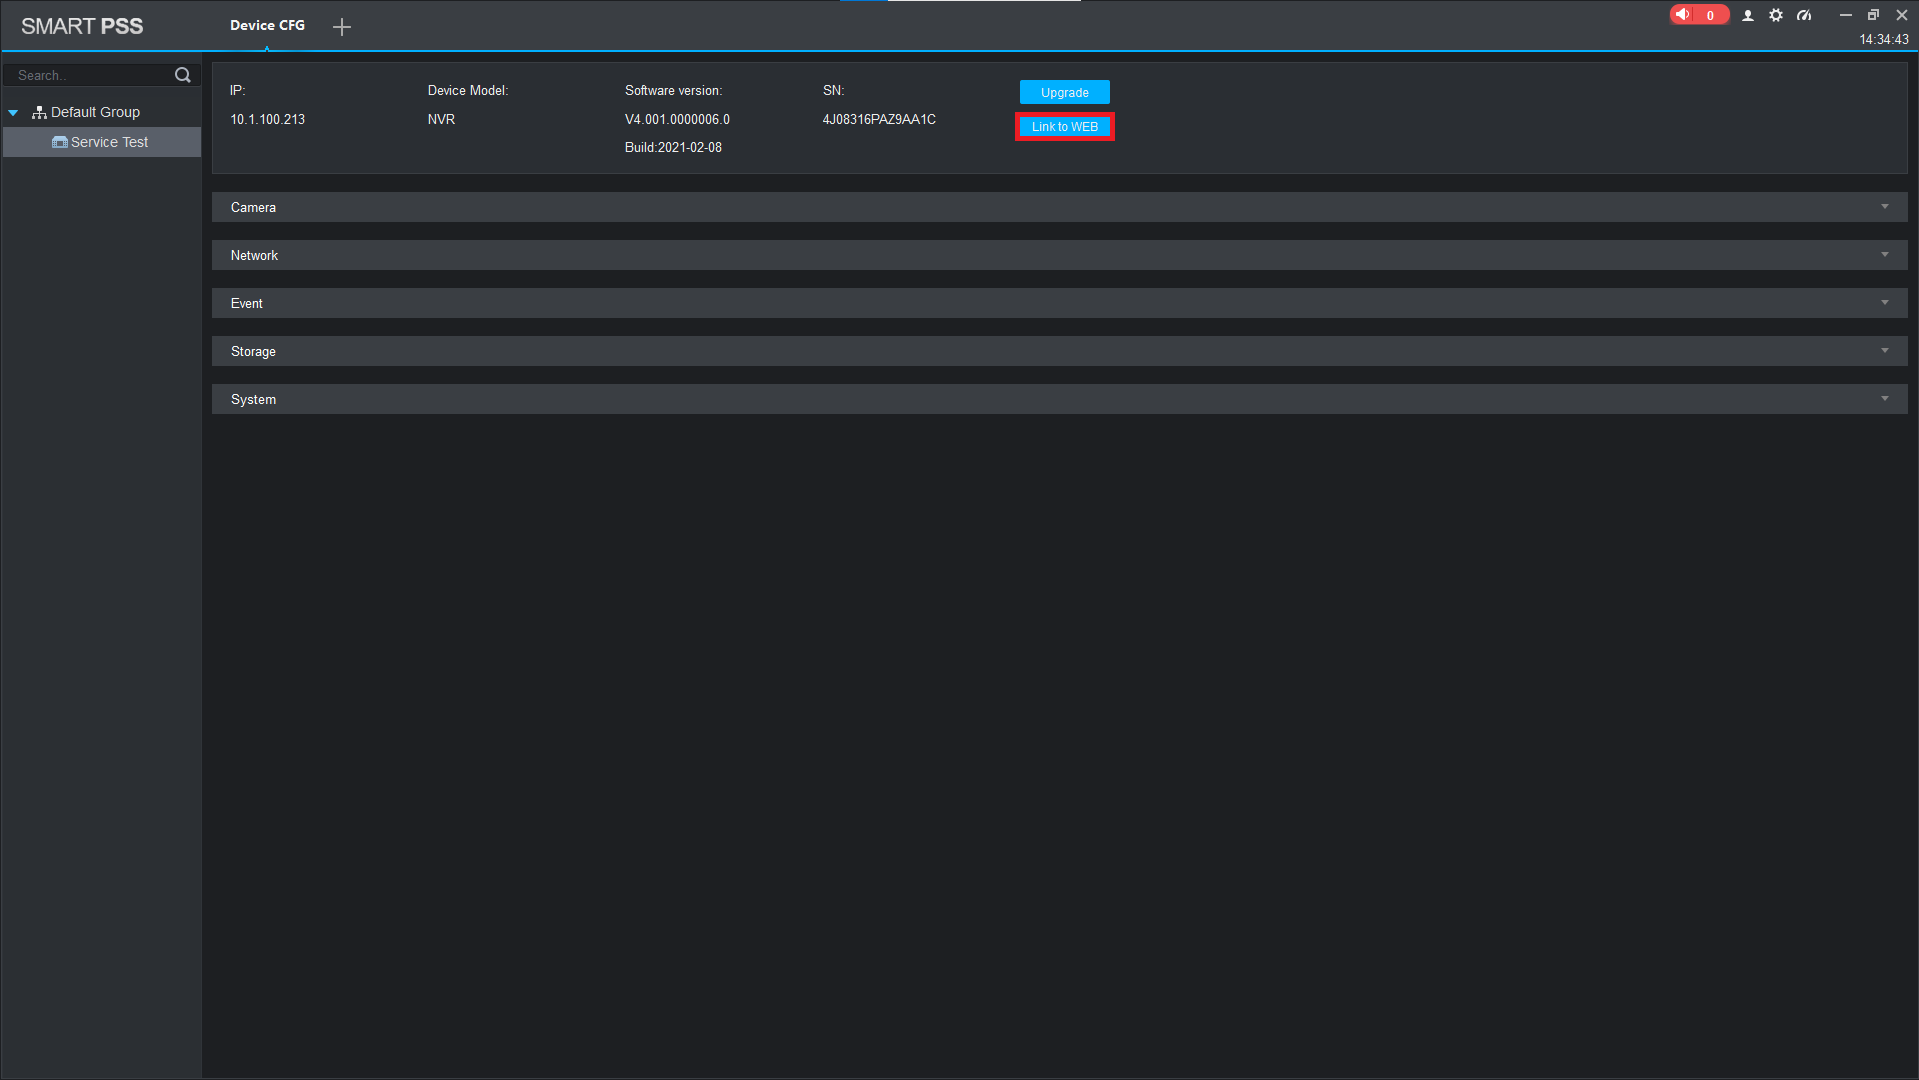
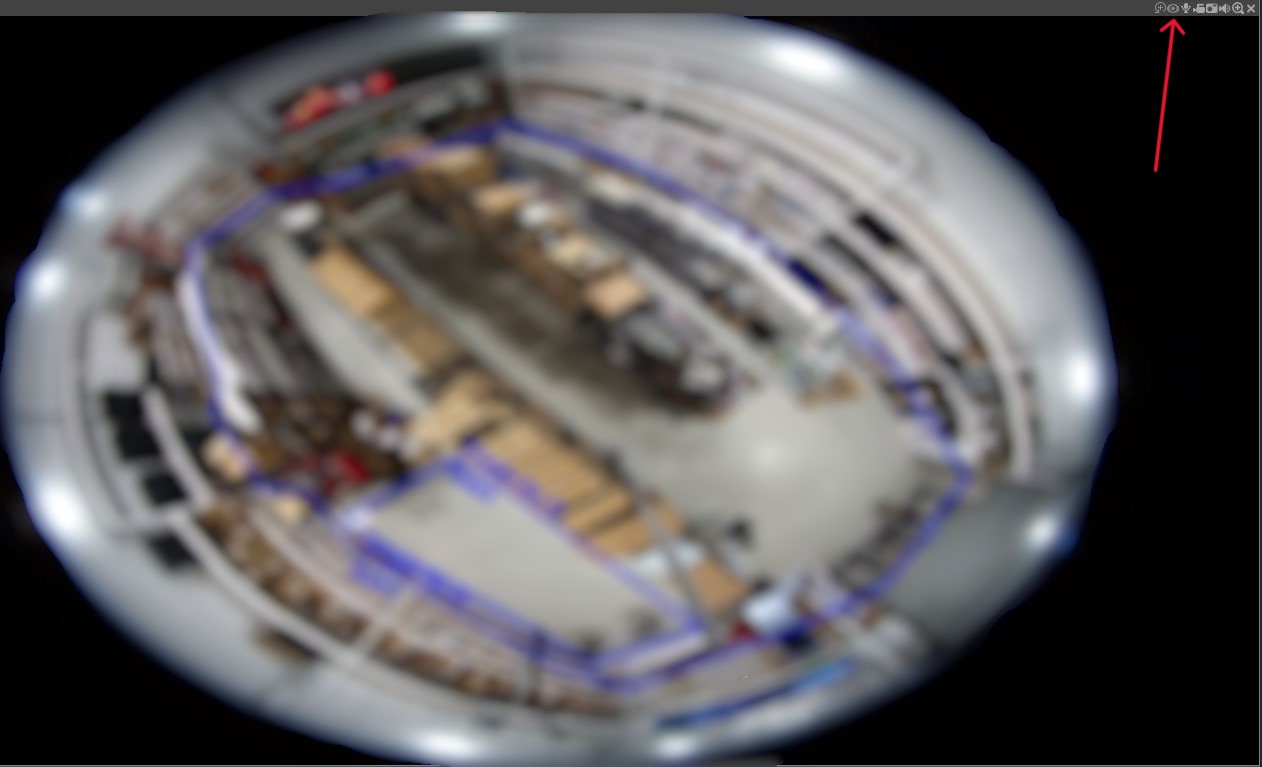
Once in the web interface, In Live View, hover over the fisheye camera and select Fisheye located in the top right corner. This will bring up the fisheye mounting mode and display mode options on the right.
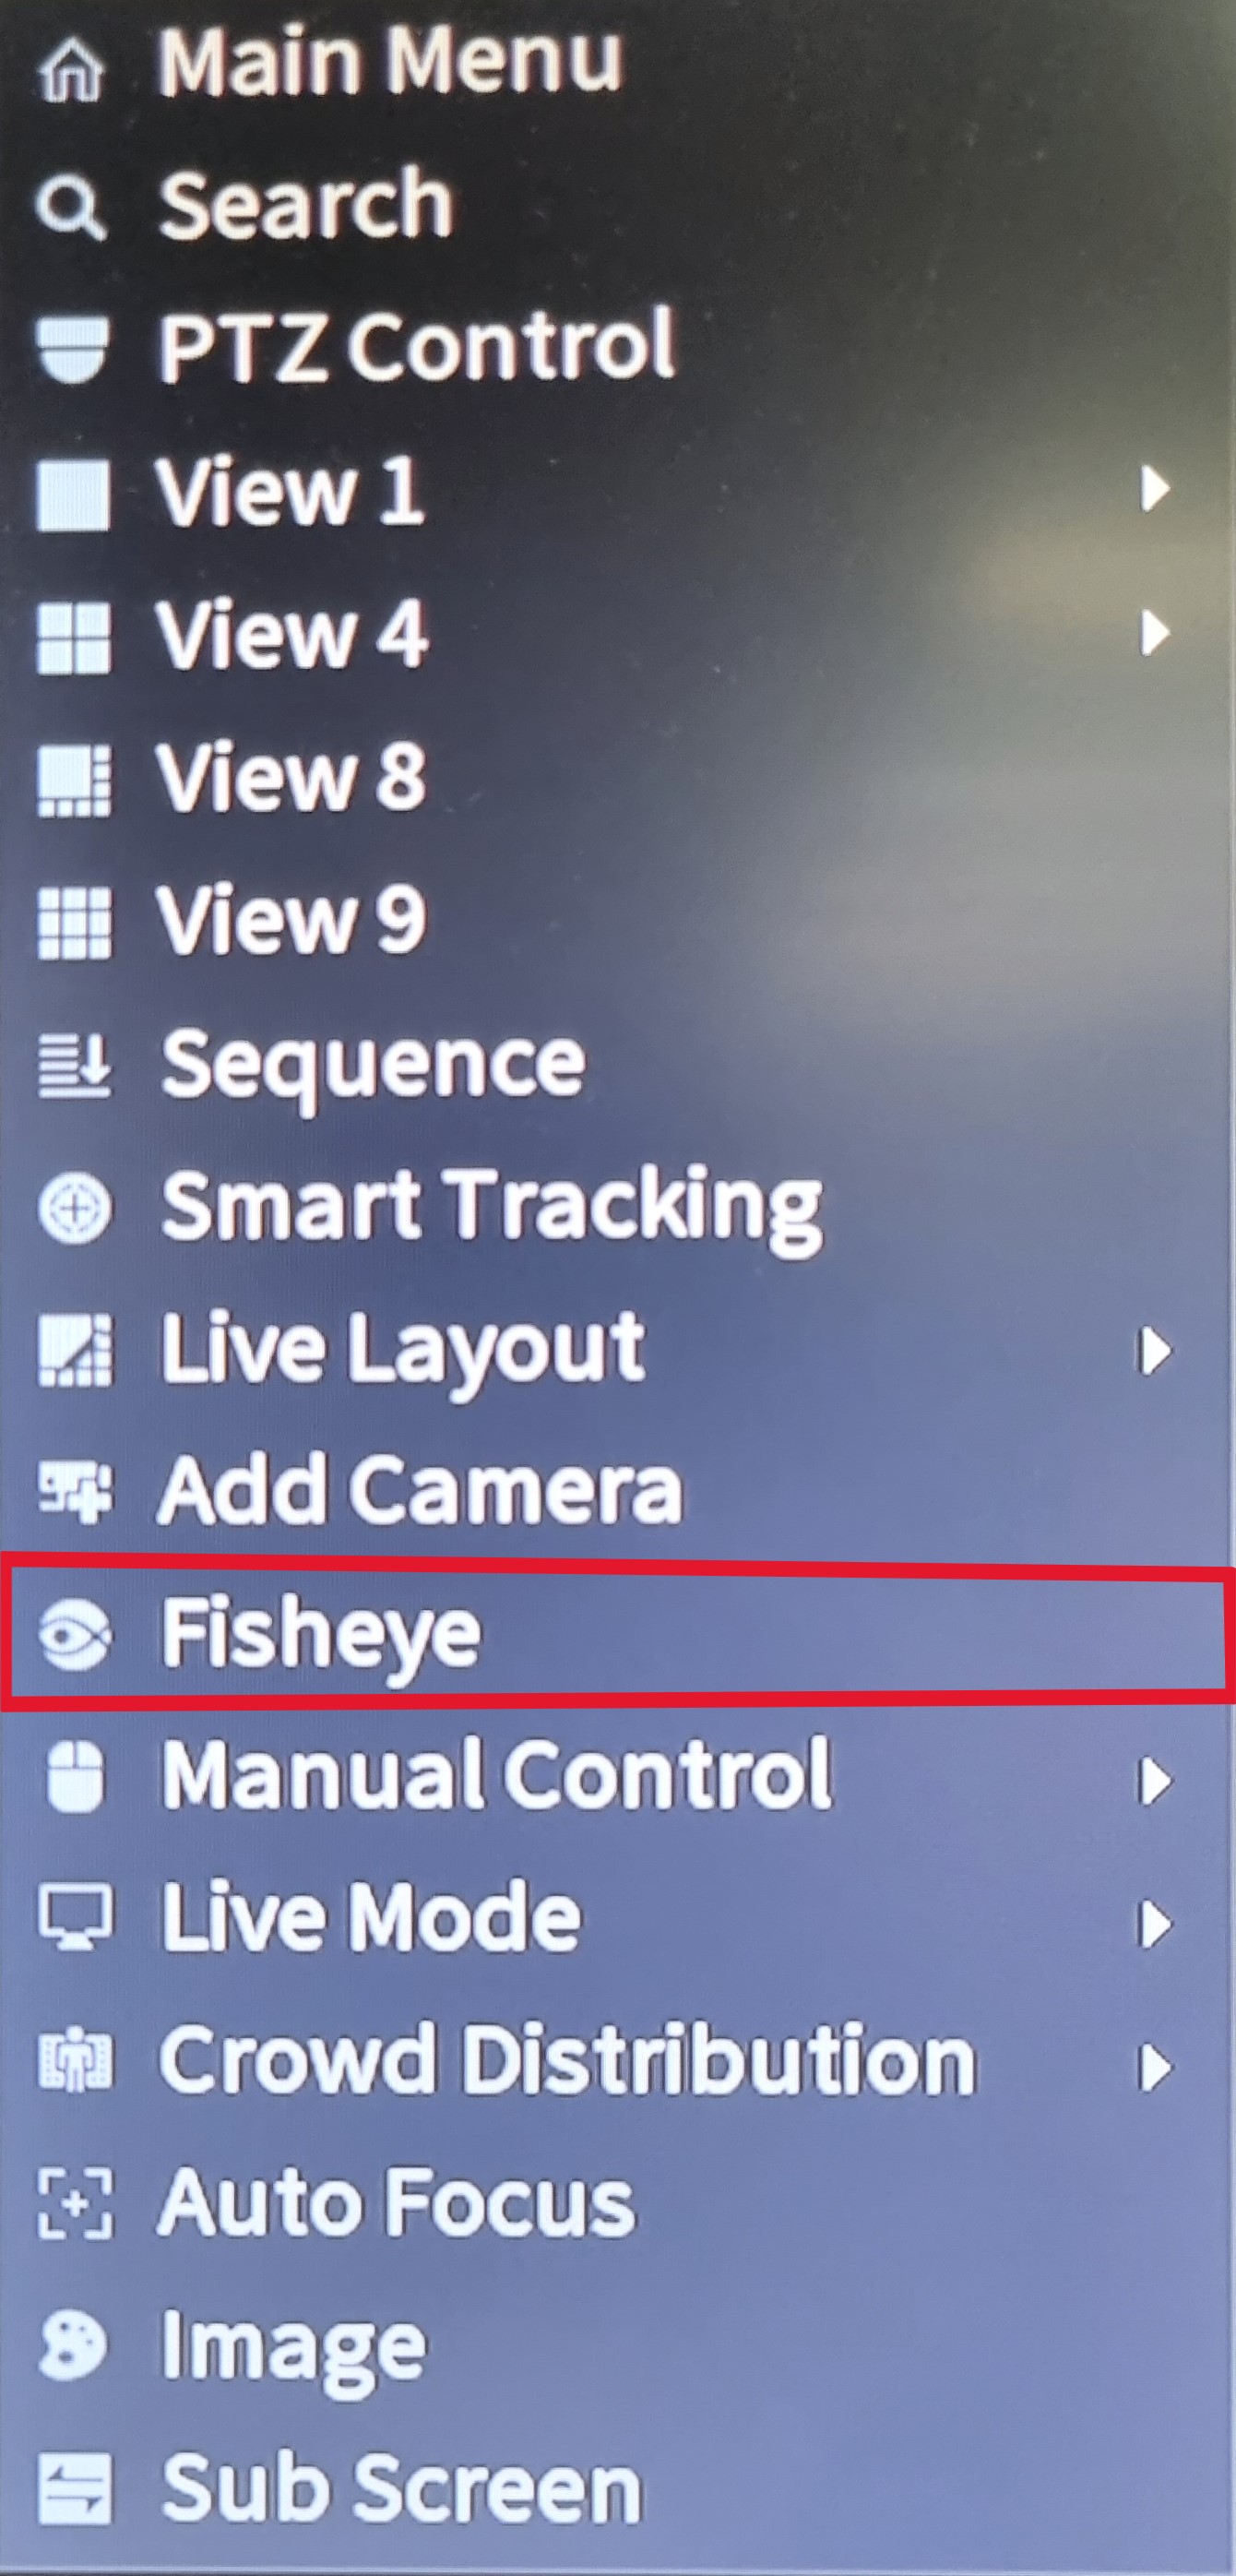
To access the fisheye menu through the recorder, right click the camera channel and select fisheye. This will bring up the fisheye mounting mode and display mode options.
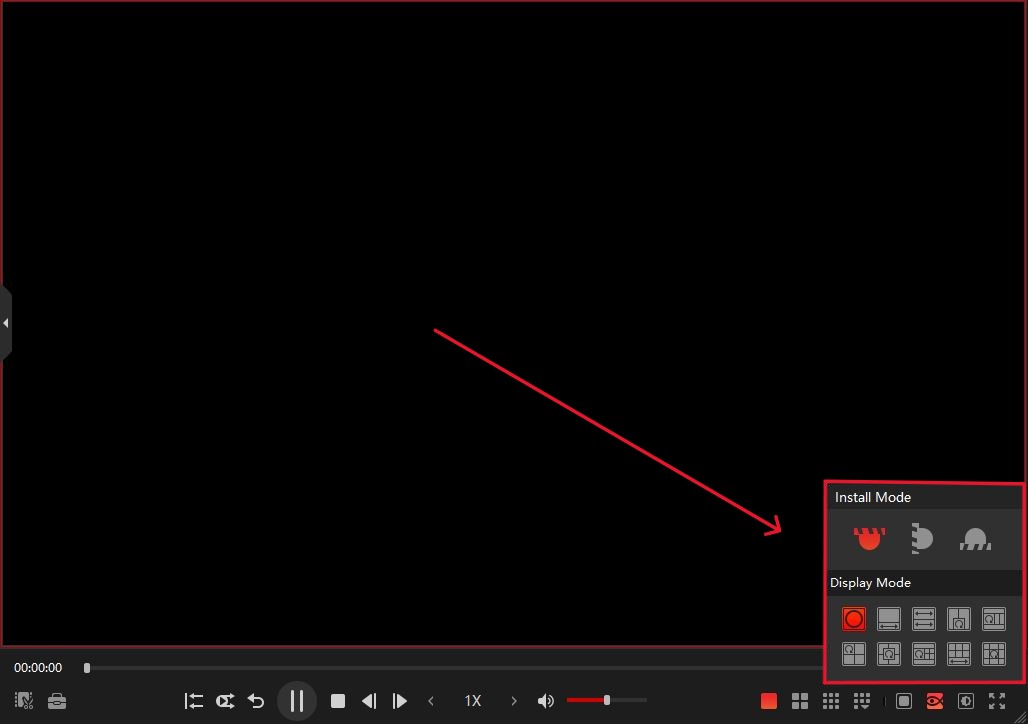
You can also fisheye dewarp through SmartPlayer when viewing backed up footage. In order to see the fisheye settings, you will need the full version of SmartPlayer. When in SmartPlayer, select the camera to see the footage.
Click the Fish Eye icon in the bottom right. This will bring up the fisheye install mode and display mode options.
Fisheye Dewarp Modes:
 Standard 360 mode |
 1 narrow view + Panoramic View 1 narrow view + Panoramic View |
 2 Panoramic views 2 Panoramic views |
 2 Wide, 2 Narrow + 360 view |
 360 view + 3 Way Split 360 view + 3 Way Split |
 Combination of the previous 2 settings Combination of the previous 2 settings |
 6 Way Split + pan/rotate 6 Way Split + pan/rotate |
 9 Way Split + 360 view 9 Way Split + 360 view |
Interactive view
- Allows you to zoom in and out and adjusts the image to look normal. Can rotate and look around like you are in 360 view still. Tapping fisheye icon reverts to standard dewarp.