Link to download Smart PSS Lite for Windows:
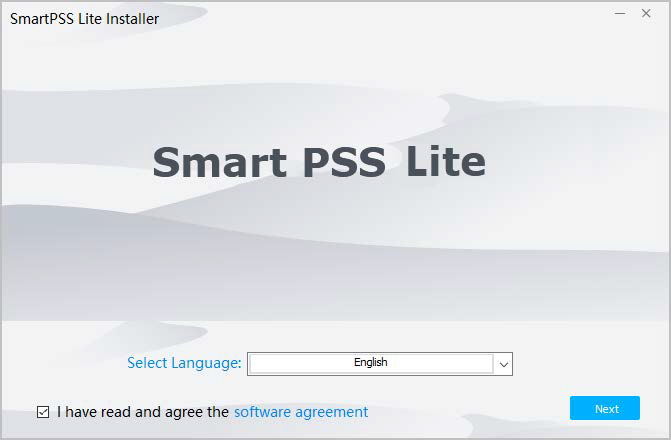
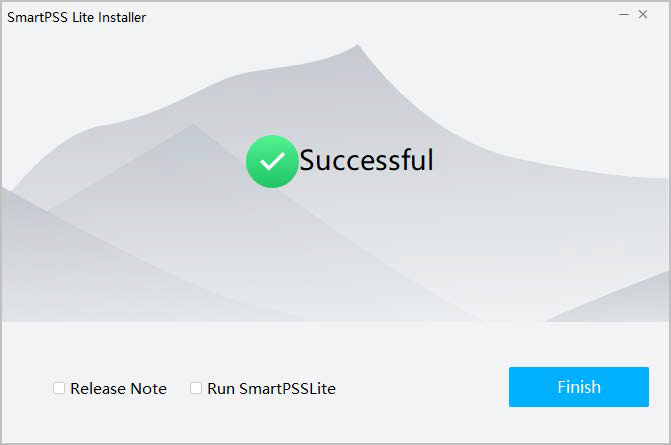
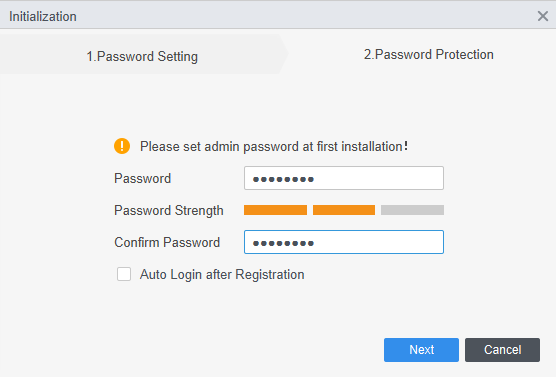
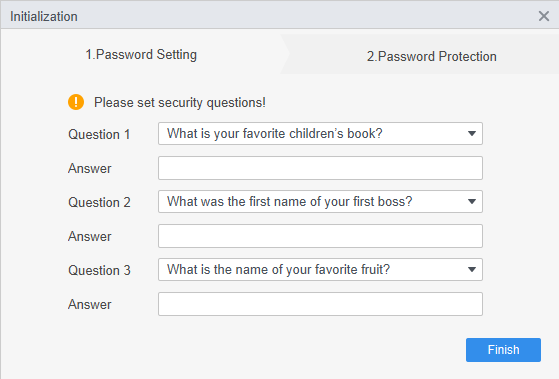
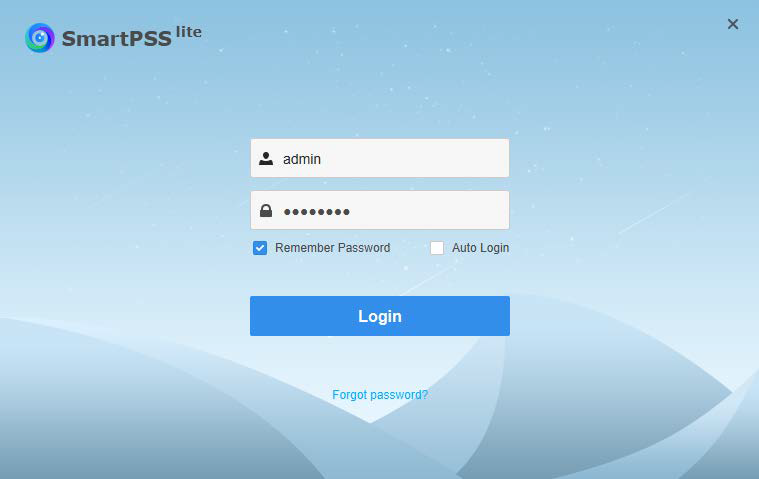
Installing the Application

Manually connecting your device to Smart PSS Lite
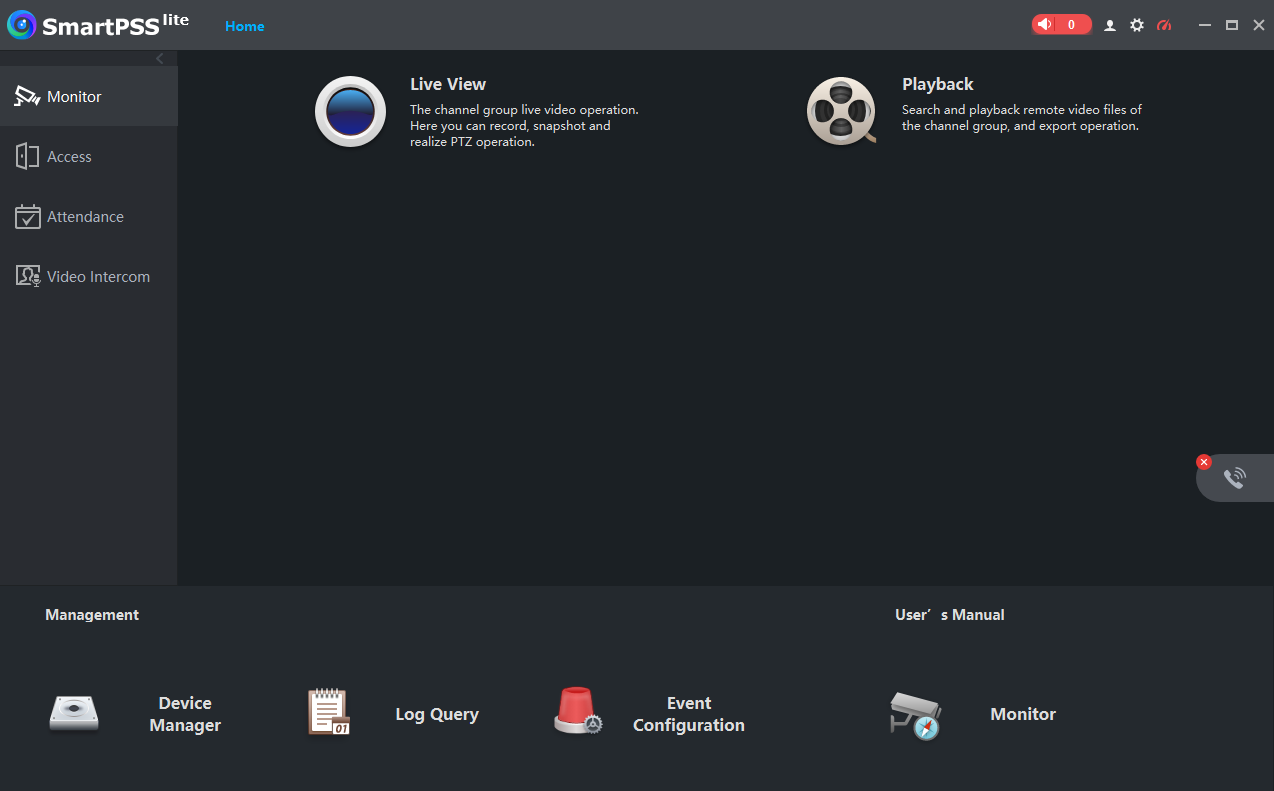
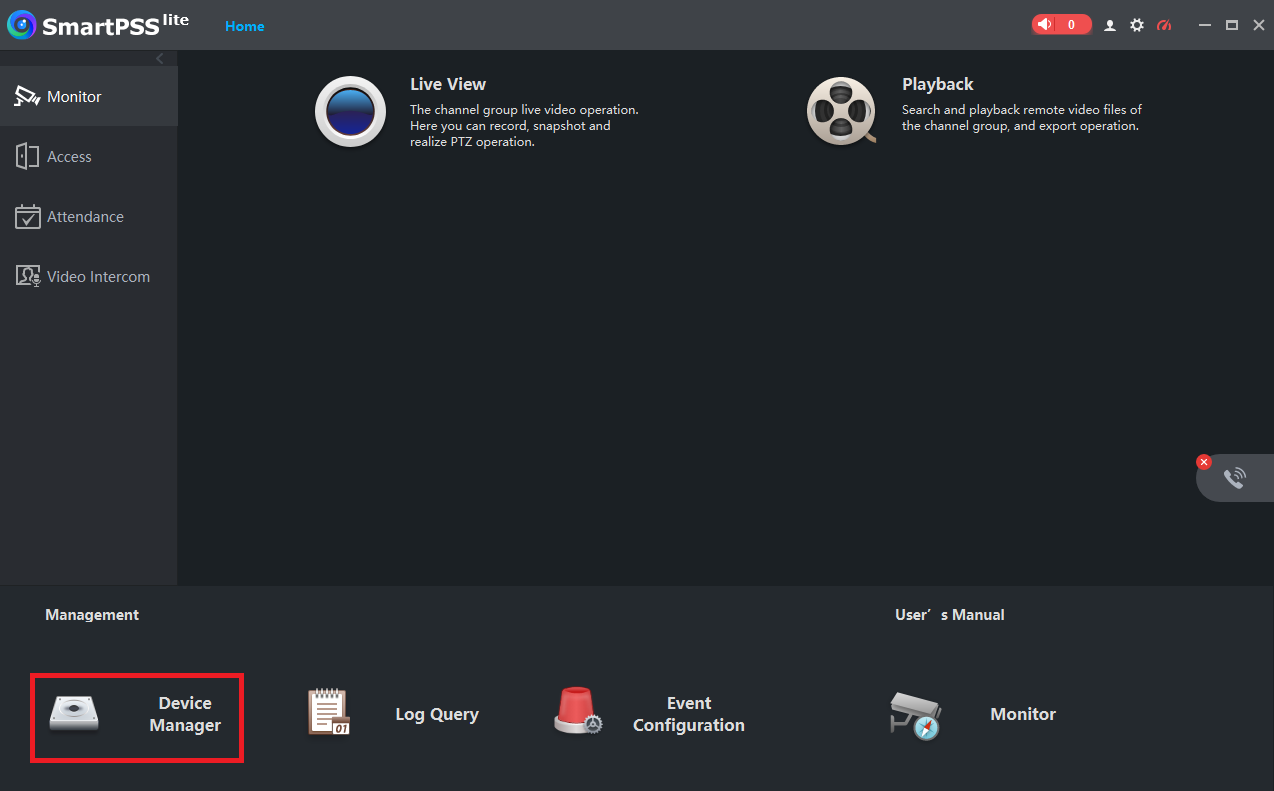
To add a device, click on "Device Manager" from the Main Menu. To get back to the menu click the "Home button" next to the tab name.

Add a Device and Selecting a Connection Method
There are two ways to connect to your recorder, Serial Number and IP Address. SN is best to use if you are unsure. Otherwise, you can use auto search and add the local IP address/device.
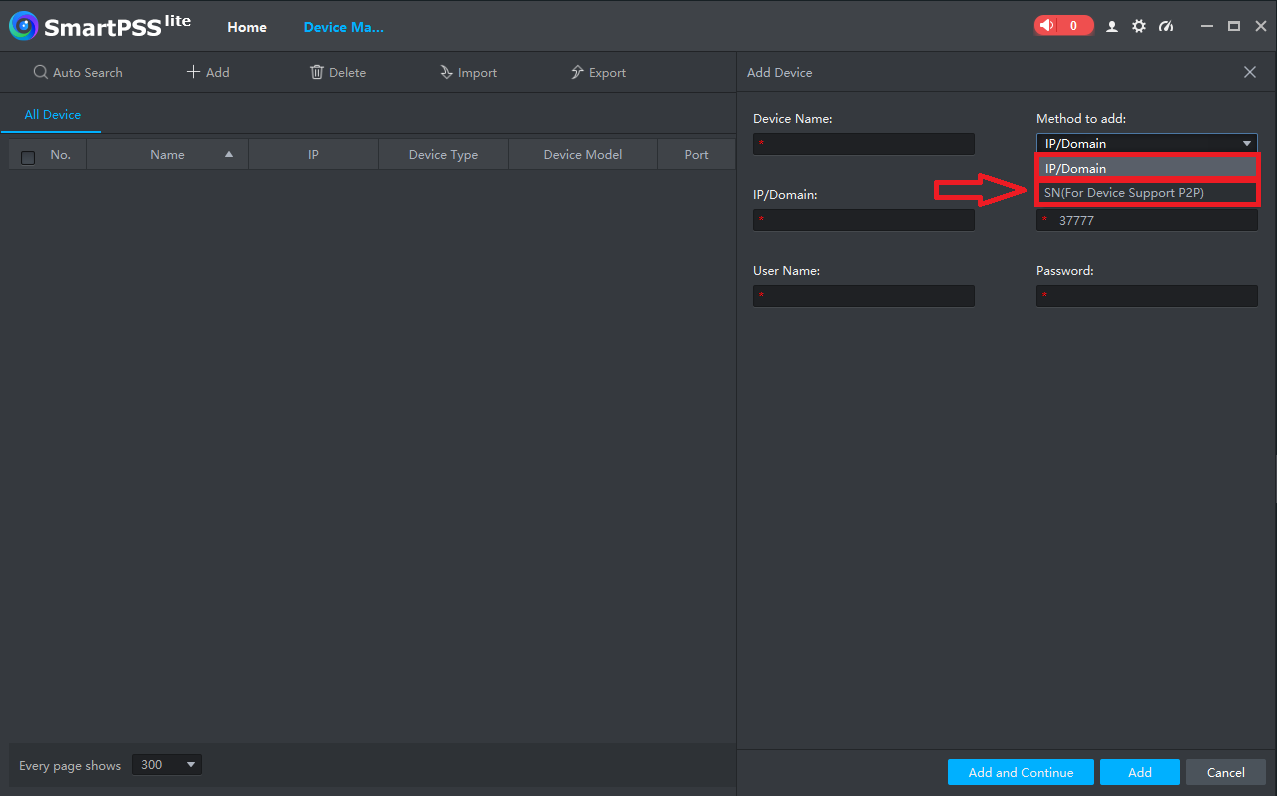
Please input the login credentials for your device. These credentials should match those used to access the recorder. If you do not have these details, please obtain them from the installer or the machine's owner.
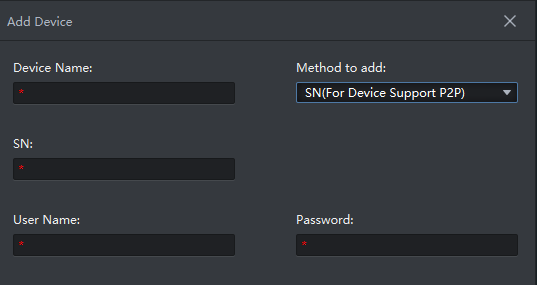
After entering the details, click "Add" to save the device configuration.
Verify Online Status
Once the recorder is added your device should appear as "Online", if the status says otherwise refer to the below.

Offline(Locked) - The device has had too many failed login attempts. The password may be incorrect or there is another connection to the recorder with the incorrect password.
Offline(Invalid user name or password) - The SN/IP of the device is not currently connected. Verify the recorder is online and connected.
Importing Devices from a file
This approach is employed when multiple computers need access to the same devices. Make sure you have saved the backup file on your computer before starting.
1.To import devices from a file, select "Device Manager" from the Main Menu. You can return to the menu by clicking the Home button.
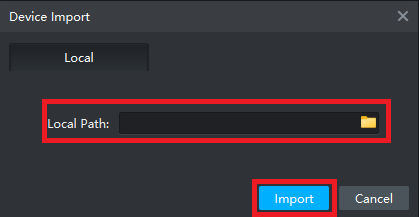
2.Select "Import."

3.Select the "folder" icon, and locate the backup file.
4. Select "Import", the devices will now be added to the software.
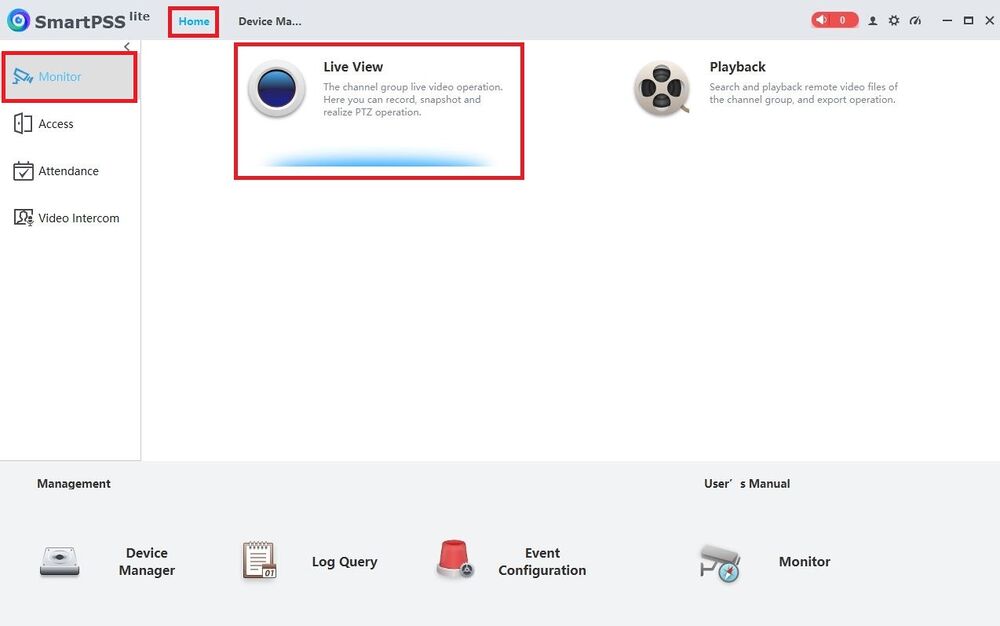
How to Live View Cameras
1.Select the "Home tab" at the top.
2.Then click on "Monitor" on the left.
3.Select "Live View"
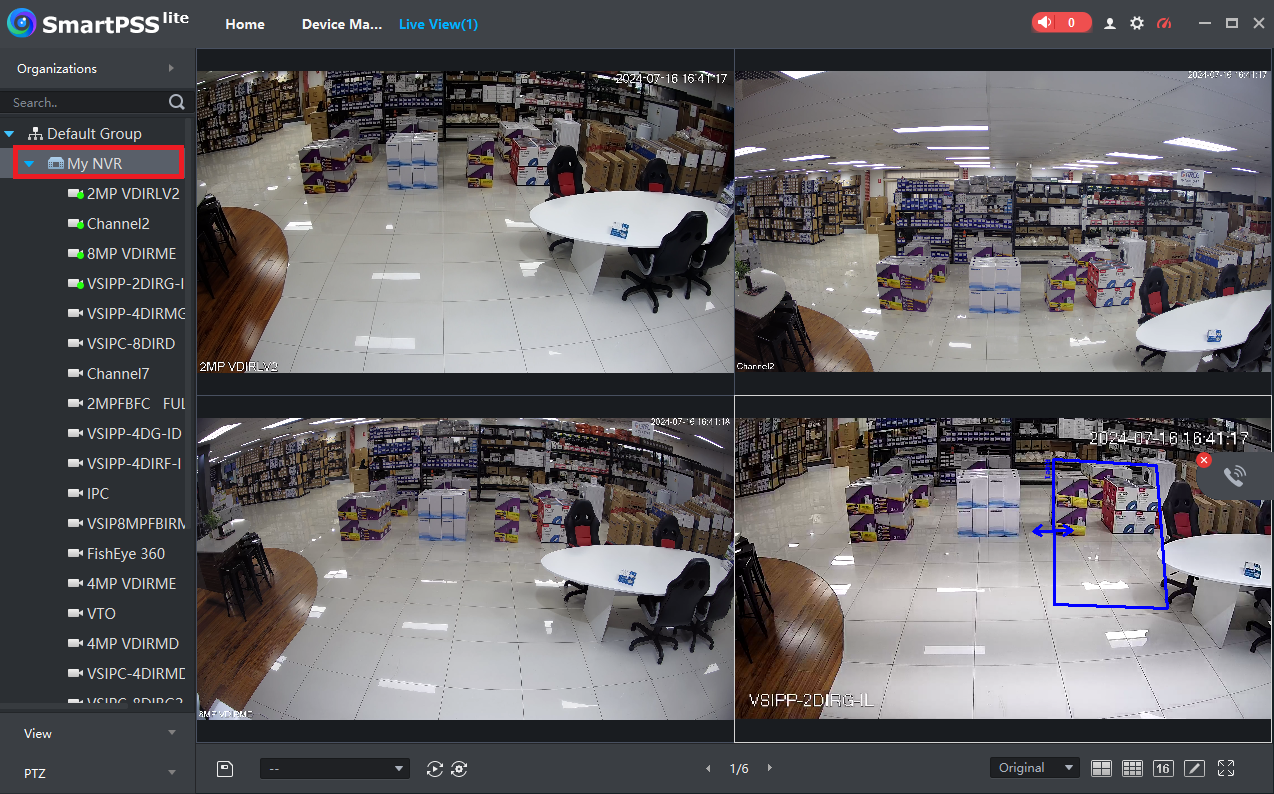
4. Select the "NVR" you want to live view and then choose the "cameras".
Zero Channel
On Some Models of Recorder, there is ‘Zero Chanell’ Which is what is currently being Displayed on the Main Monitor of the Recorder.
You can also change the splits of what is being displayed on the Main Monitor.
1. Go to Live View on smart pss lite.
2. Right Click on Device you want to View.
3. Zero Channel, Which Split you want, then Channel number.


How to Playback Footage
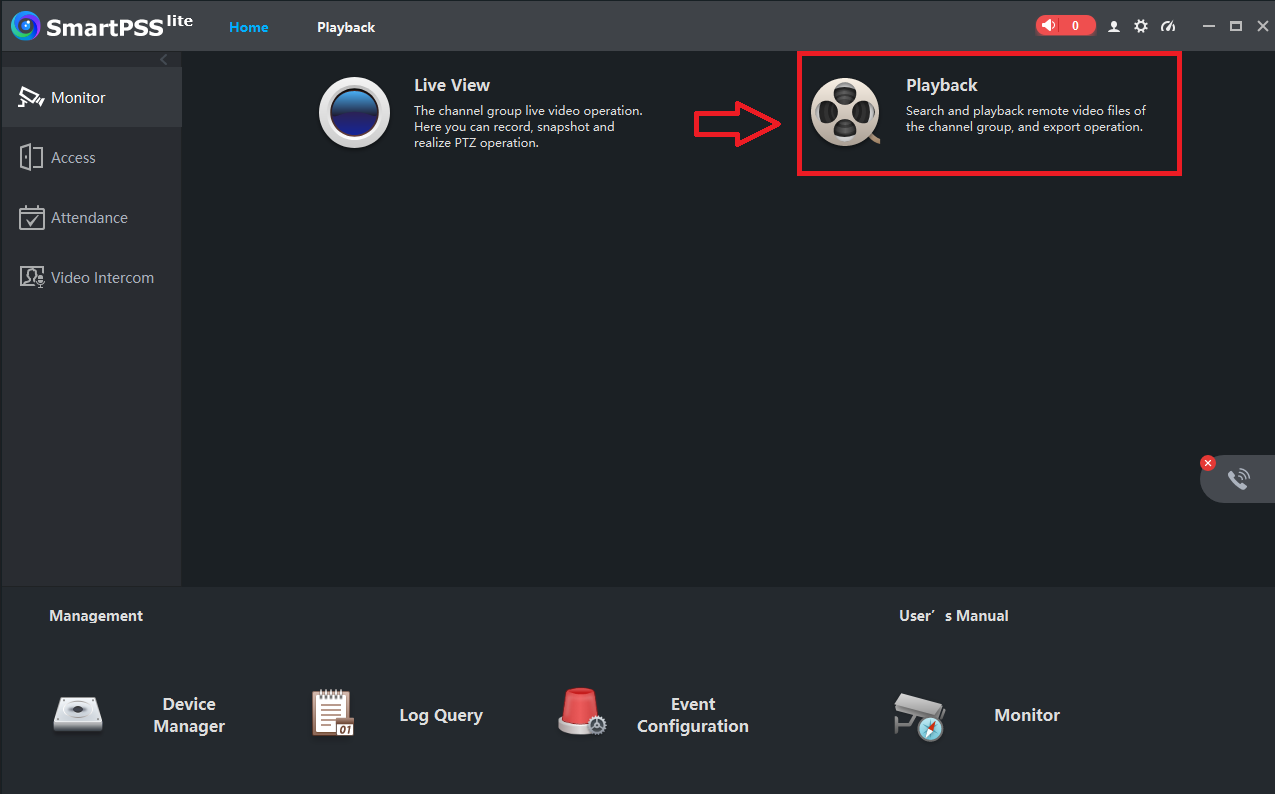
1. Select Playback from the "home page".
2. Now you need to choose, the NVR and the cameras for playback, and also the date and time to be searched.
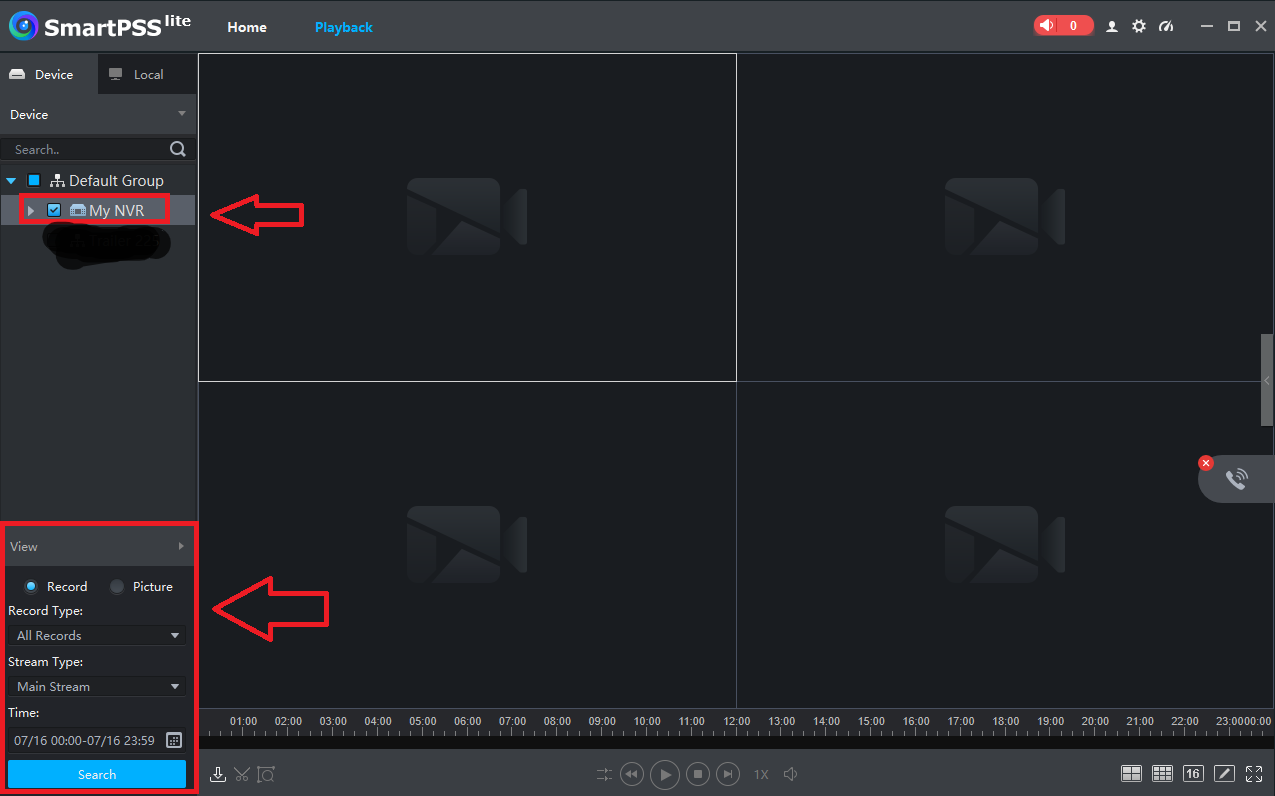
3. once all the required details are entered click on “search”.
How to Backup Footage
After your footage starts playing, you can find the "scissors icon" in the bottom left corner.
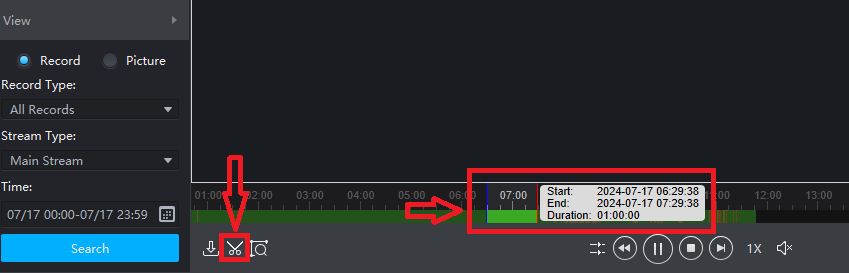
Using this tool pre-selects one hour of footage on the timeline. You can adjust the start and end times by clicking and dragging the red box. Once you've set the desired time, click the scissors icon again to make the cut. A backup window will then appear, prompting you to choose where to export the file.

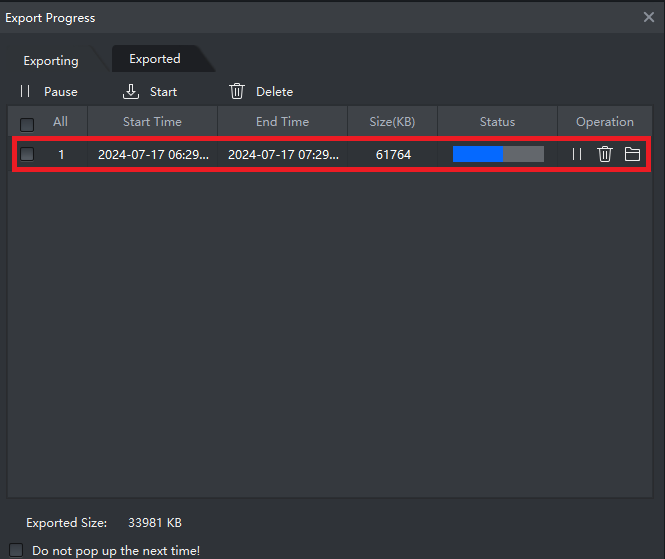
Once the selection is done, it will bring up a menu, where it shows the progress of the Backup.