To configure remote access on the INTIPADSD, you will need two apps; DMSS & DMSS VDP.
One phone will need to be configured as the "Building Manager". This phone will have DMSS VDP installed and is used to add/remove access for other phones. The "tenants" of the building will use the DMSS app. The Building manager must provide access to the tenants via the DMSS VDP app.
The INTIPADSD must also be on 2022-04-01 Firmware or newer. The latest firmware for the INTIPADSD can be found here.
 |
DMSS VDP Android iOS The DMSS VDP app is installed on the Building Manager's phone. The DMSS VDP app is used to assign DMSS accounts to each Apartment/Intercom Monitor. |
 |
DMSS Android iOS The DMSS app is installed on the tenant's phone. |
Step 1 - Install DMSS VDP on the Building Manager's phone and create an account.
 |
Install DMSS VDP. It can be found in the Play Store for Android and the App Store for iOS. Then open the app. |
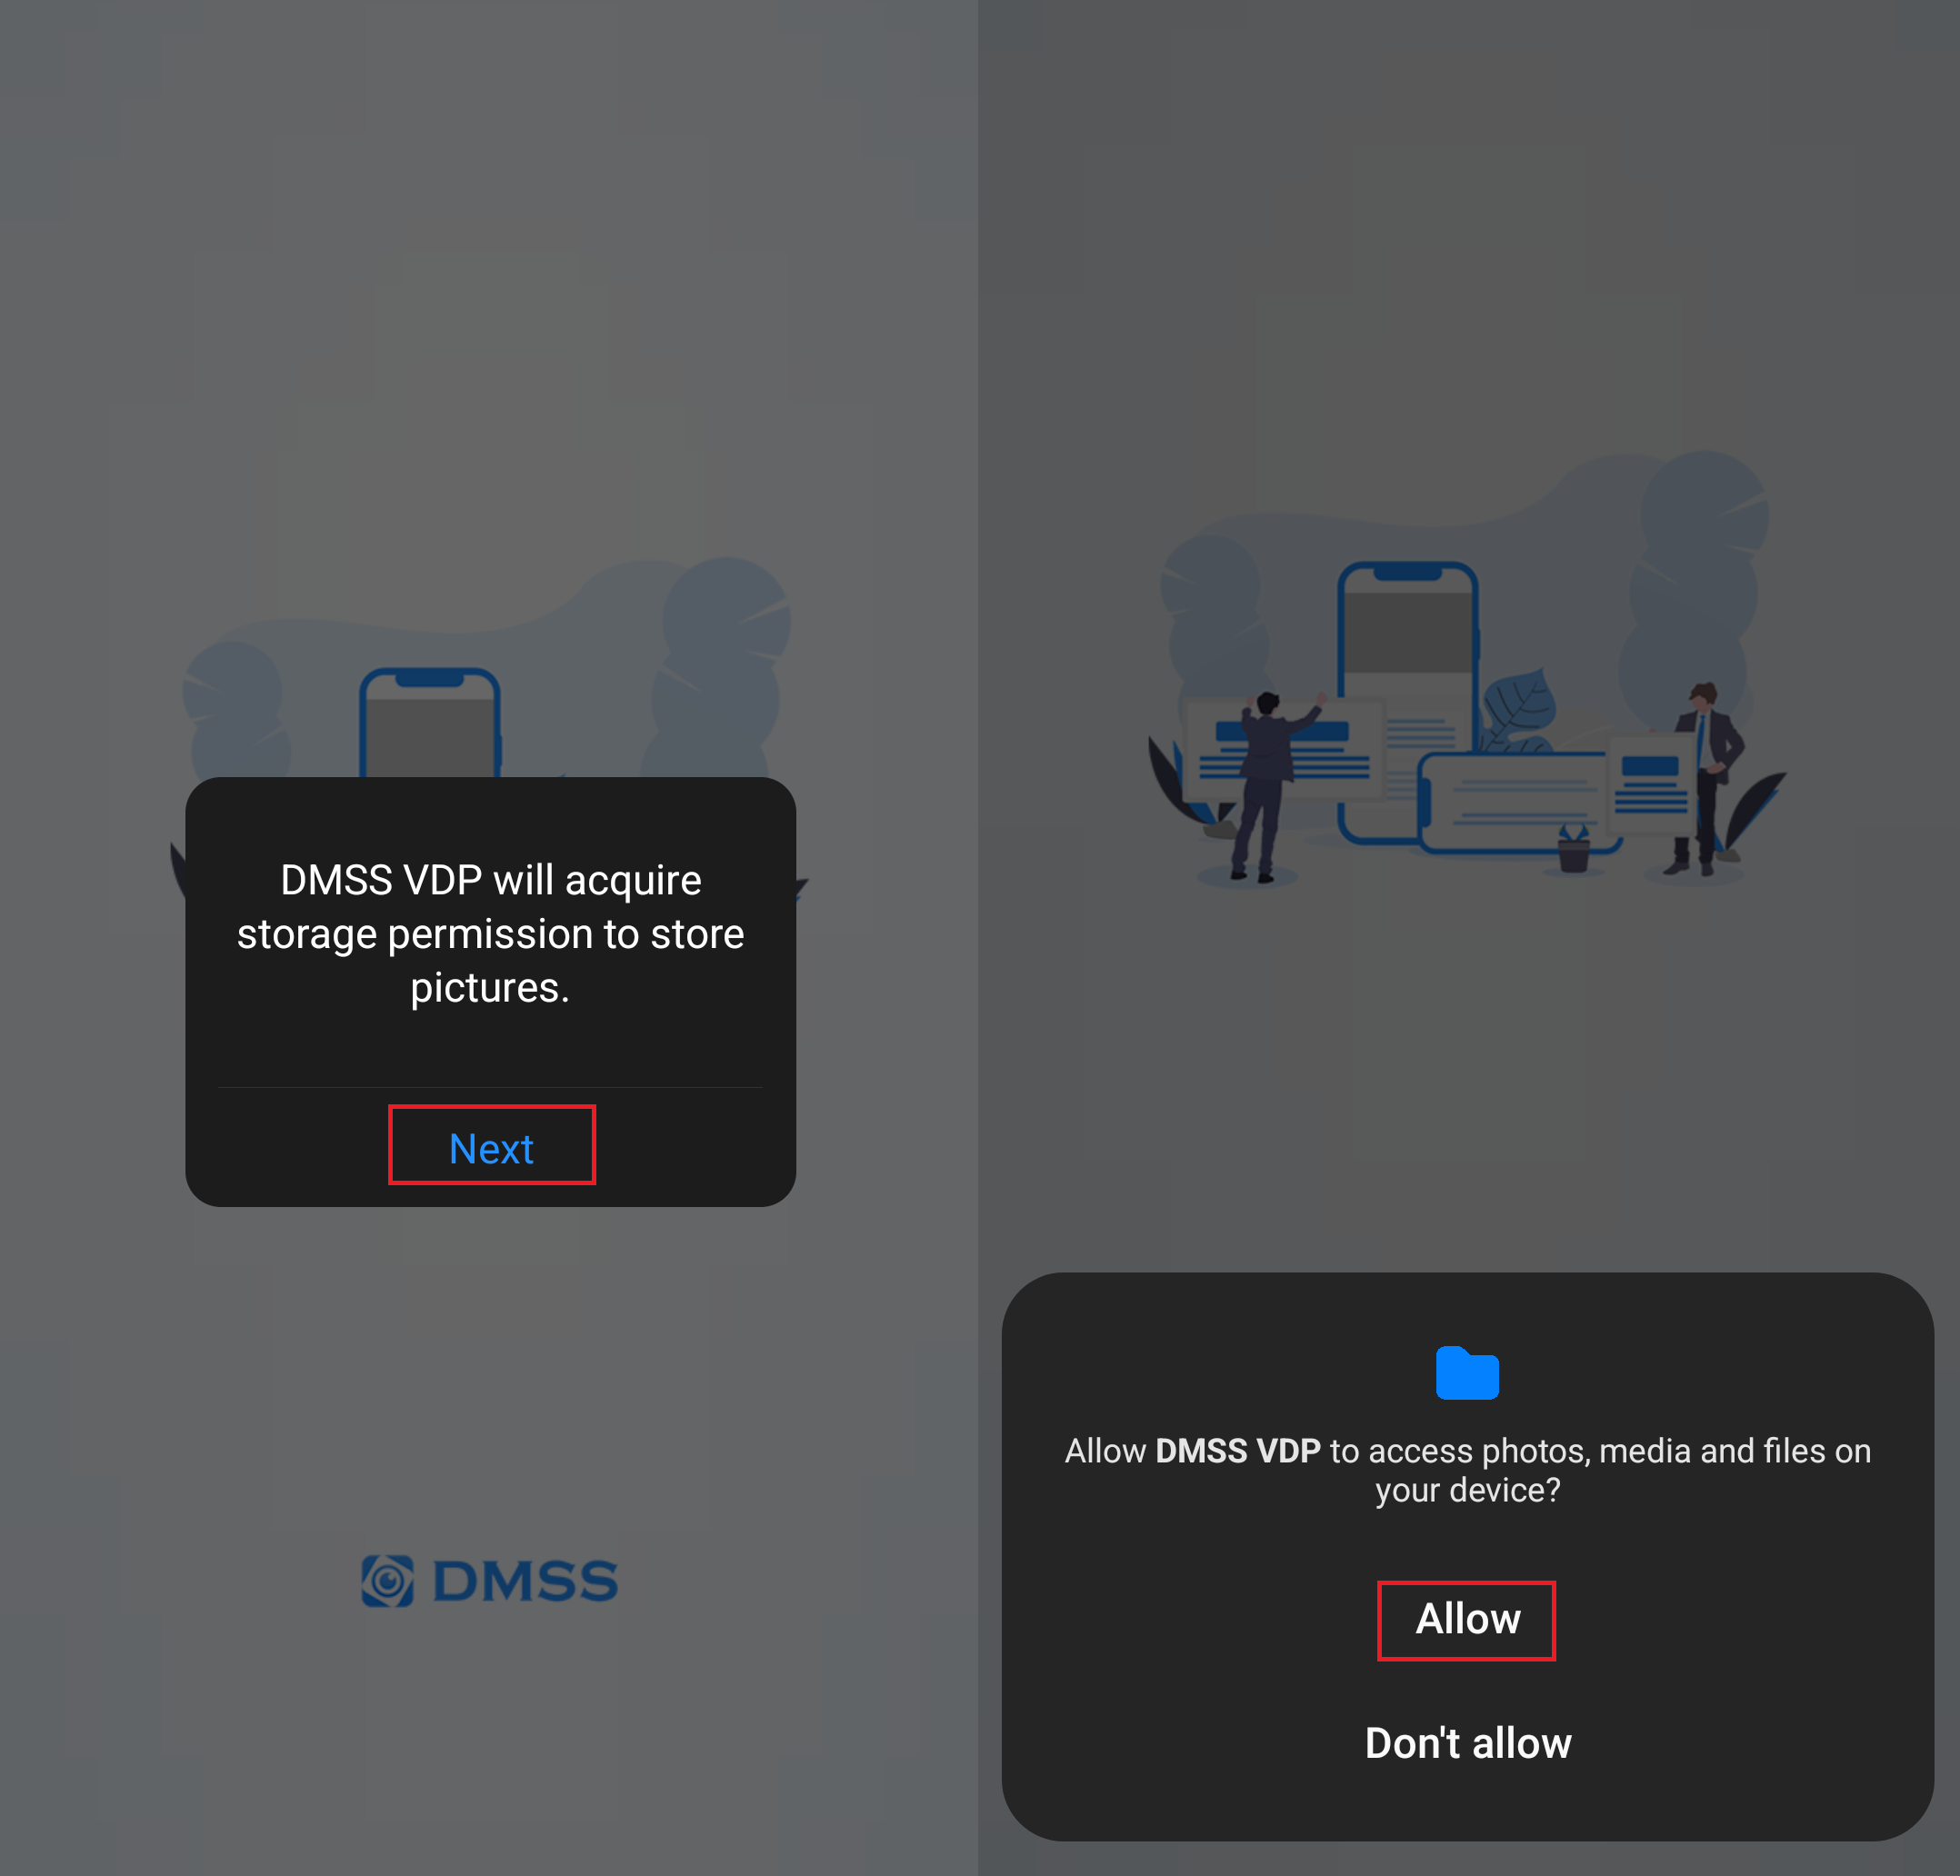 |
Allow DMSS VDP to store pictures if prompted. |
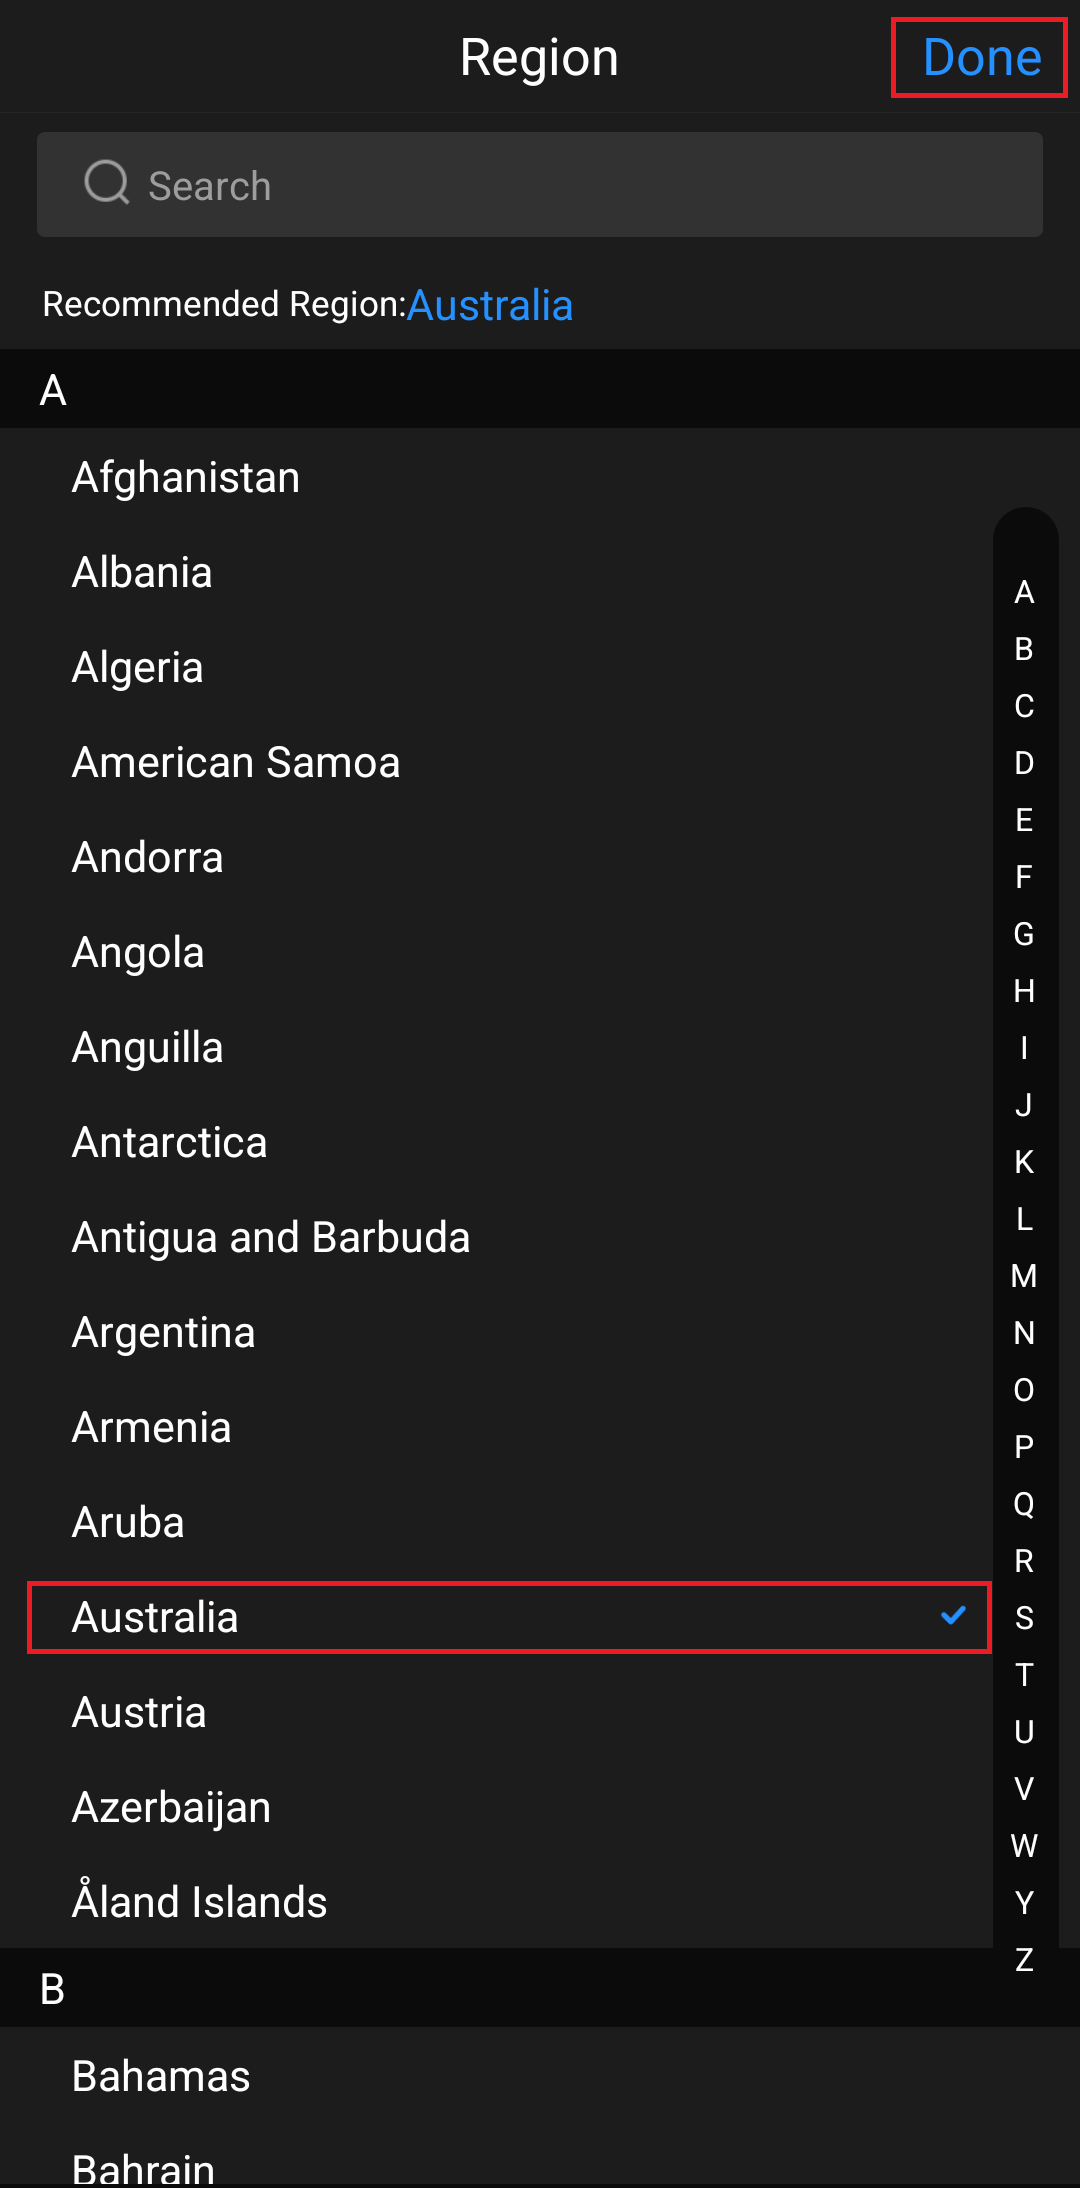 |
Select your Country, then tap Next. |
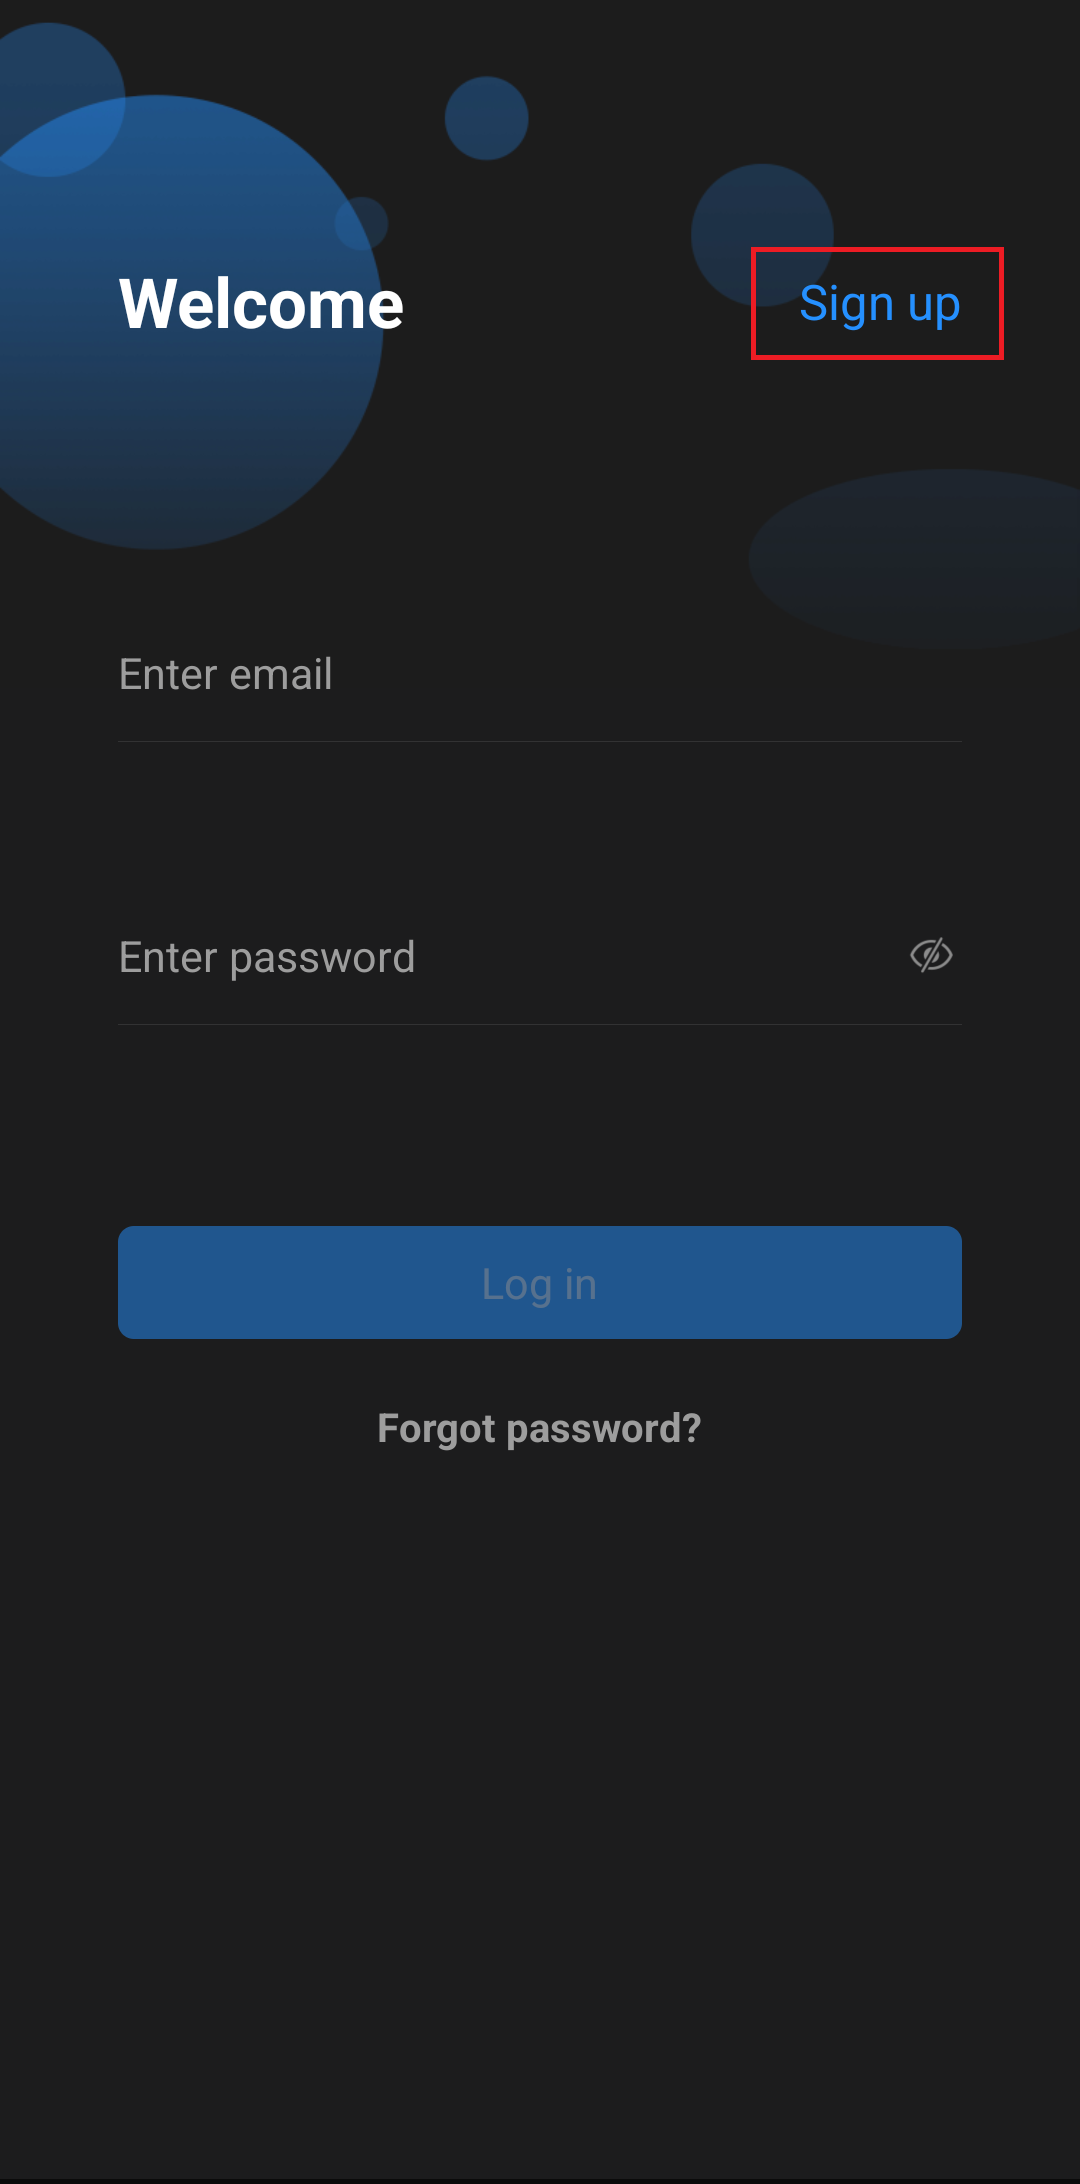 |
Tap Sign Up. |
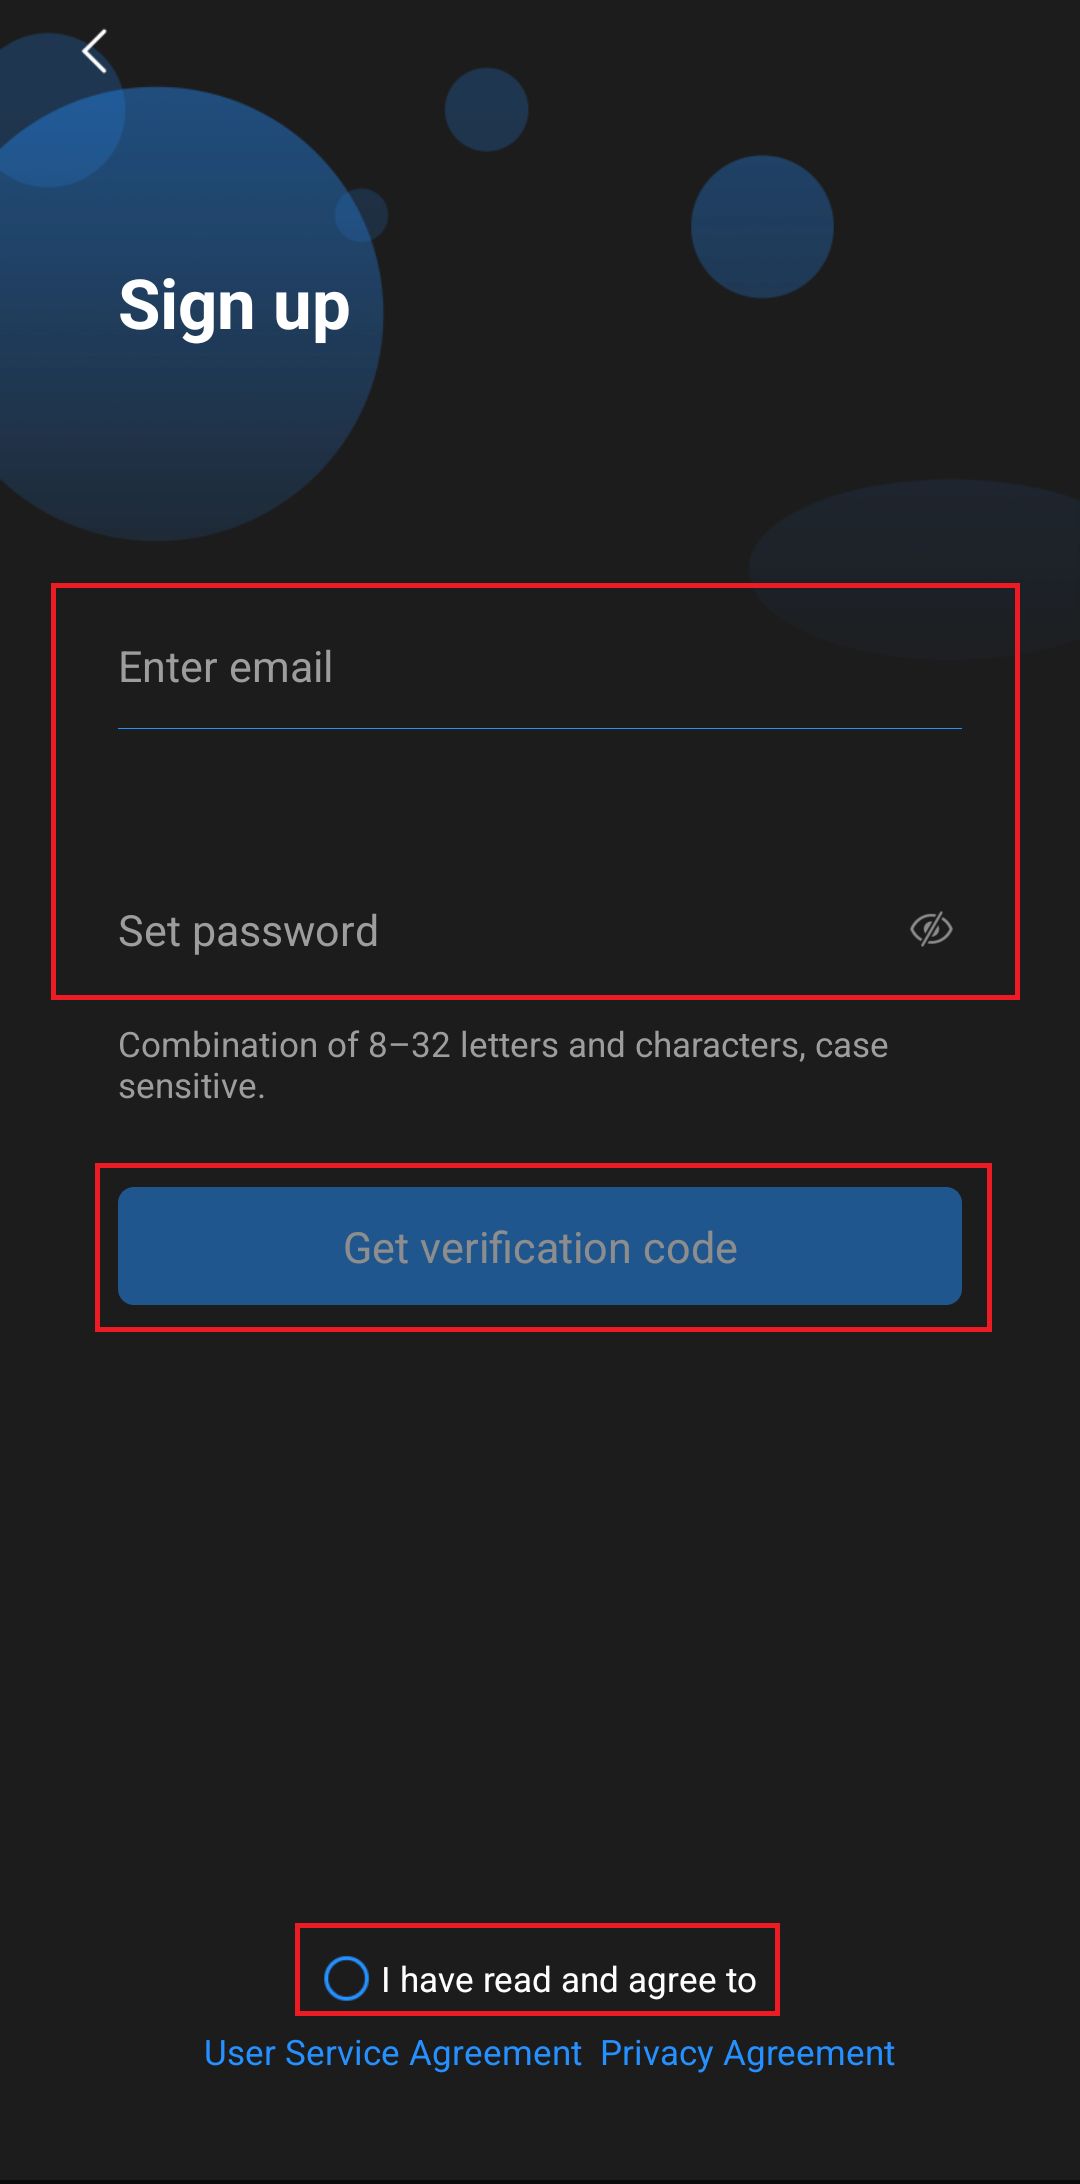 |
|
 |
Enter the Verification code emailed to you, then tap OK. |
 |
Enter the Email address and Password you used to create an account, then click Log in. |
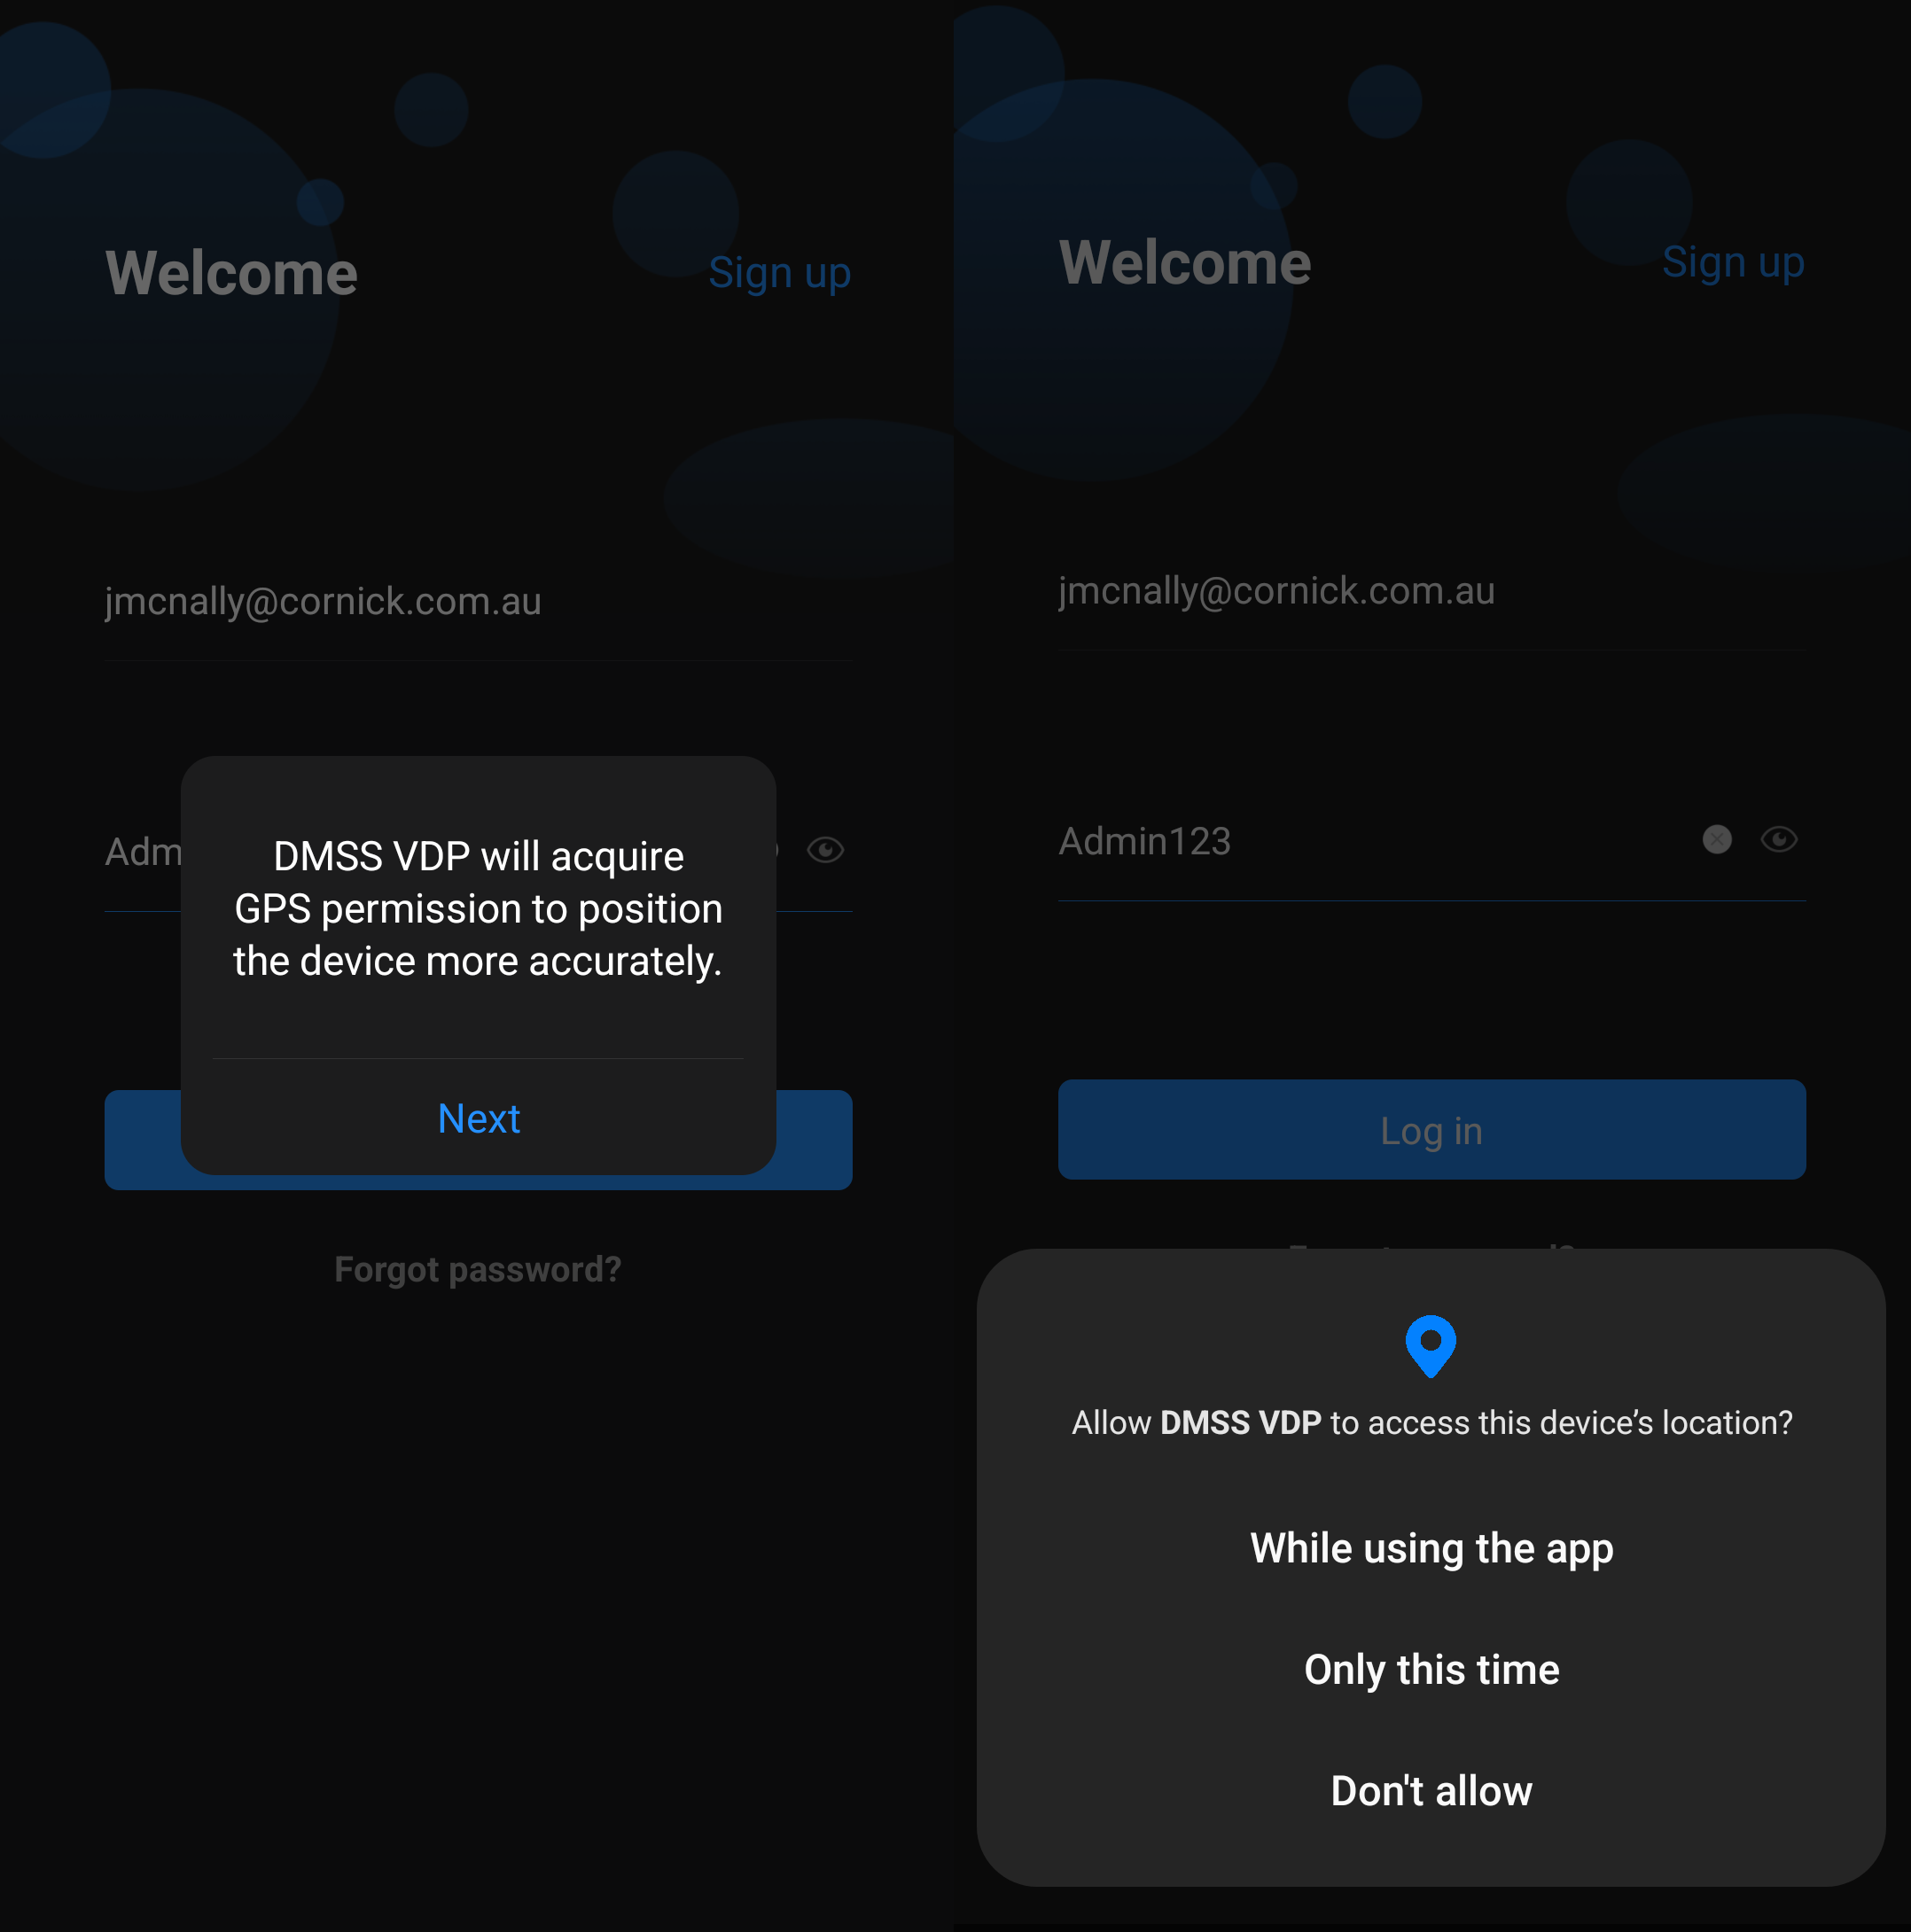 |
Allow DMSS VDP to access GPS Permission if prompted. |
Delete
Step 2 - Add the Door Station to DMSS VDP
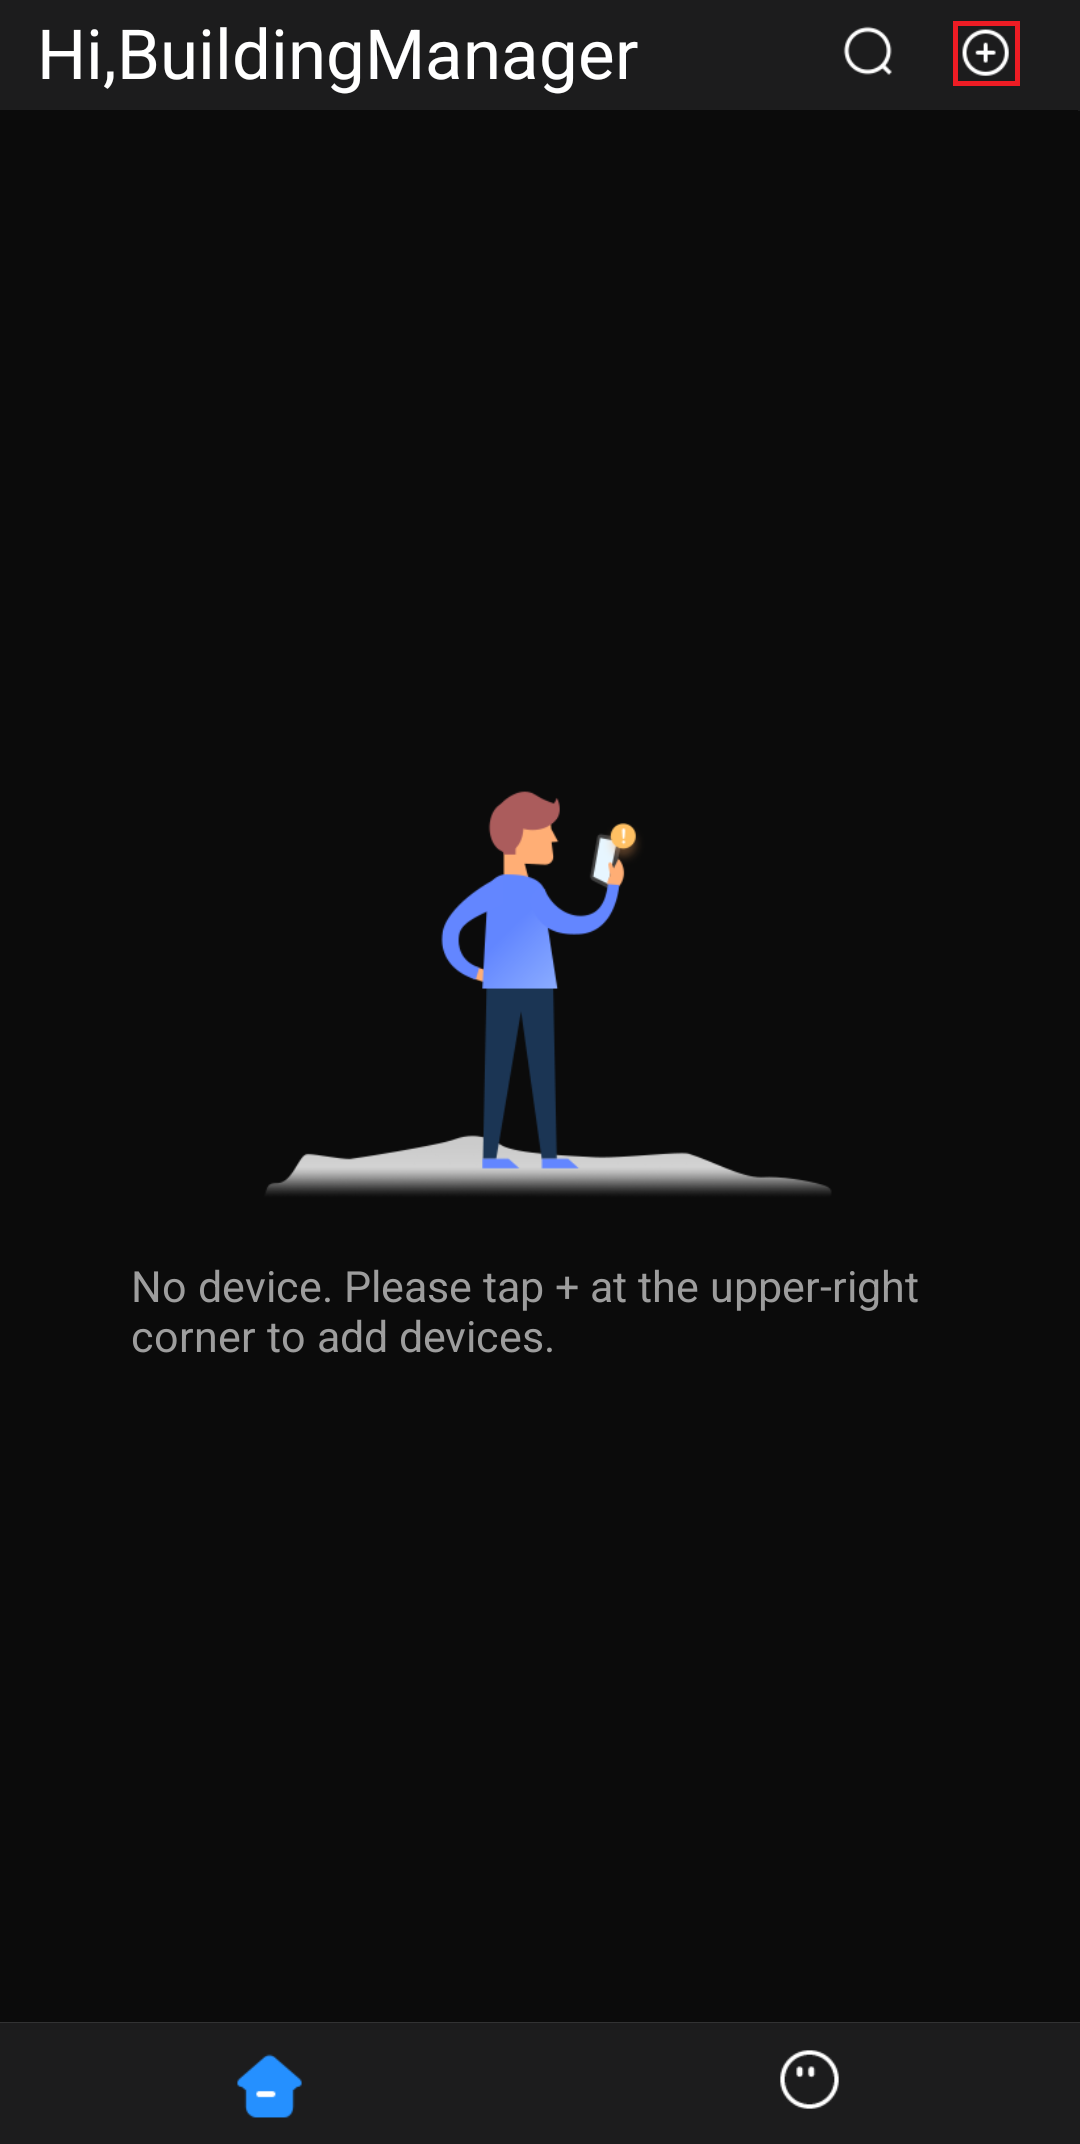 |
Click the + icon. |
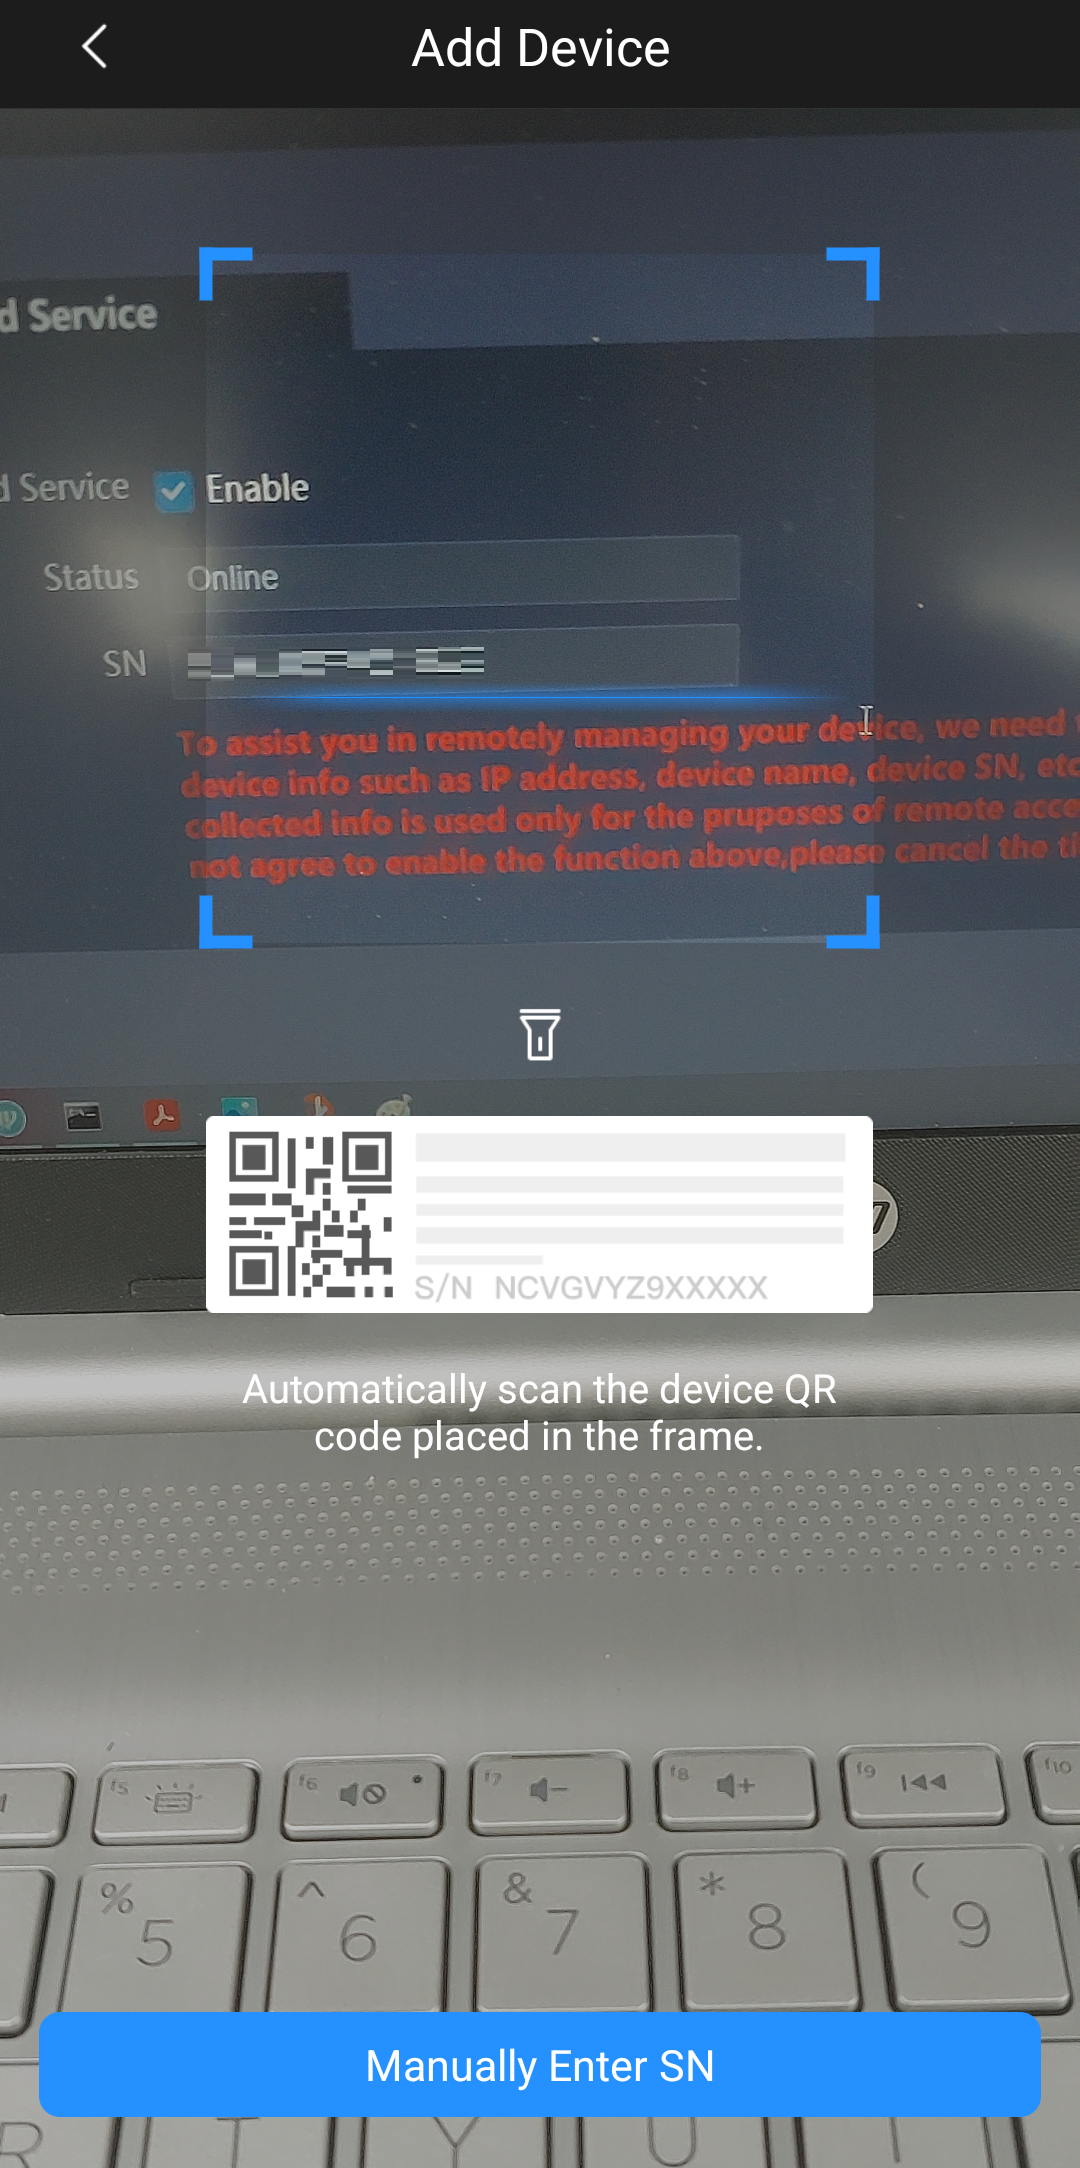 |
Scan the QR code located in the Door Stations Web Interface under Network > Basic. If there is no QR code, click Manually Enter SN, them type in the S/N of the Door Station. |
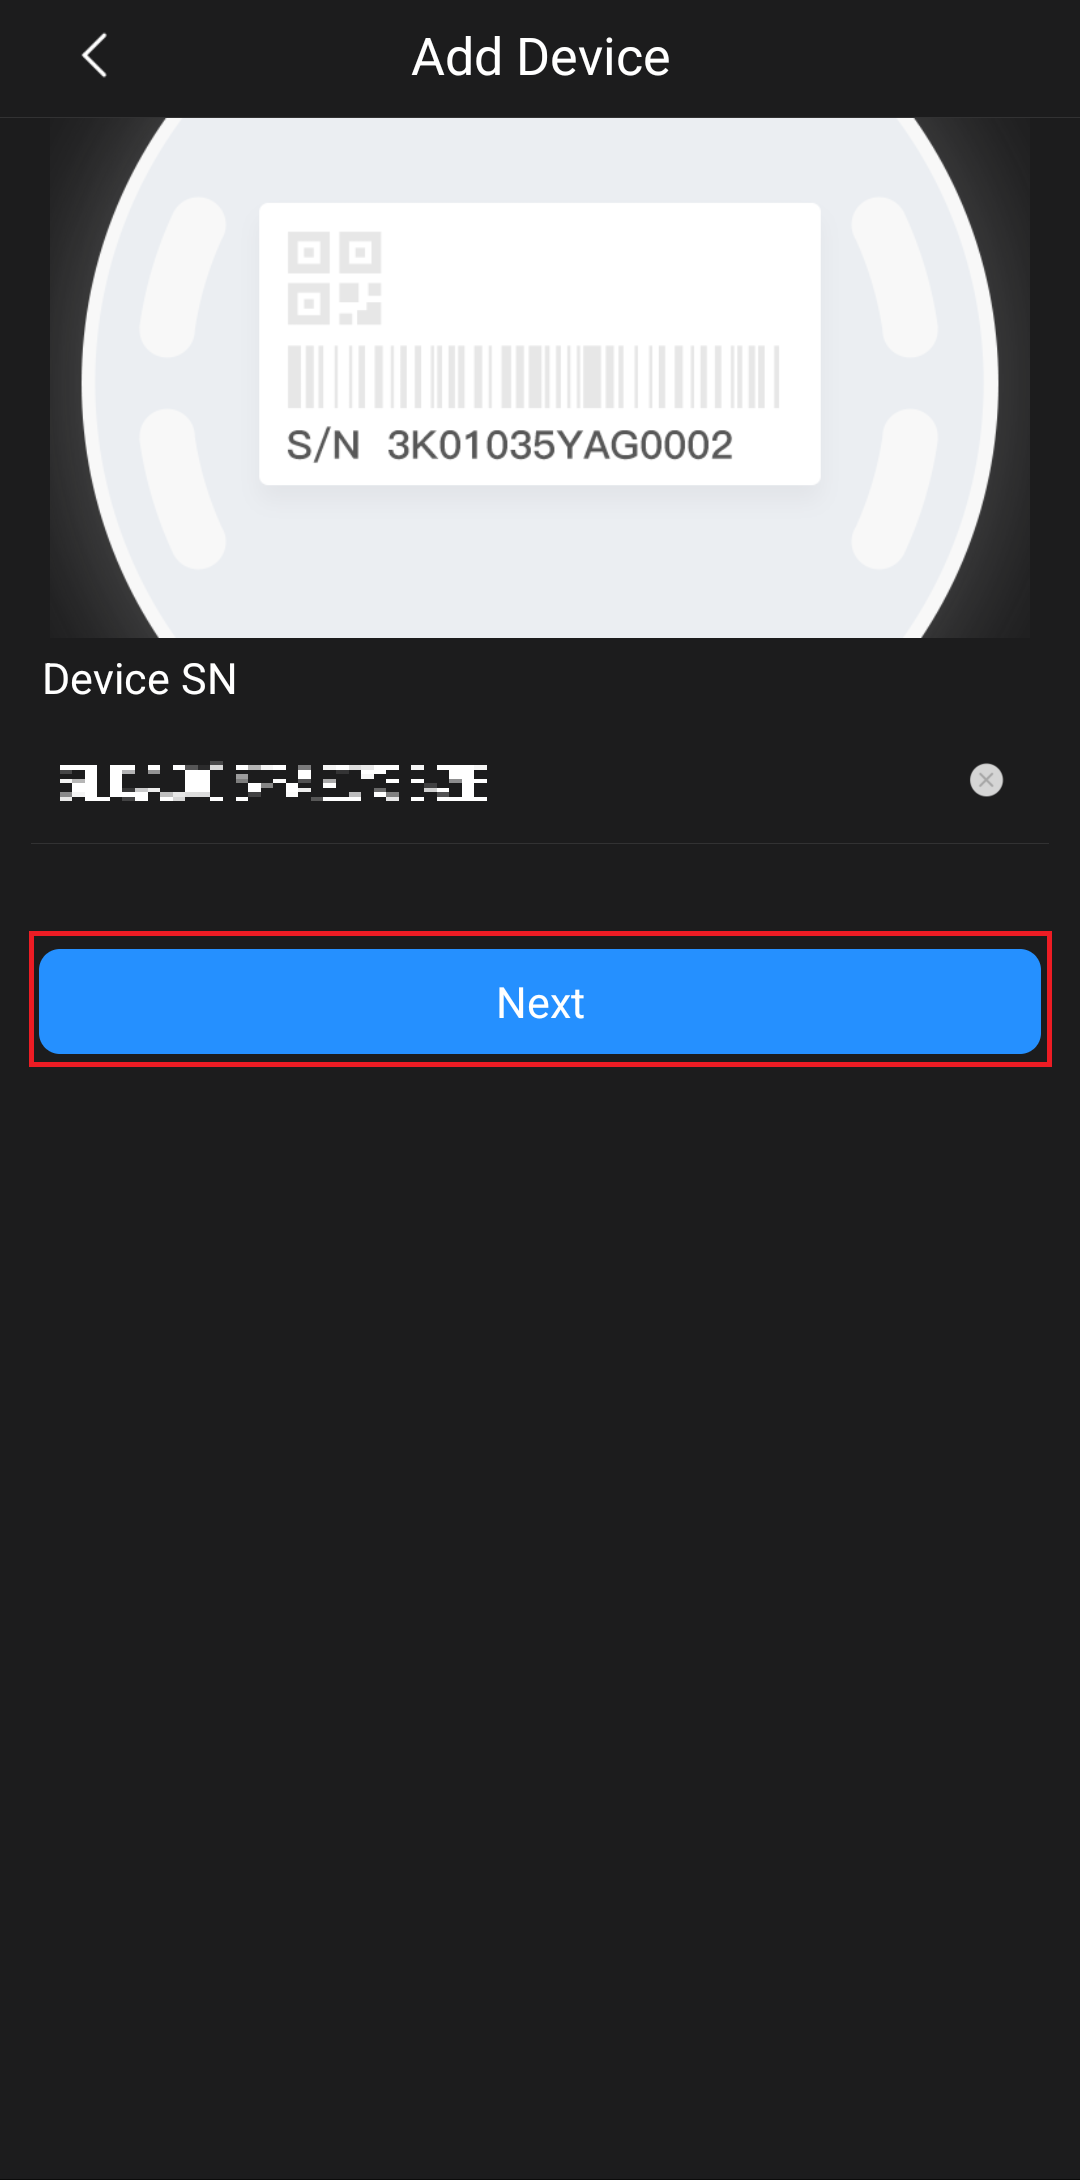 |
Confirm the S/N is correct, then tap Next. |
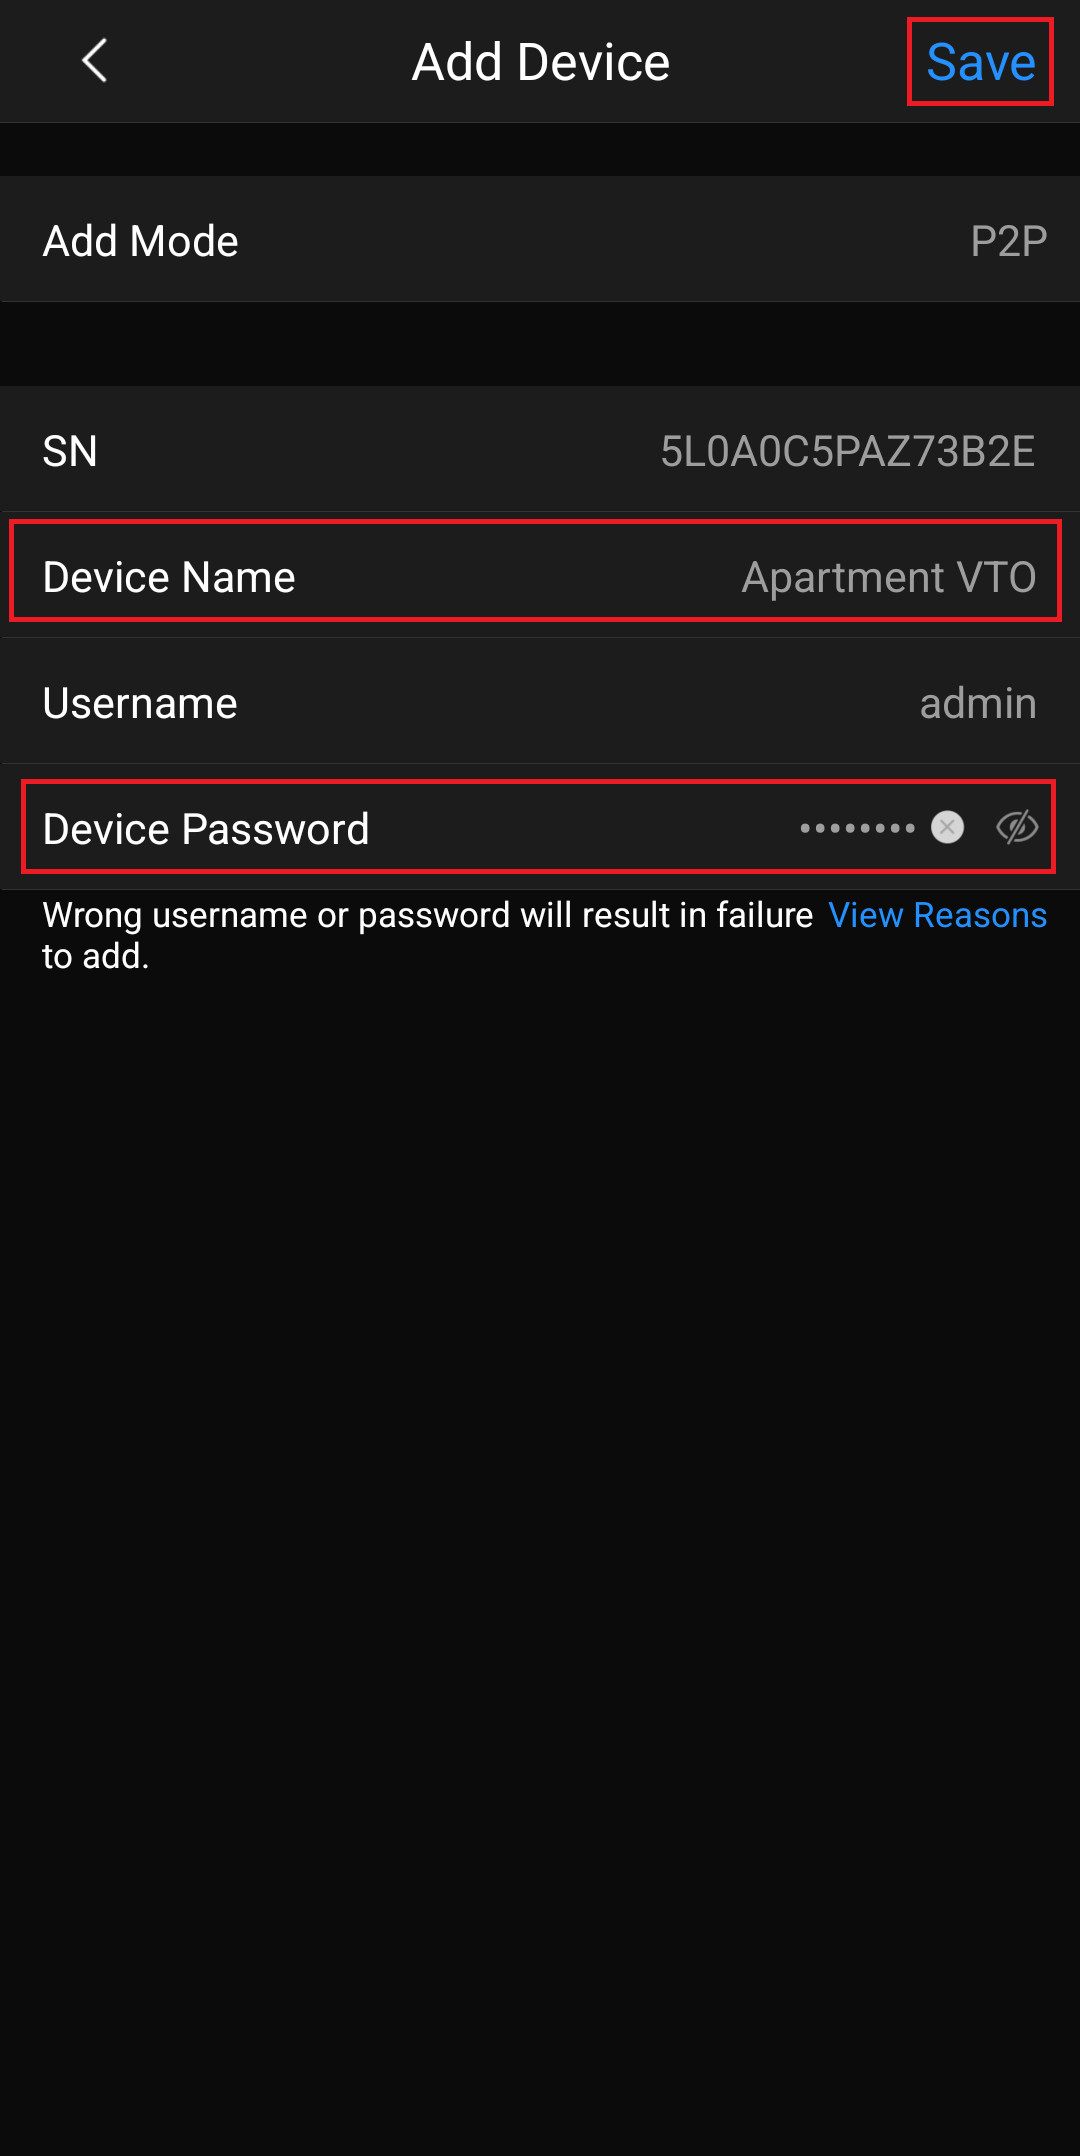 |
Enter a Device Name and Device Password, the click Save. |
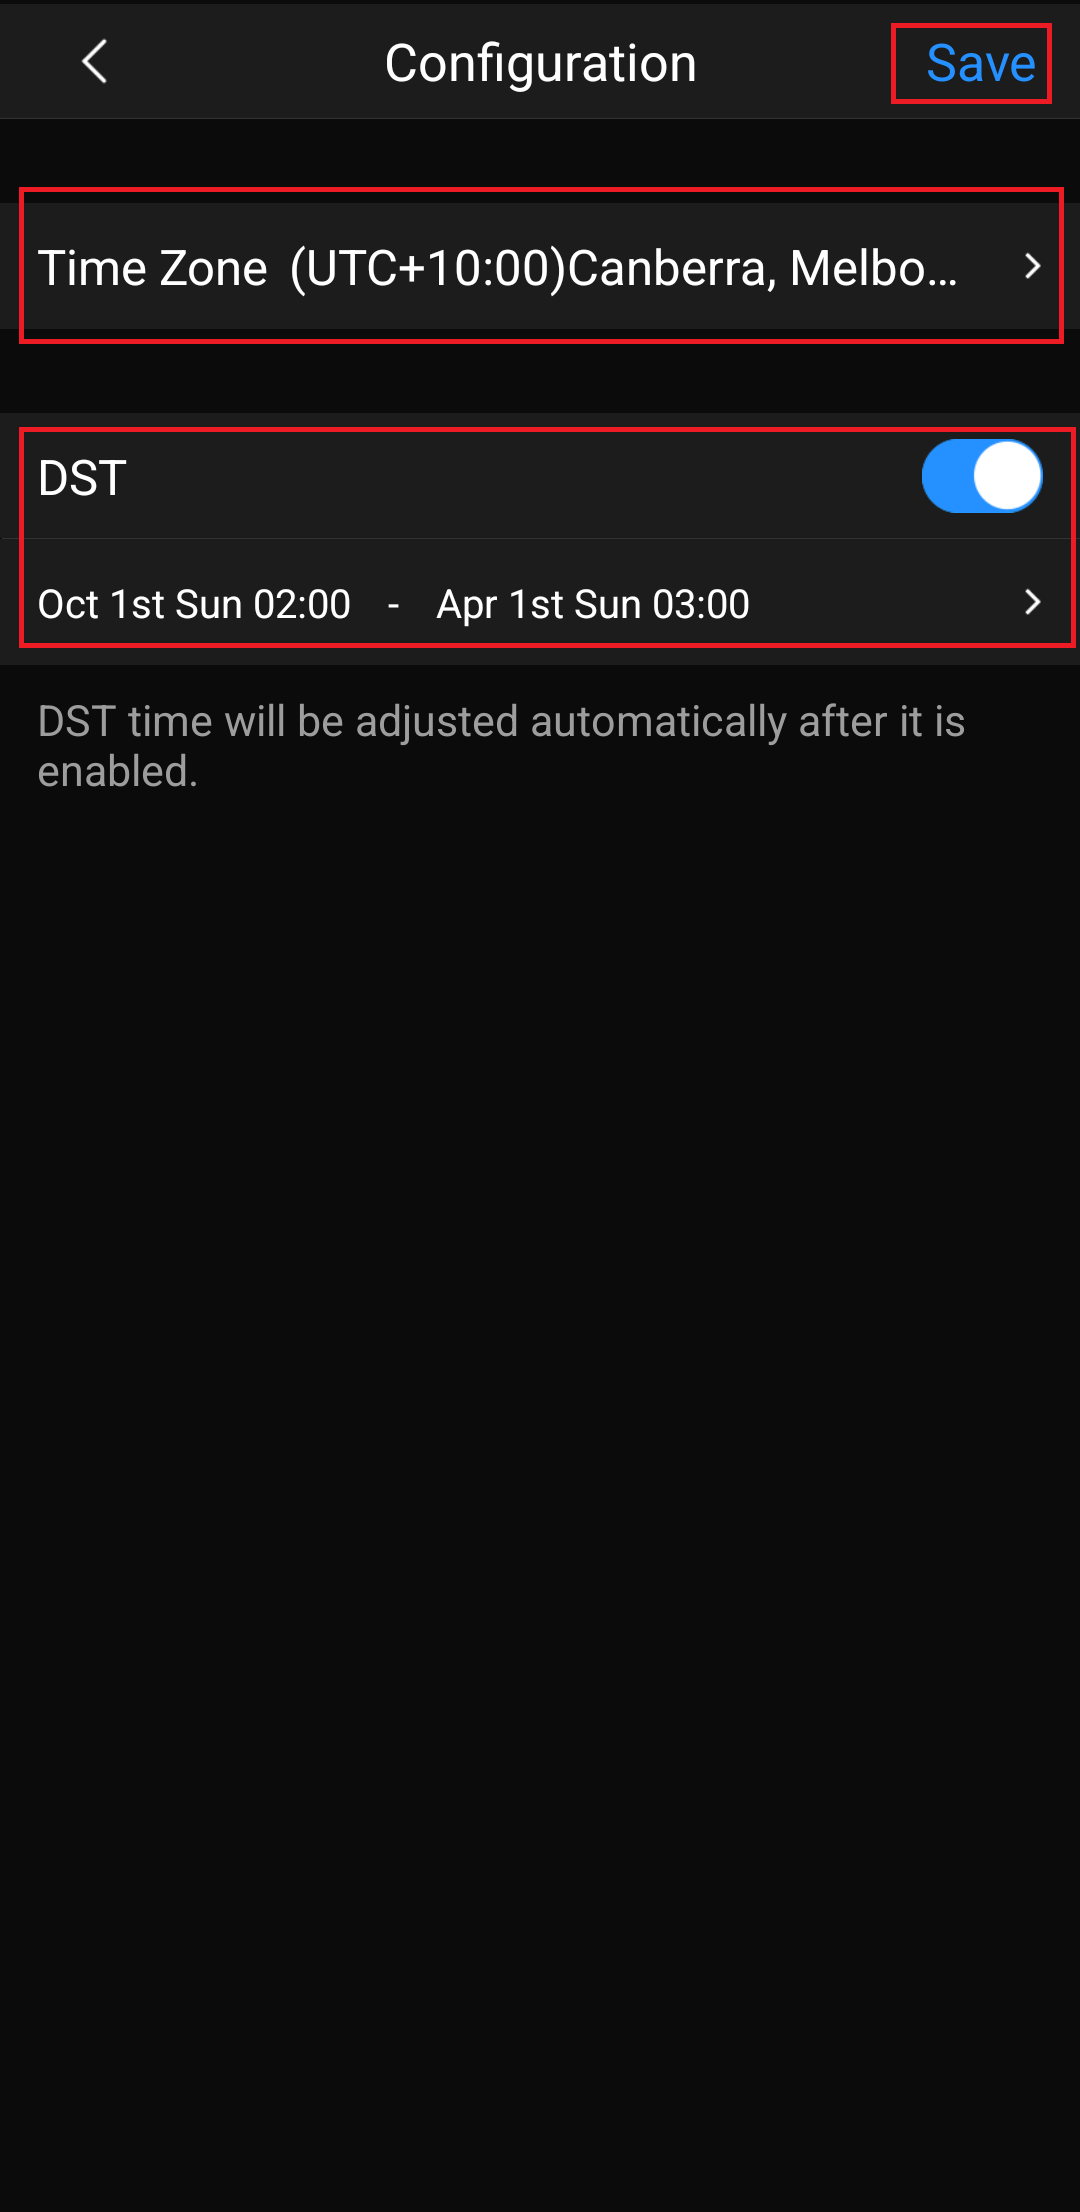 |
Set the Time Zone & DST (If applicable), then tap Save. |
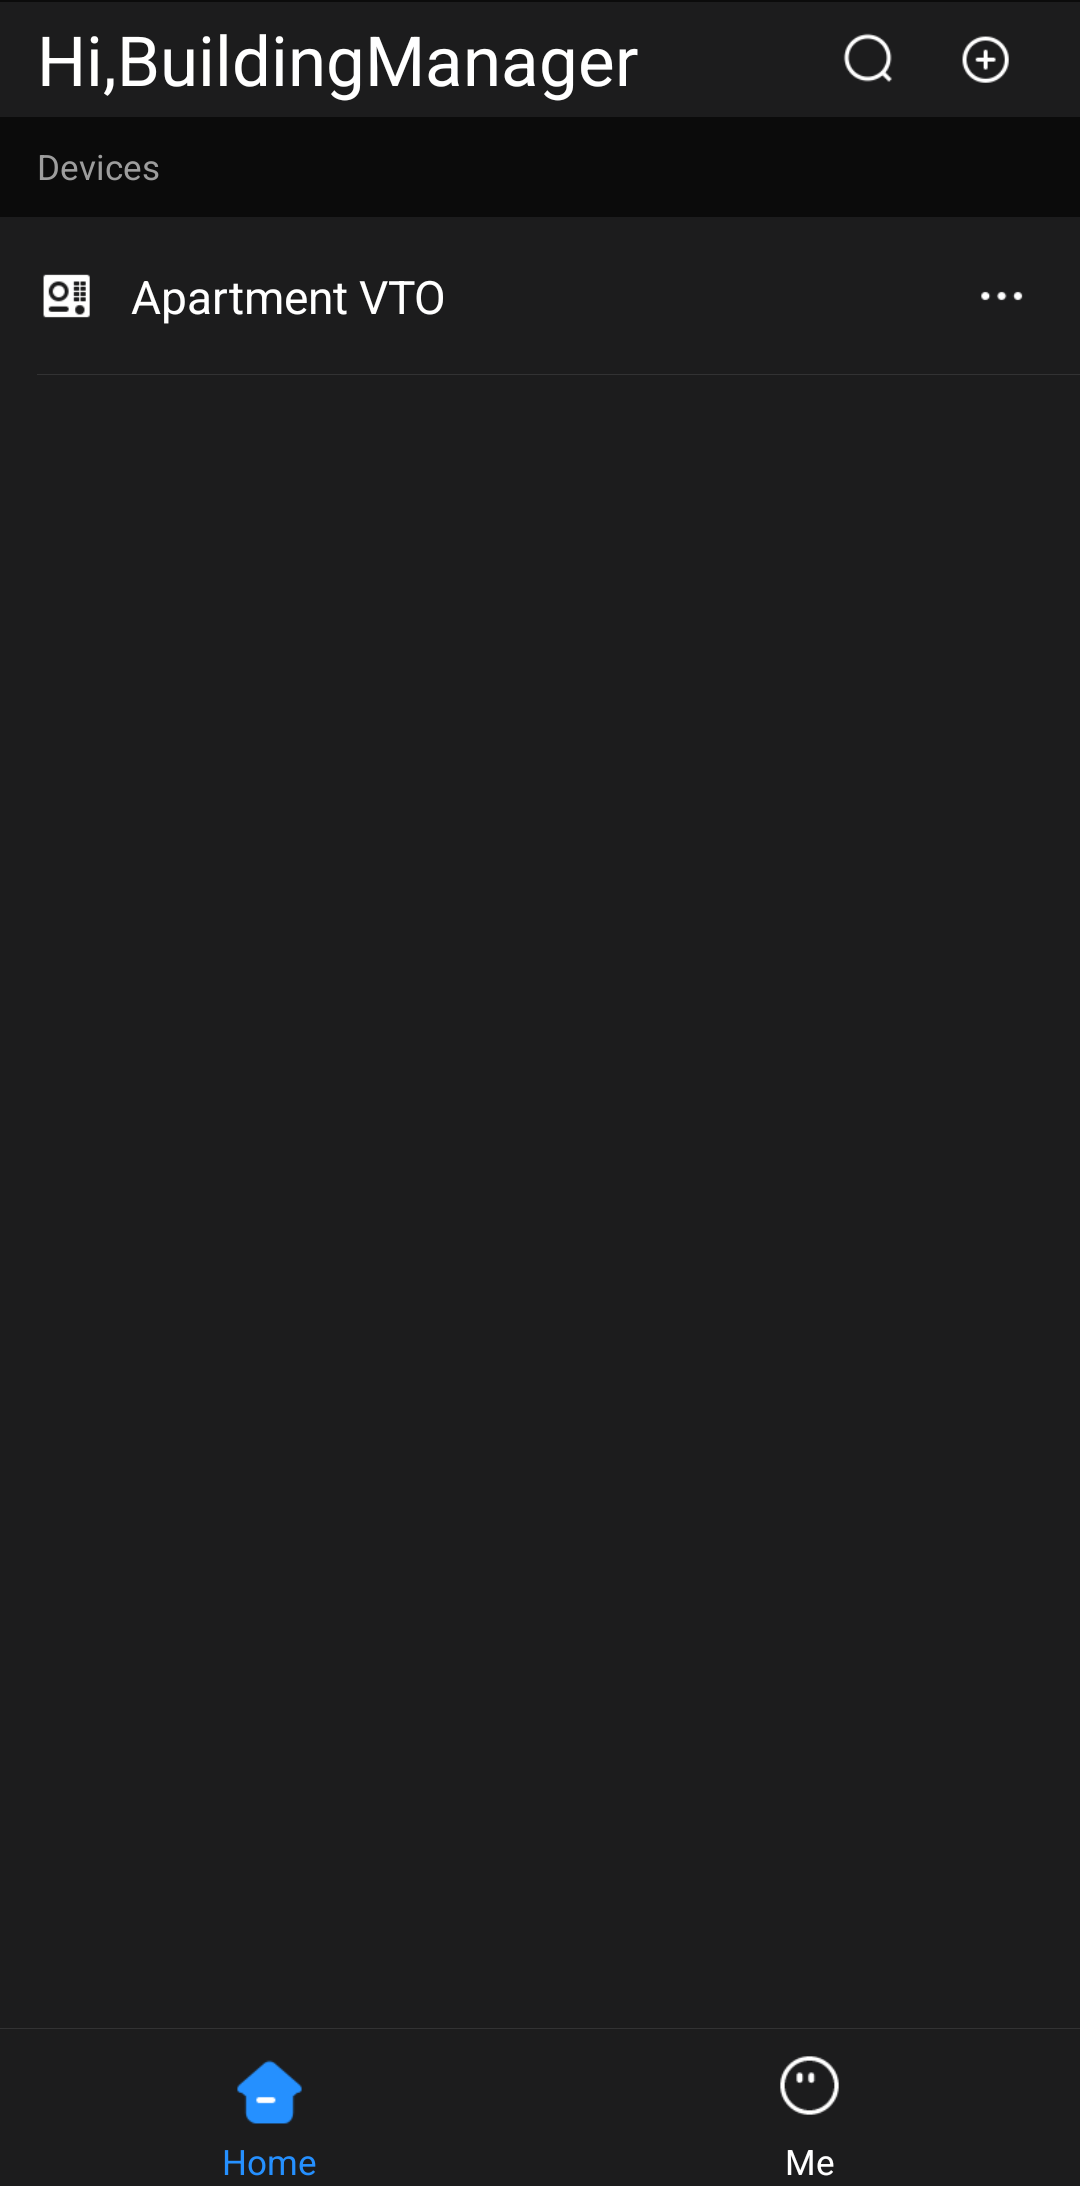 |
You will now see the Door Station listed under devices on the Home page of the DMSS VDP app. |
Step 3 - Install DMSS on the Tenant's phone and create an account
 |
Install DMSS on the Tenant's phone. It can be found in the Play Store for Android and the App Store for iOS. |
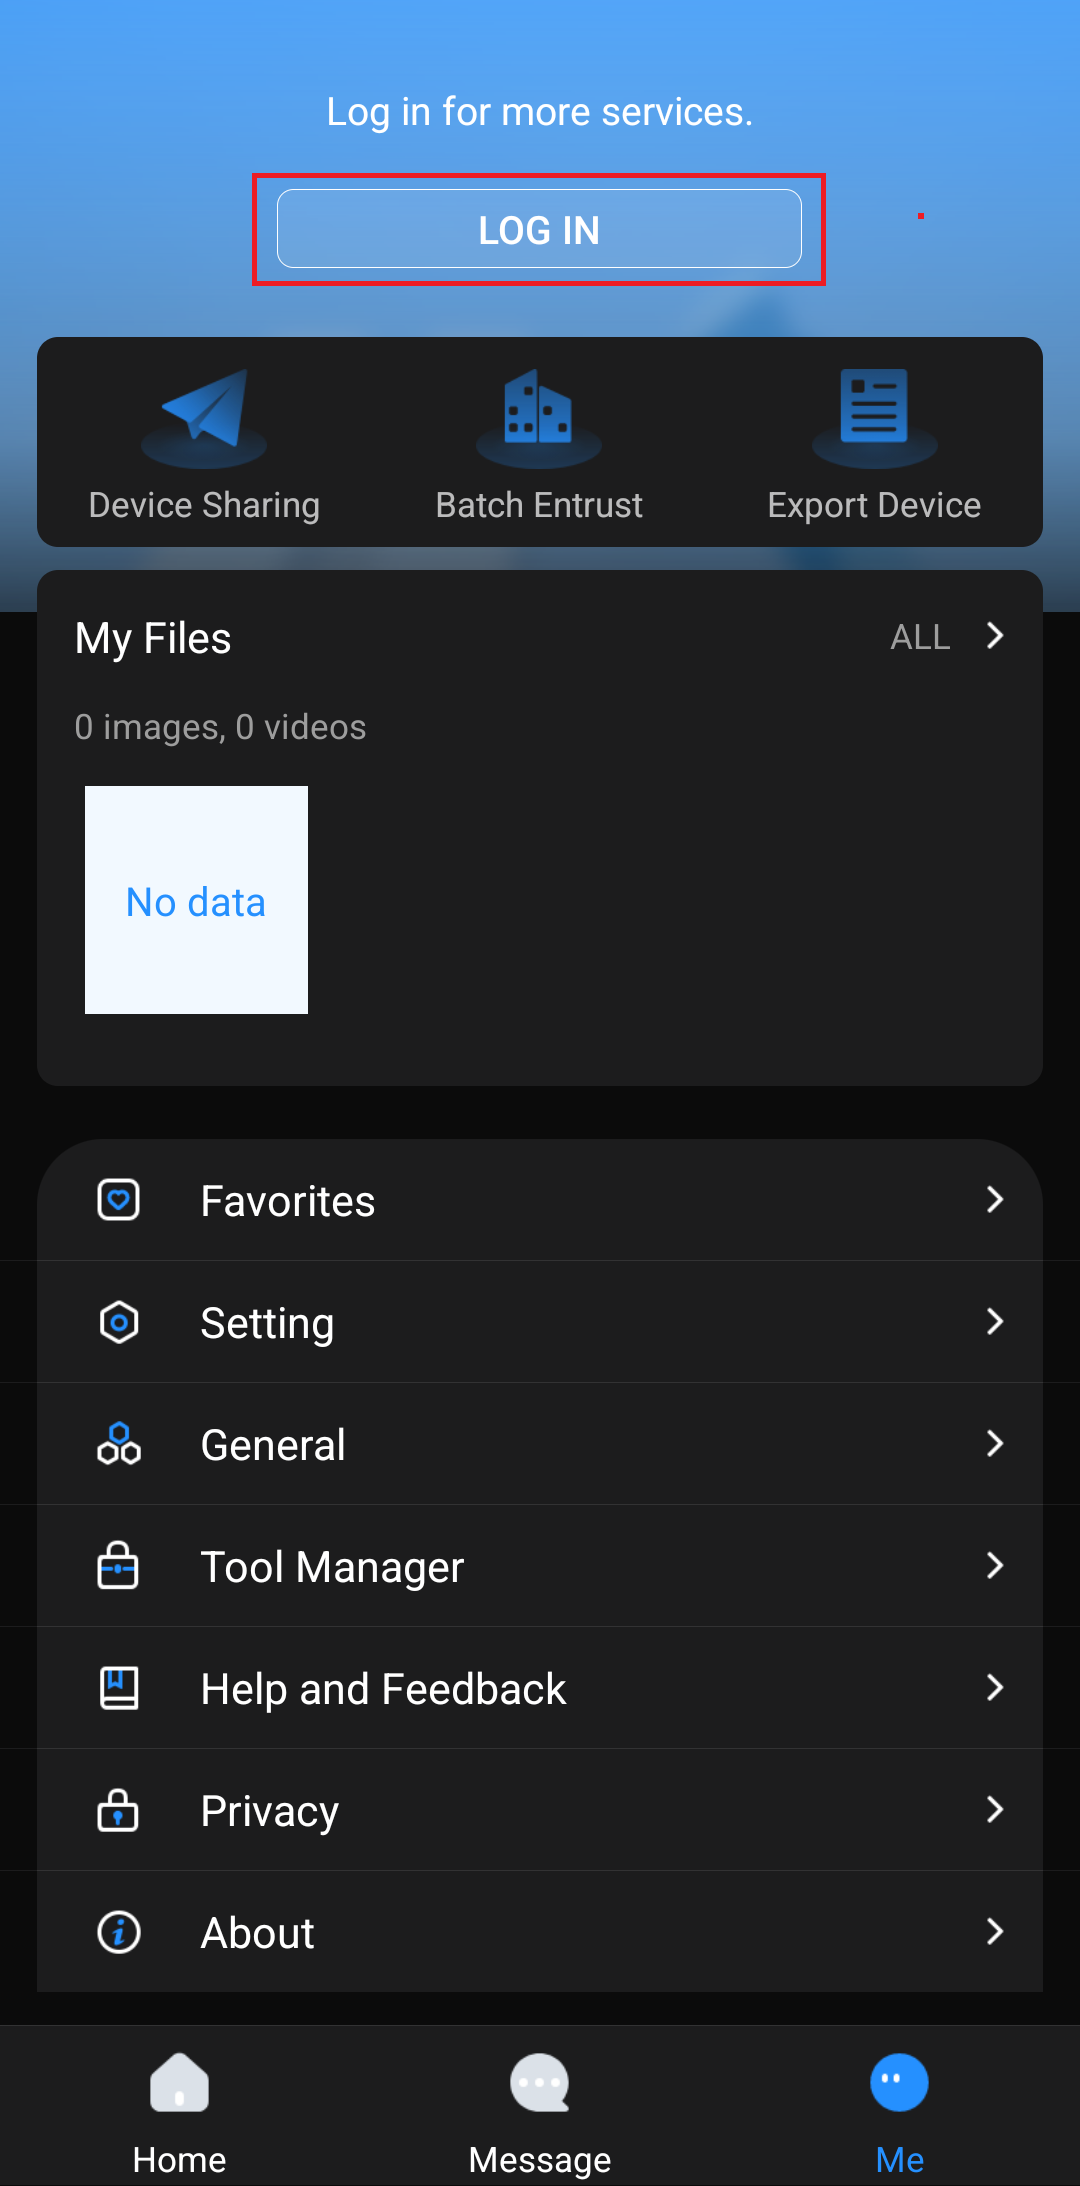 |
Open the App. Select a country and allow permissions if prompted. Then, tap on Me, then LOG IN. |
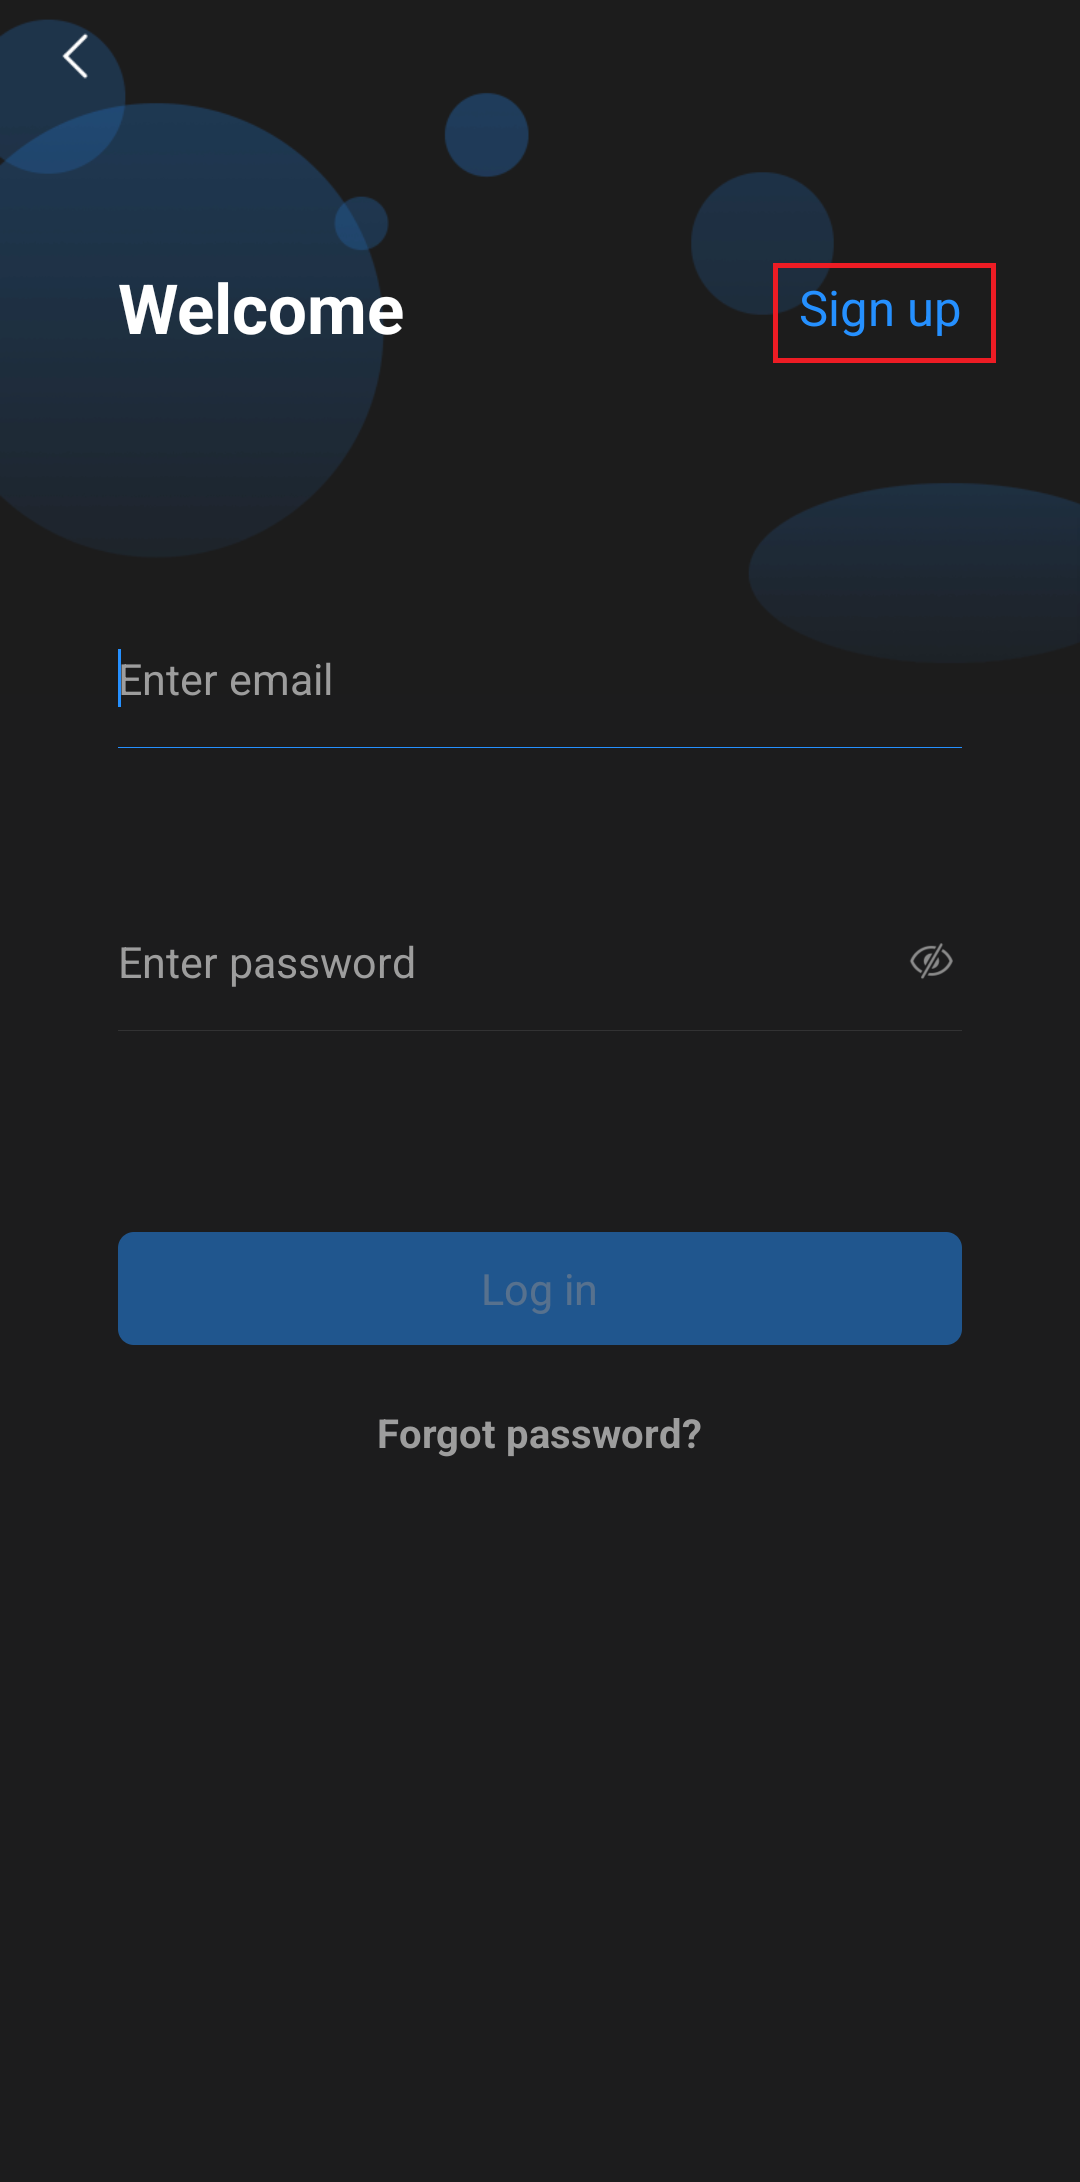 |
Tap on Sign Up. |
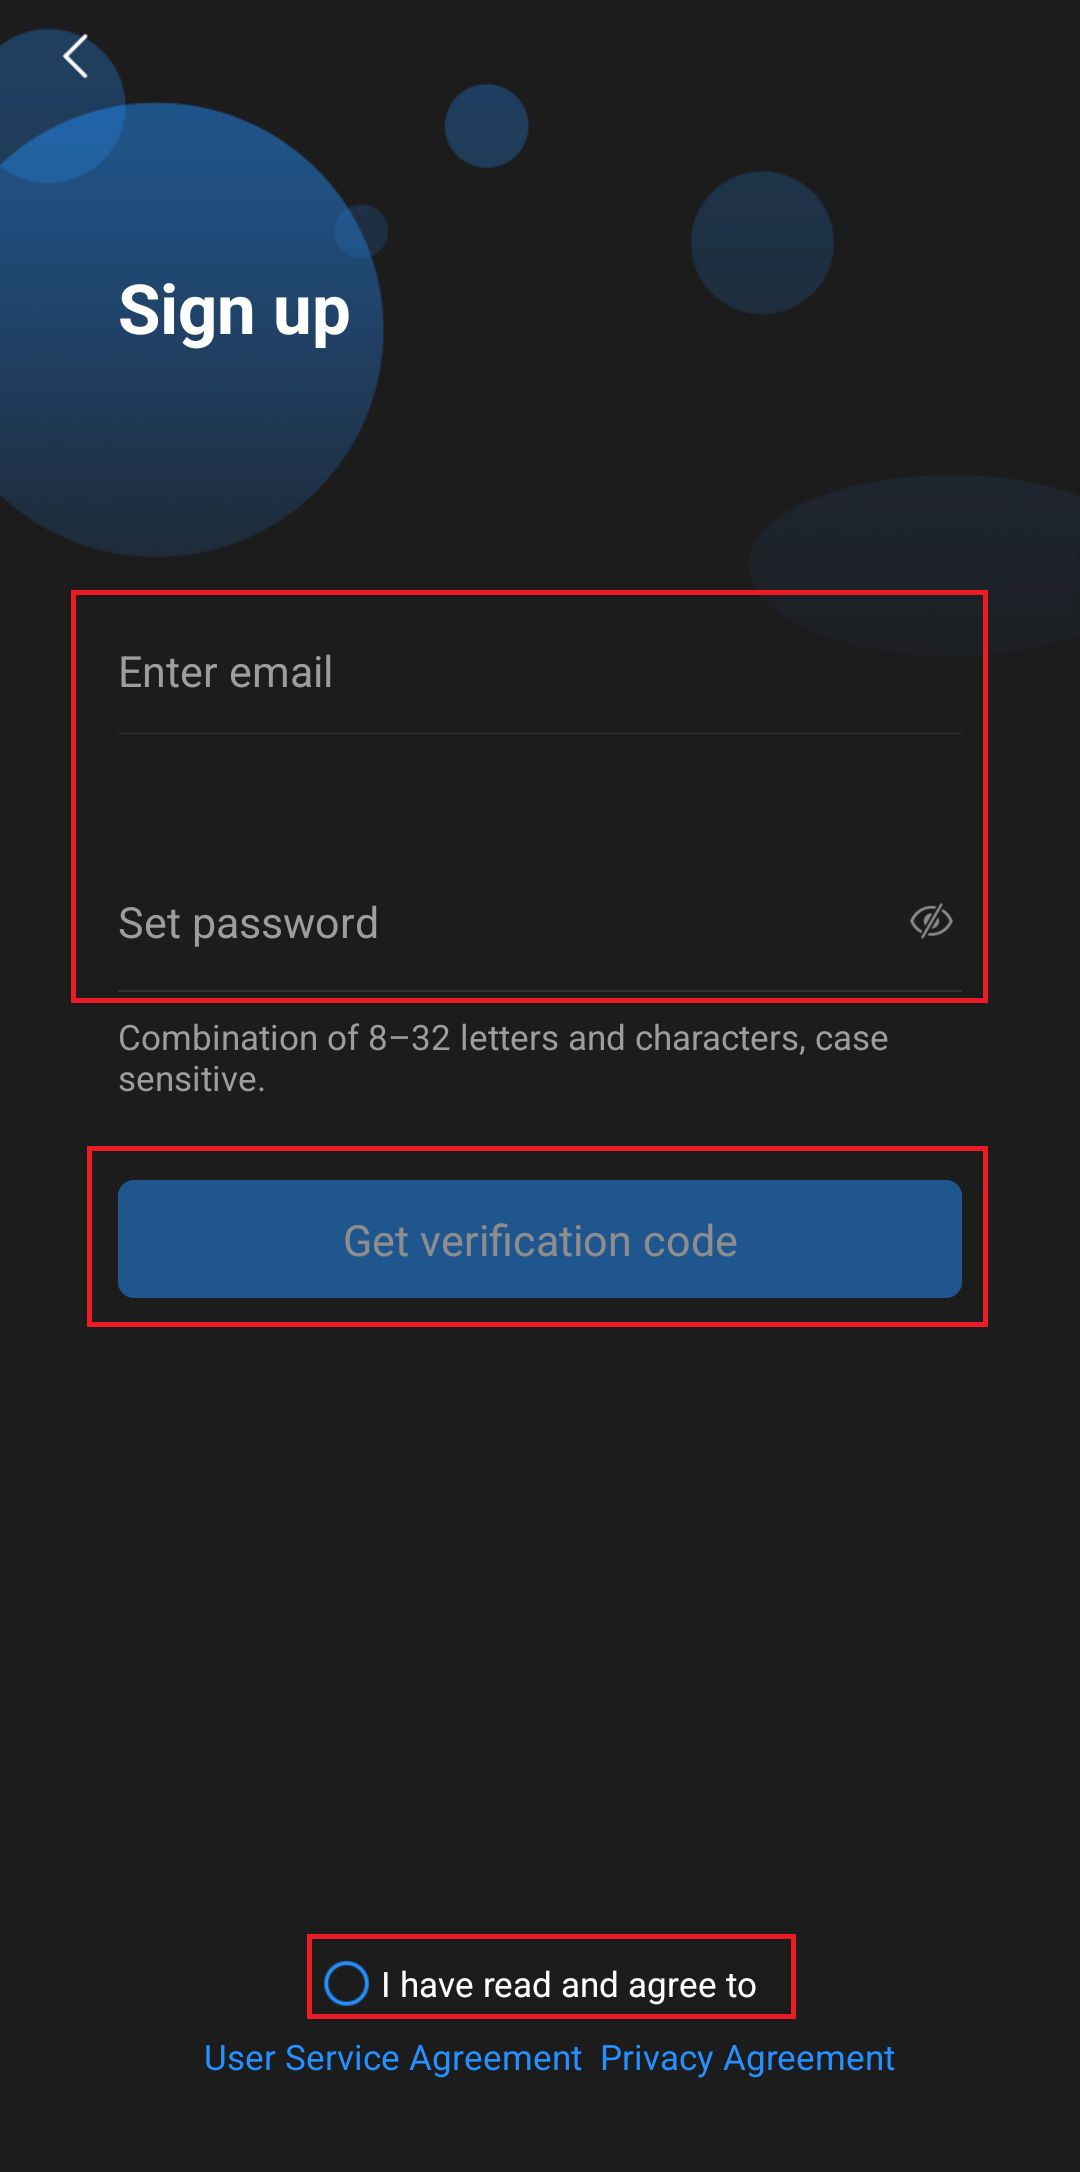 |
|
 |
Enter the Verification code emailed to you, then tap OK. |
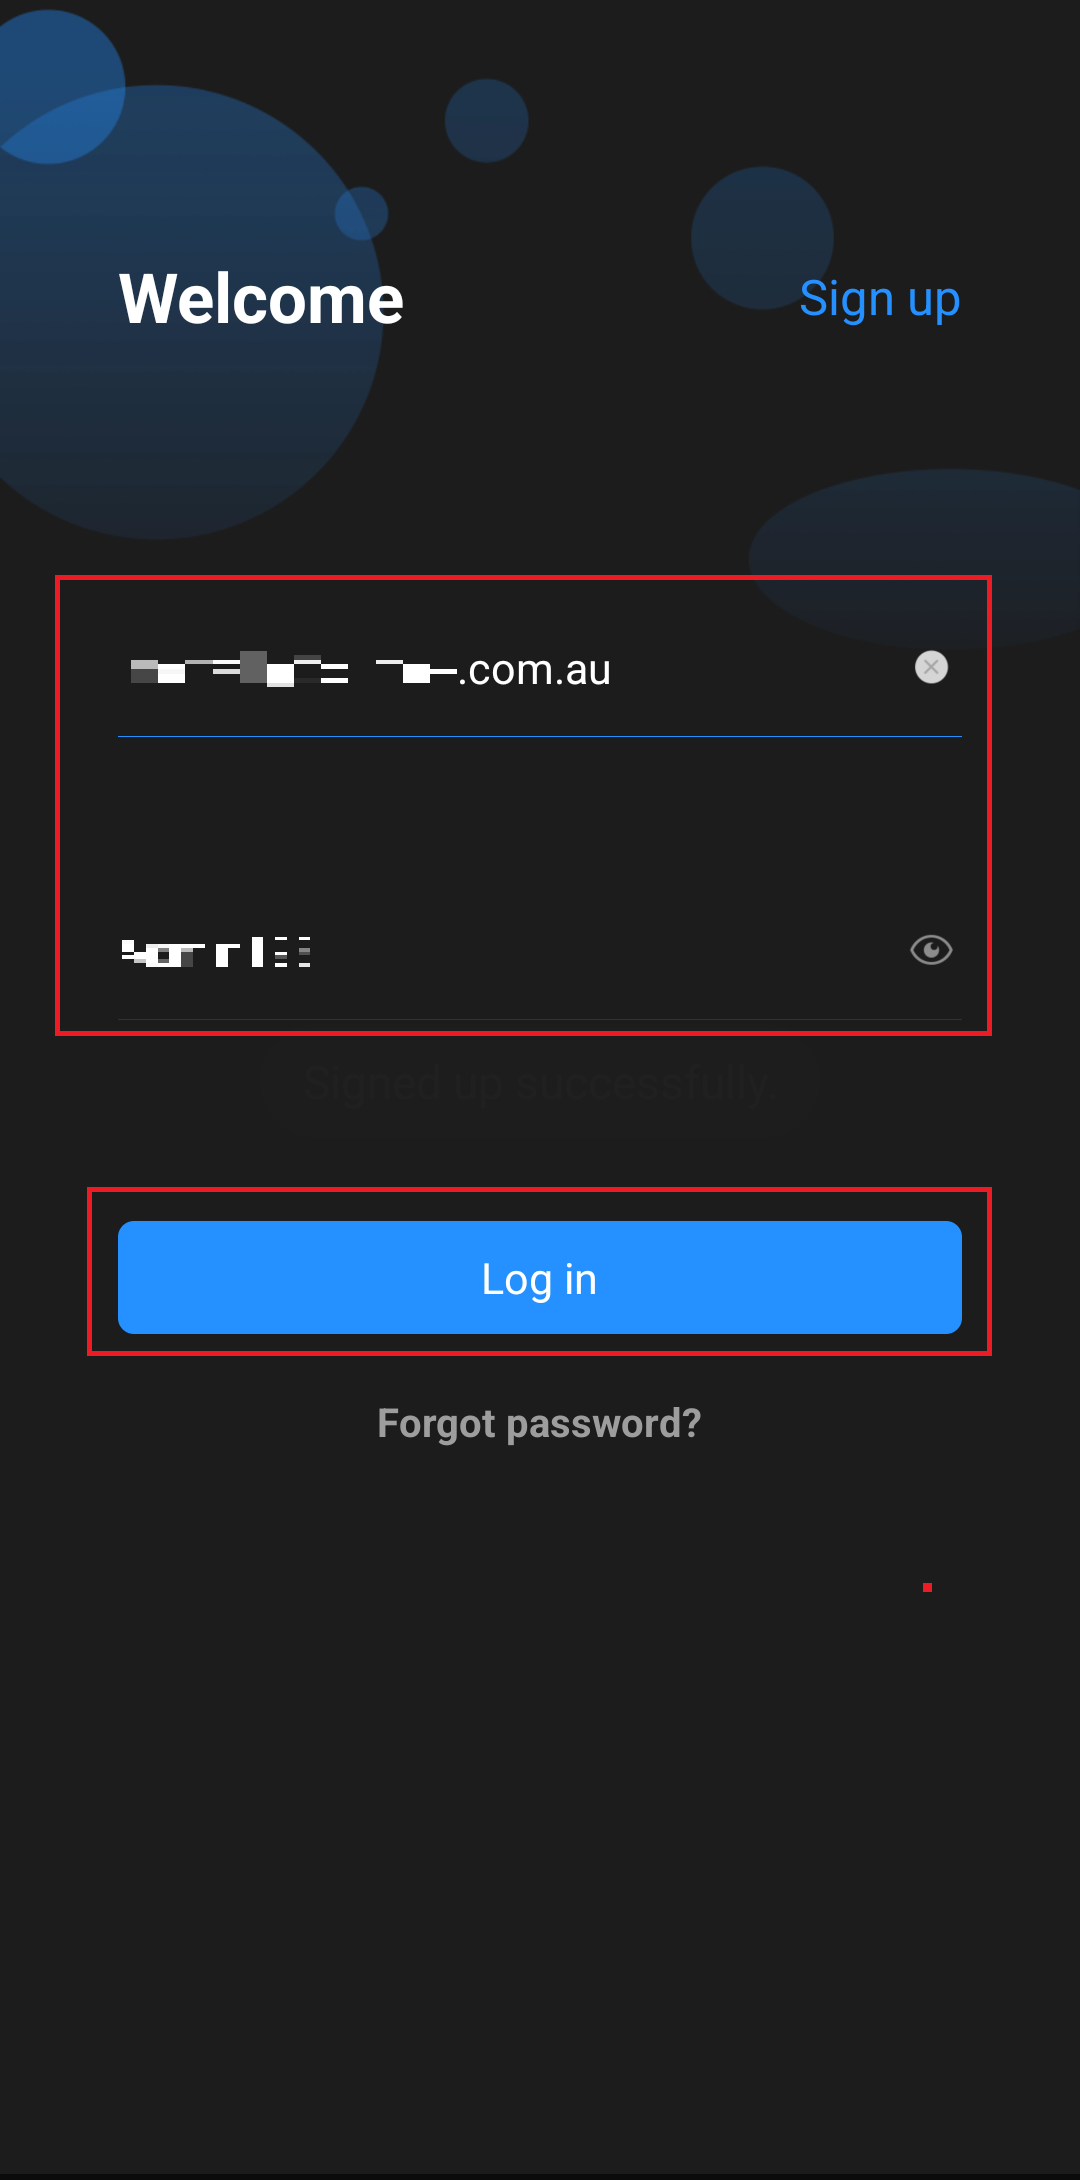 |
Enter the Email address and Password you used to create an account, then click Log in. |
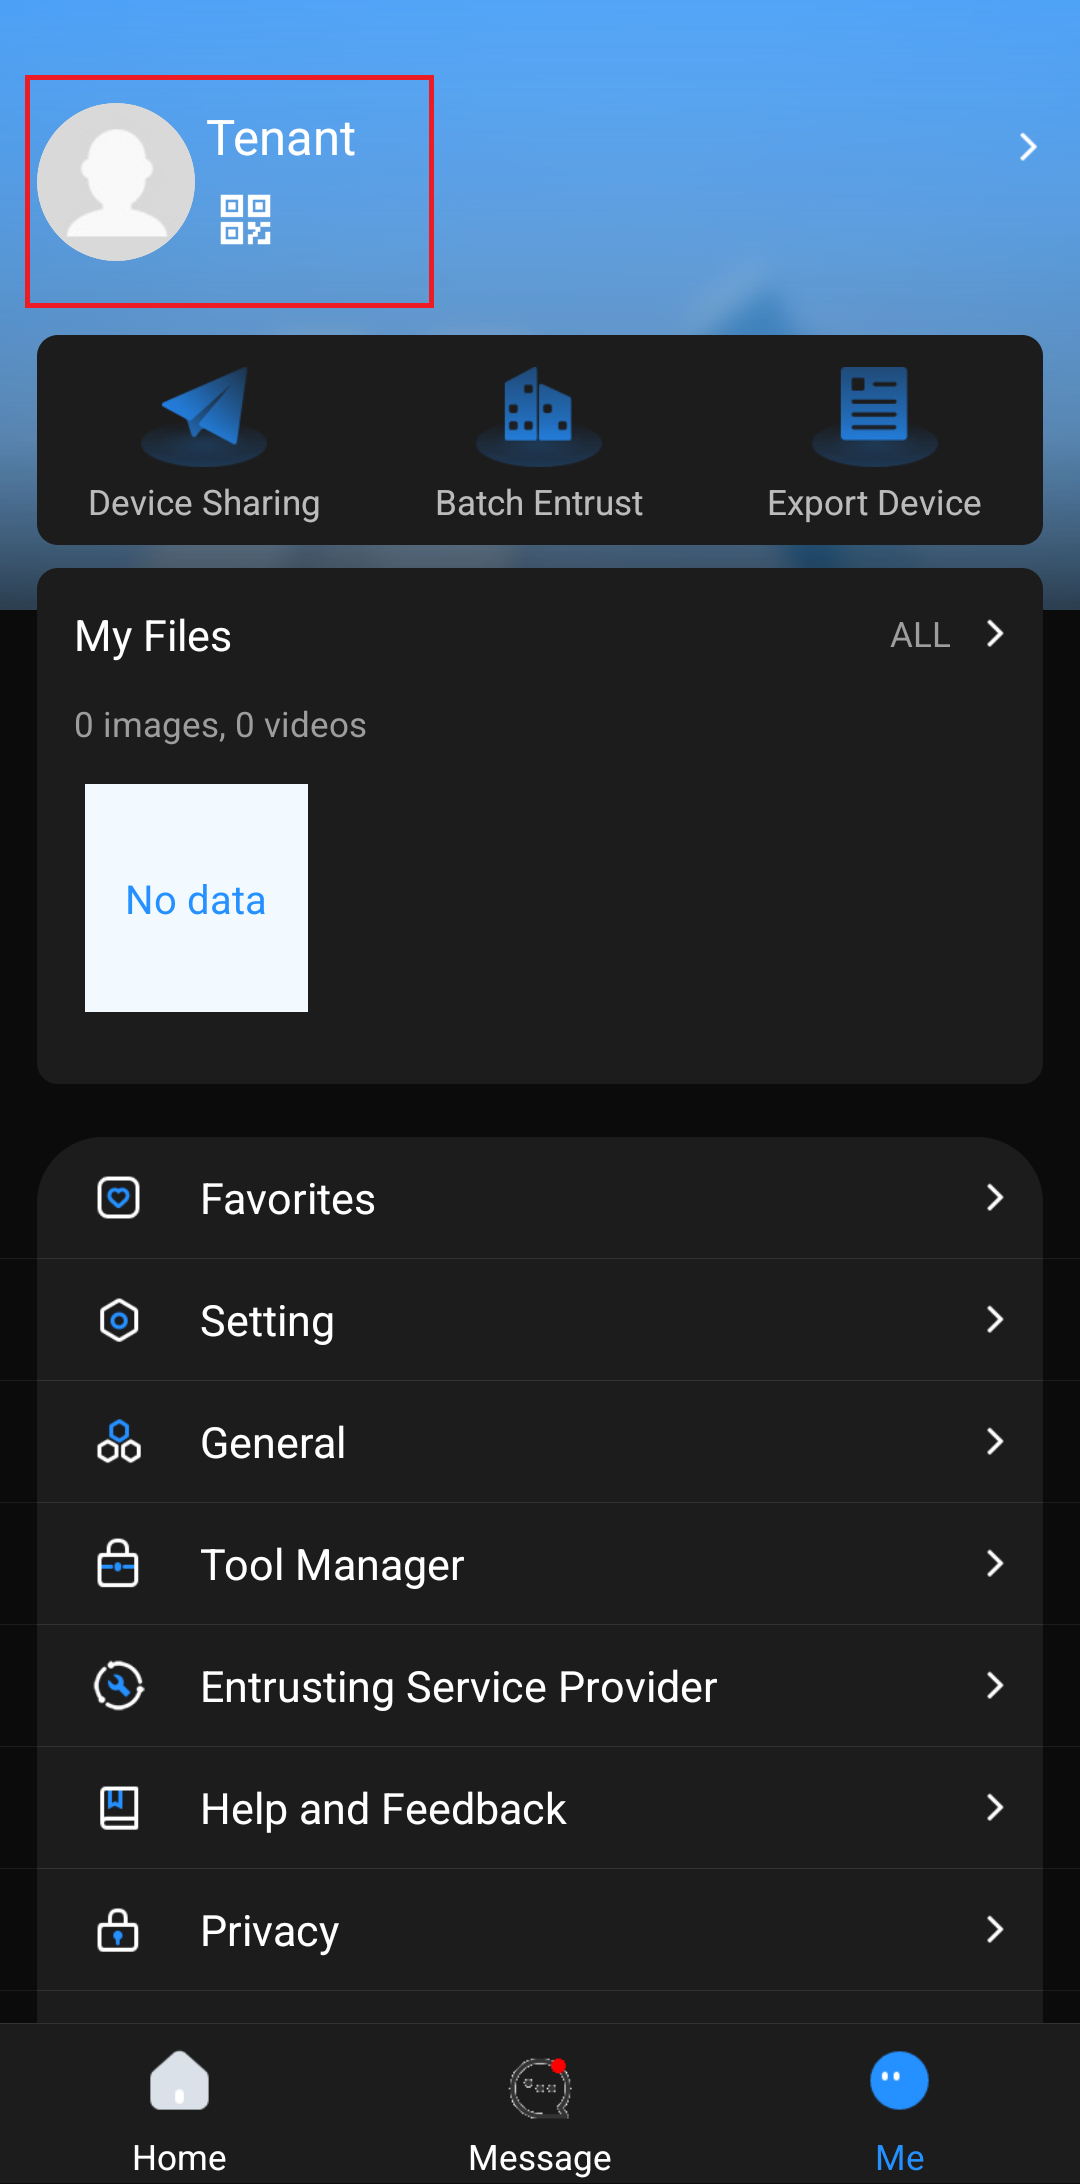 |
Tap on the Account Name to go to Account Management |
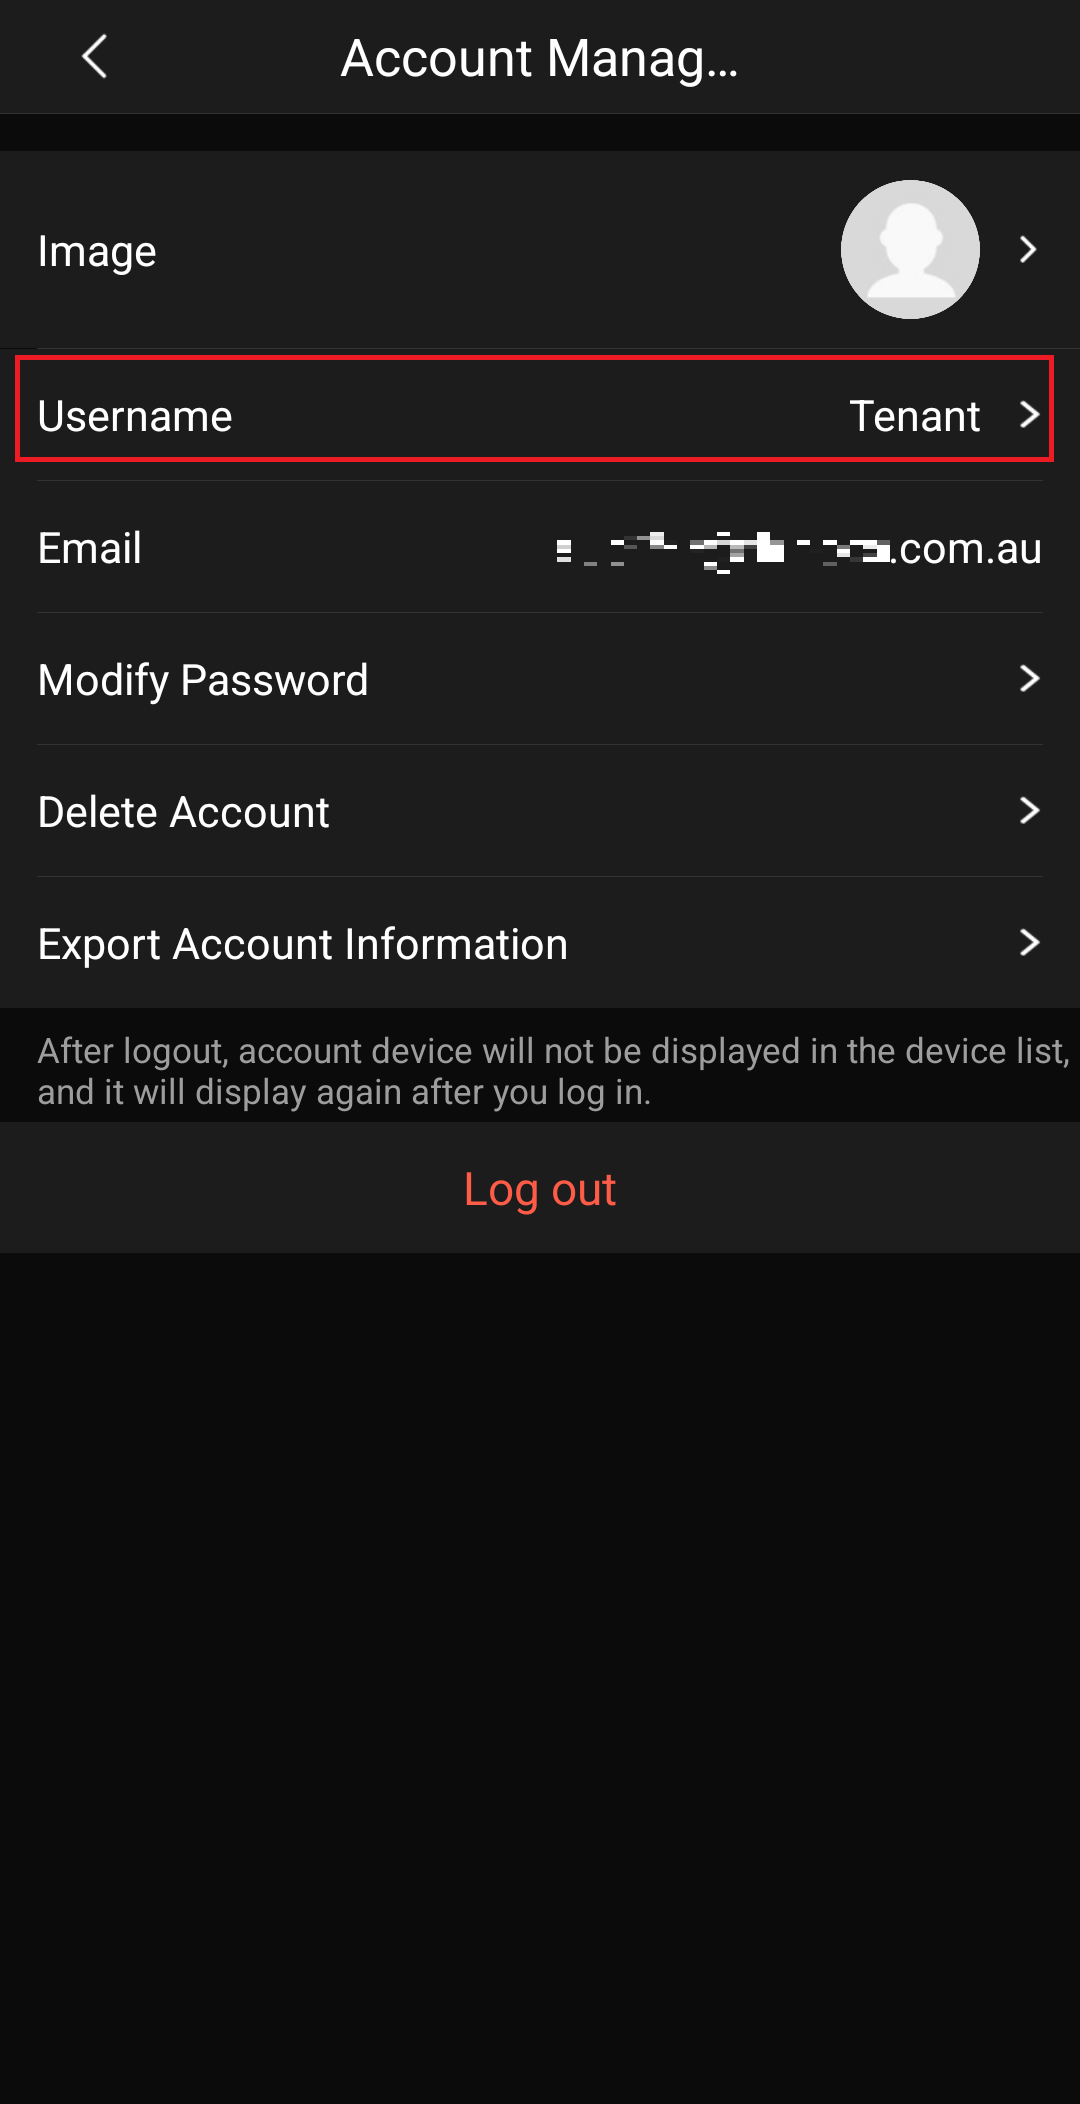 |
Tap on Username. |
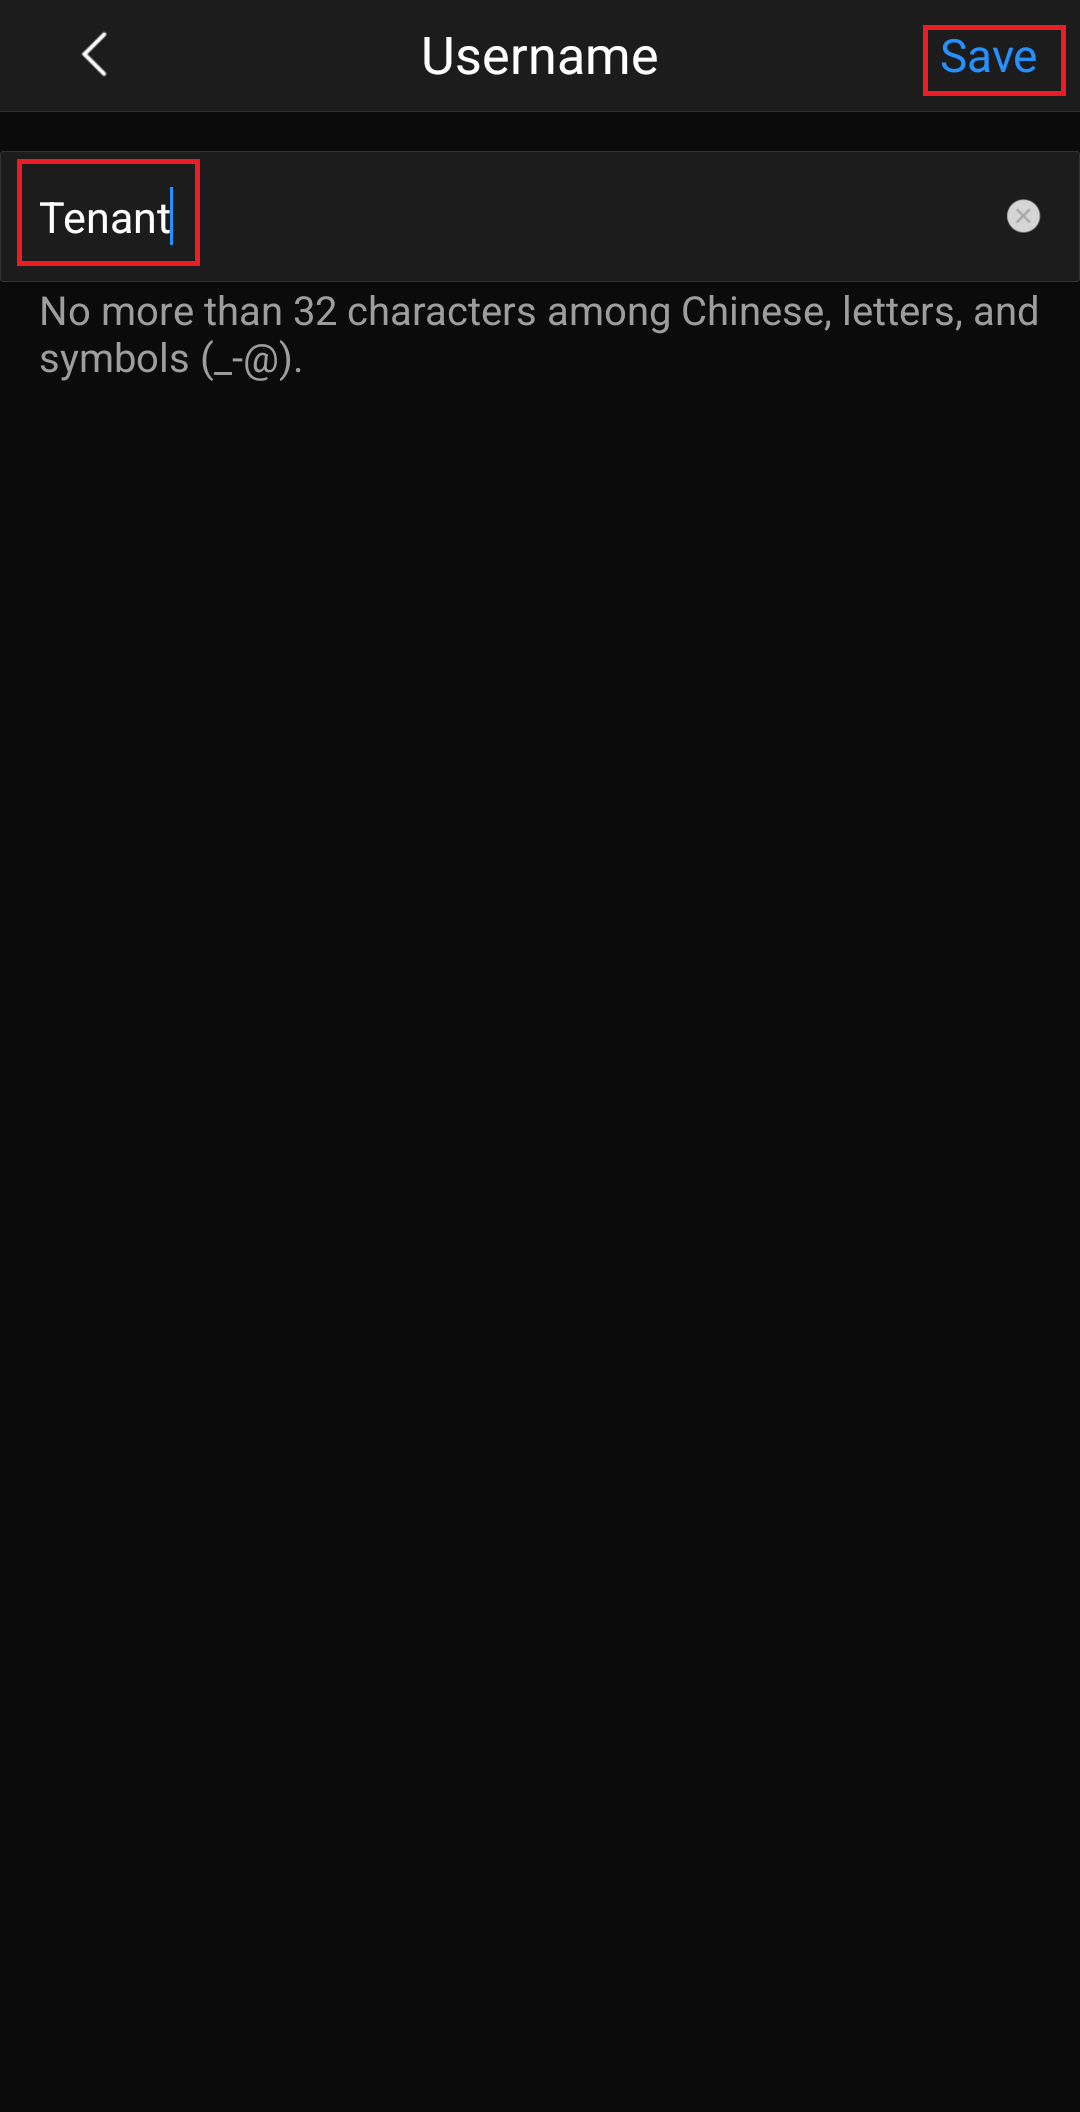 |
Update the Username to the name of the Tenant for easy identification. Then tap Save. |
Step 4 - Add the DMSS account of the tenant to the Monitor under Personnel Management
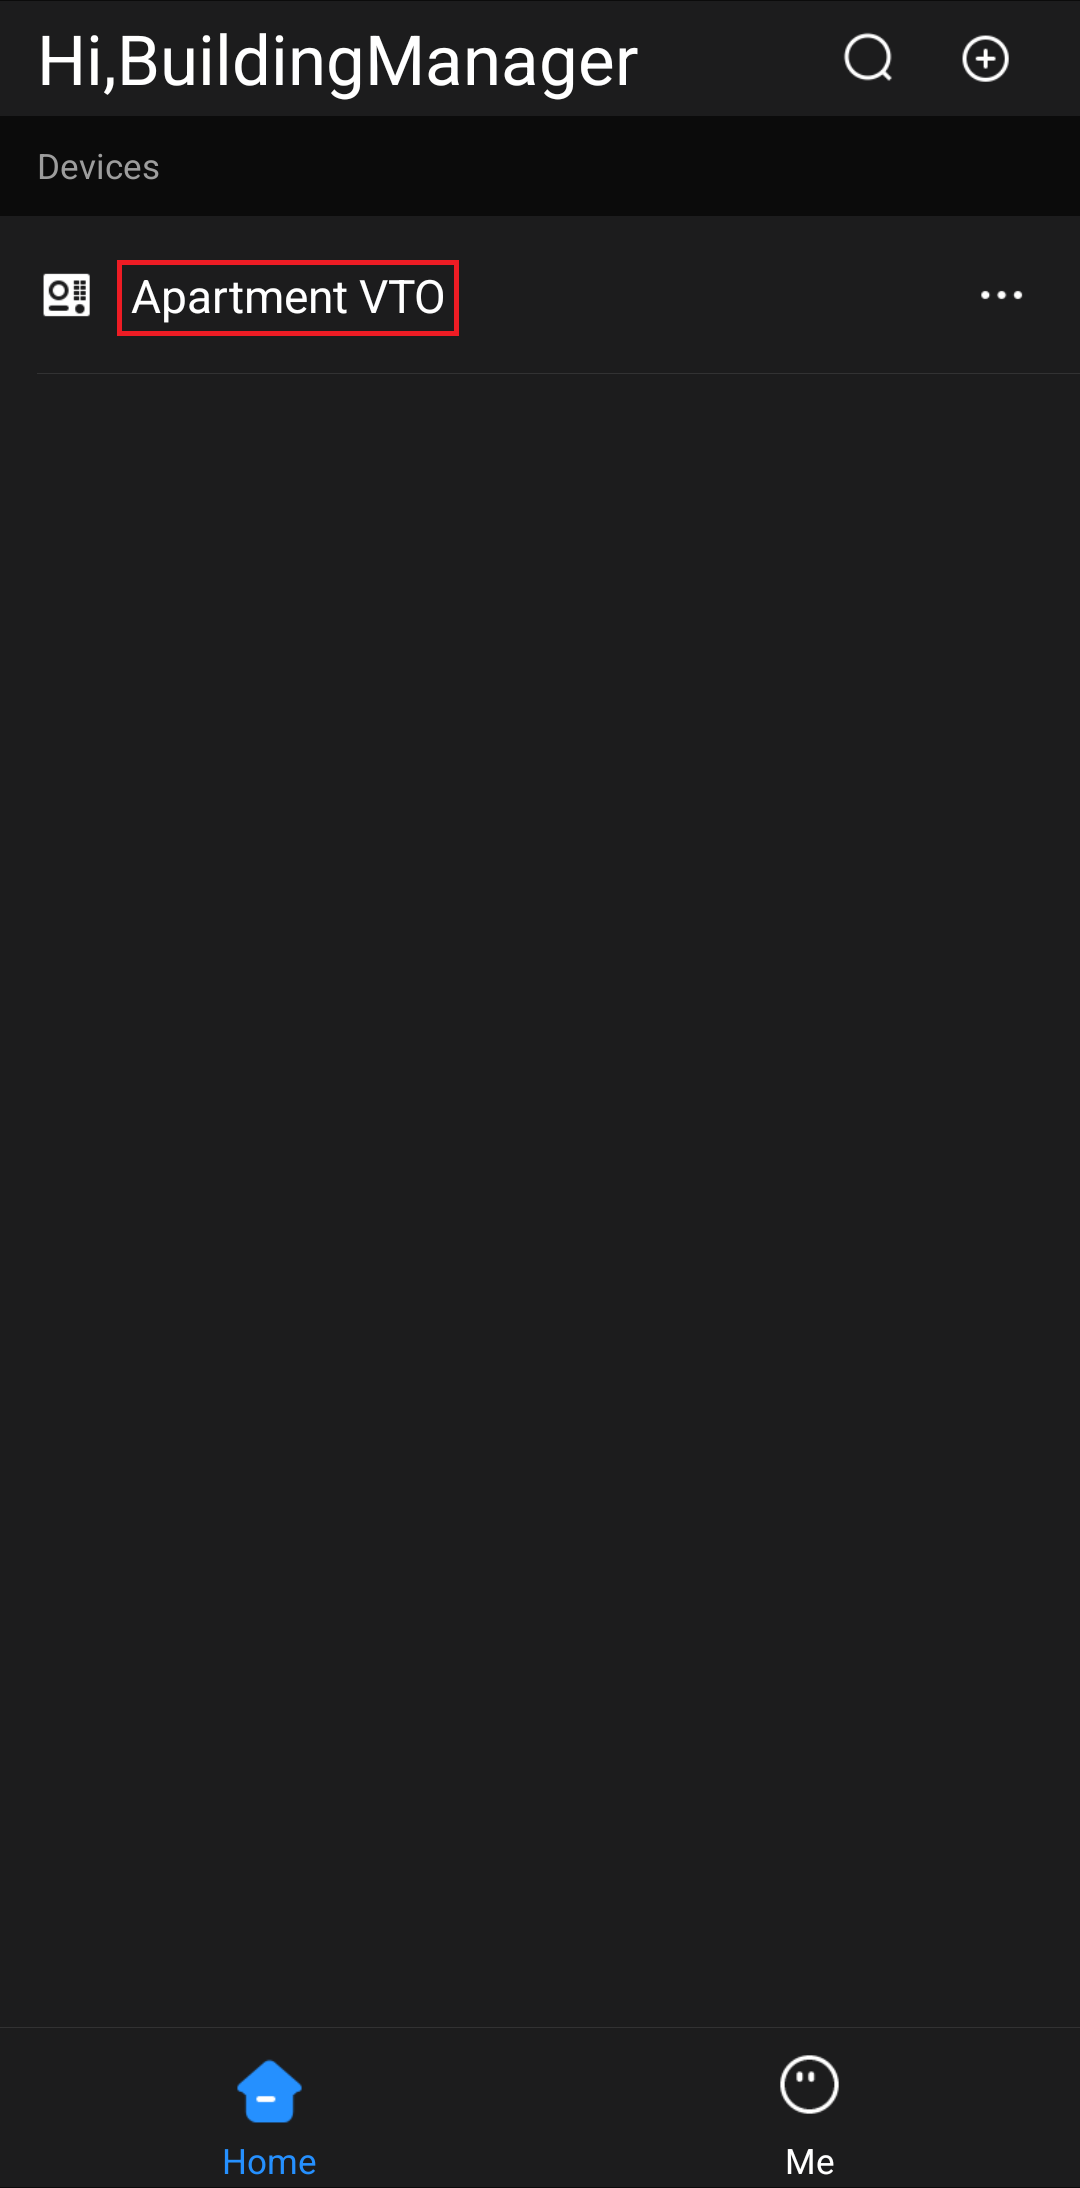 |
In DMSS VDP, tap on the Door Station in the Device list. |
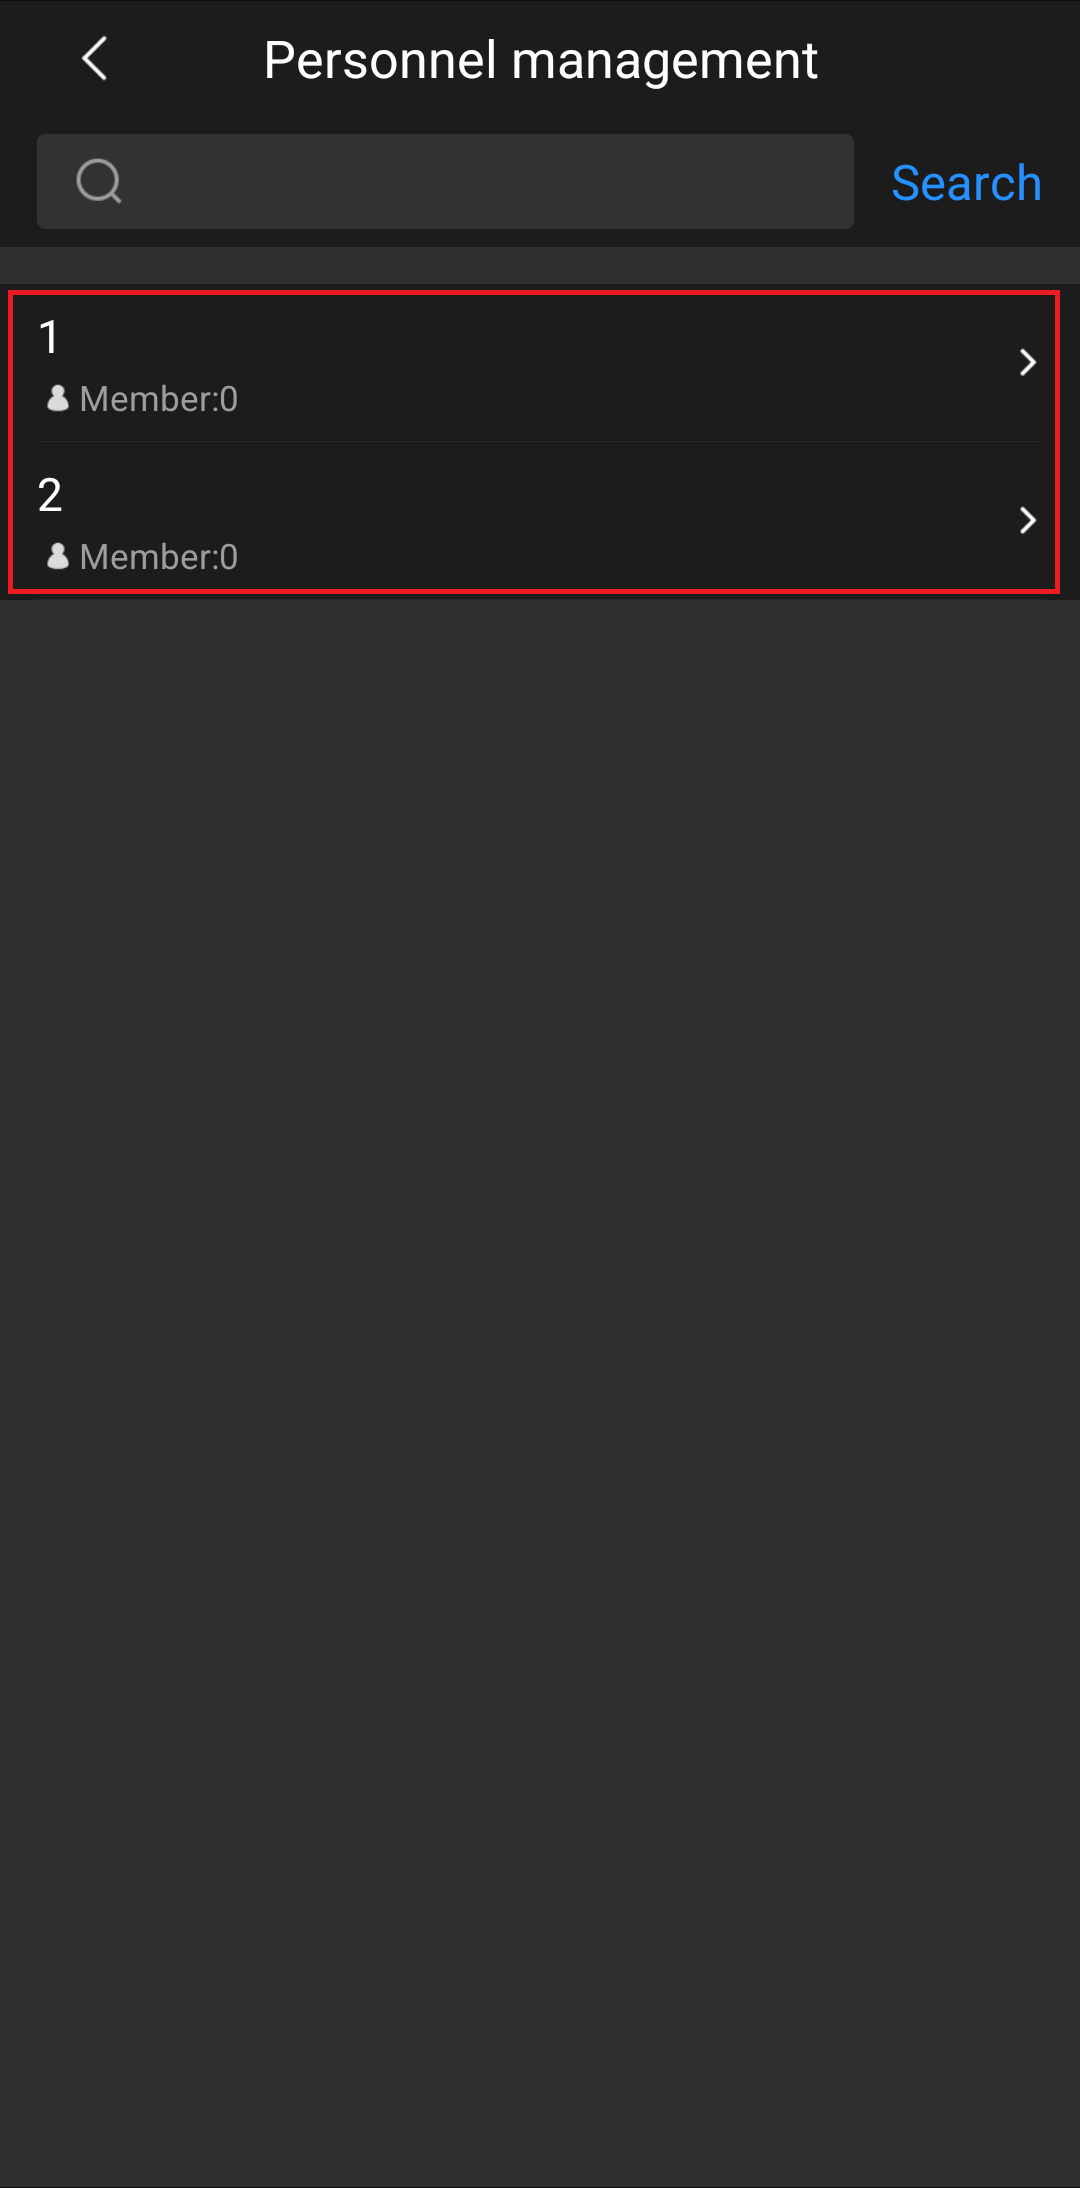 |
Tap on the Room Number of the room the Tenant will reside in. |
 |
Tap on the + icon. |
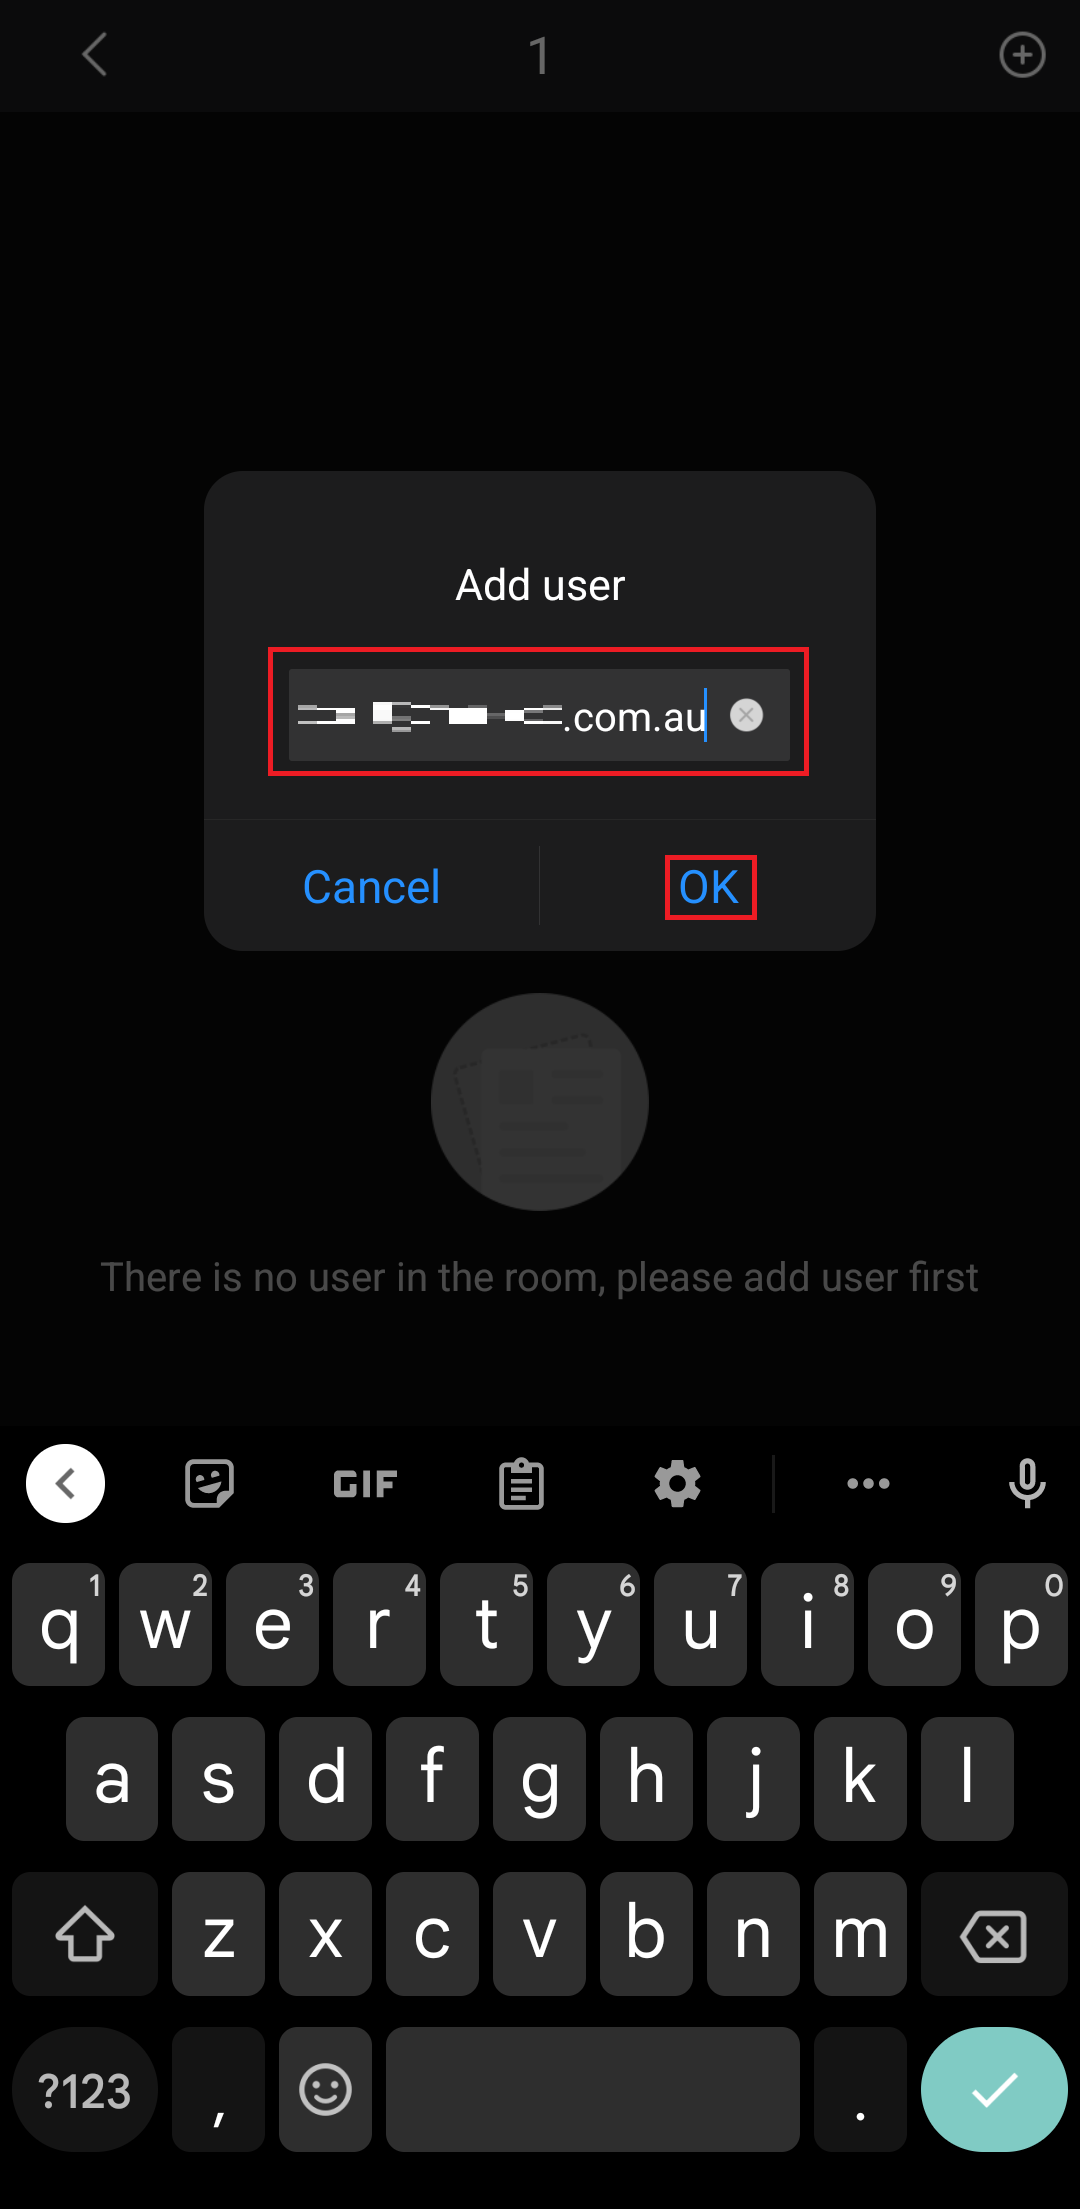 |
Enter the email address of the DMSS account created for the tenant in Step 3, then tap OK. |
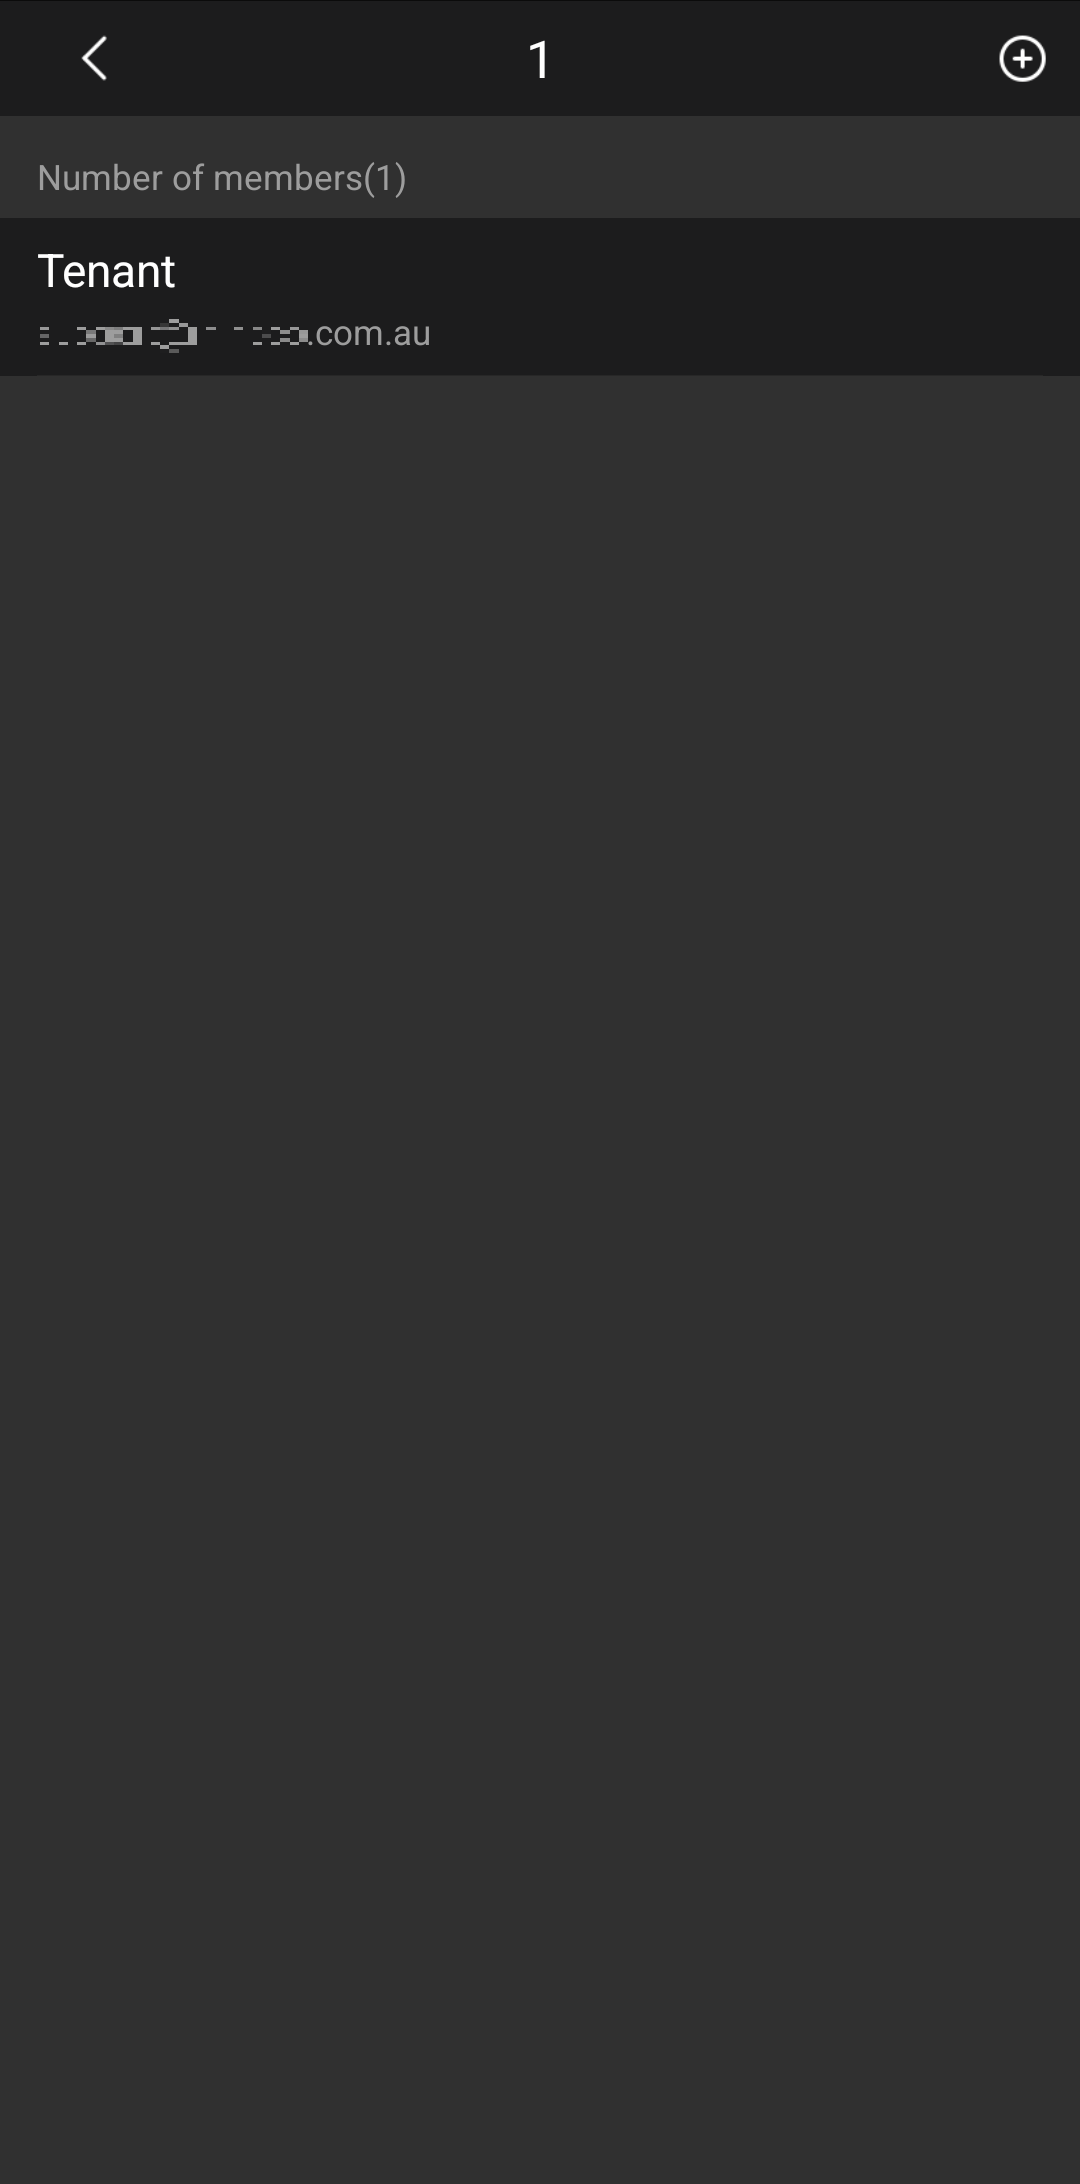 |
The Tenant's account will appear under the list of added members. |
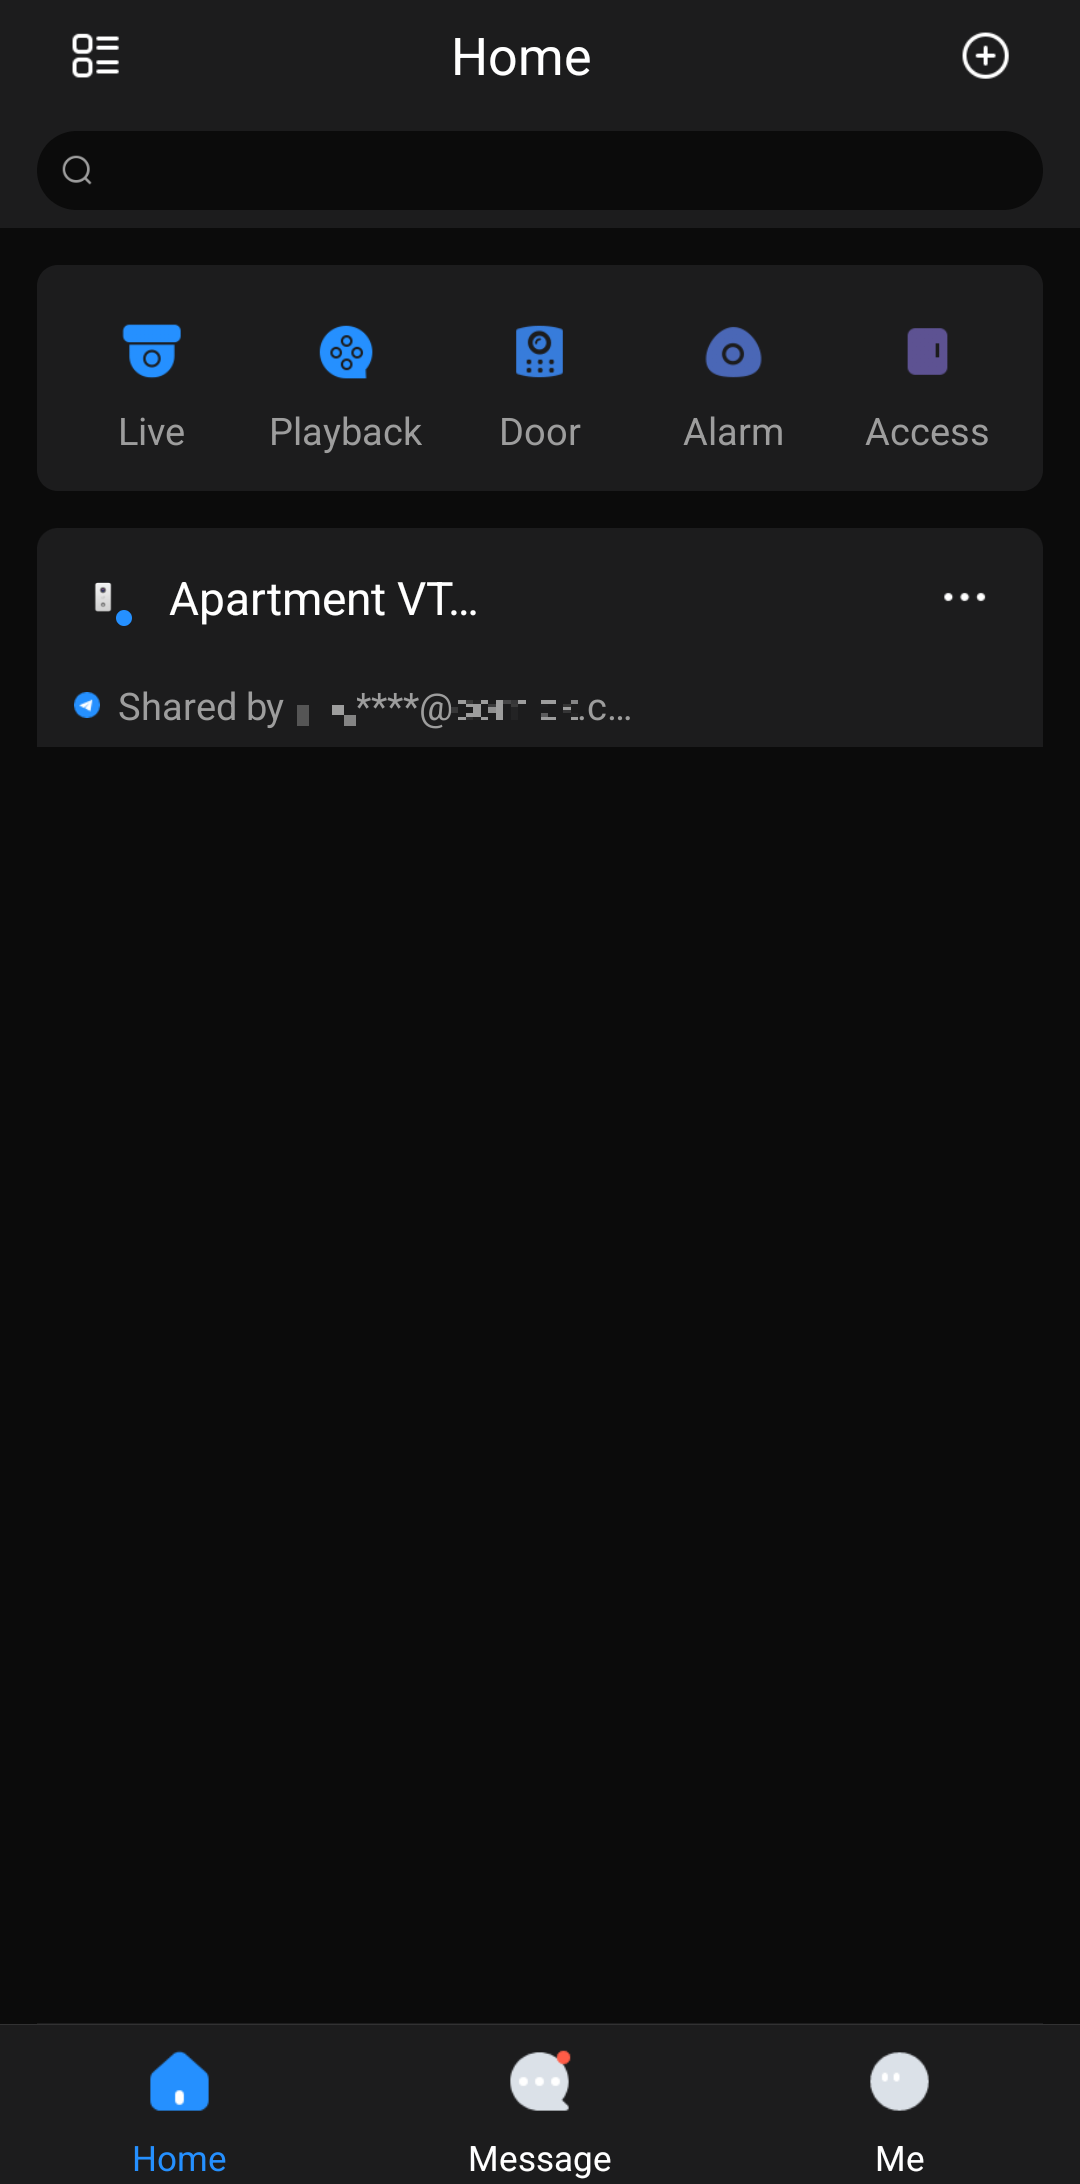 |
On the tenant's phone, pull down to refresh the page. The Door Station will then appear in the list of Devices on the Home Page. |
How to remove a tenant's access to the Door Station
 |
In DMSS VDP, tap on the Door Station in the Device list. |
 |
Tap on the Room Number of the room the Tenant is currently a member of. |
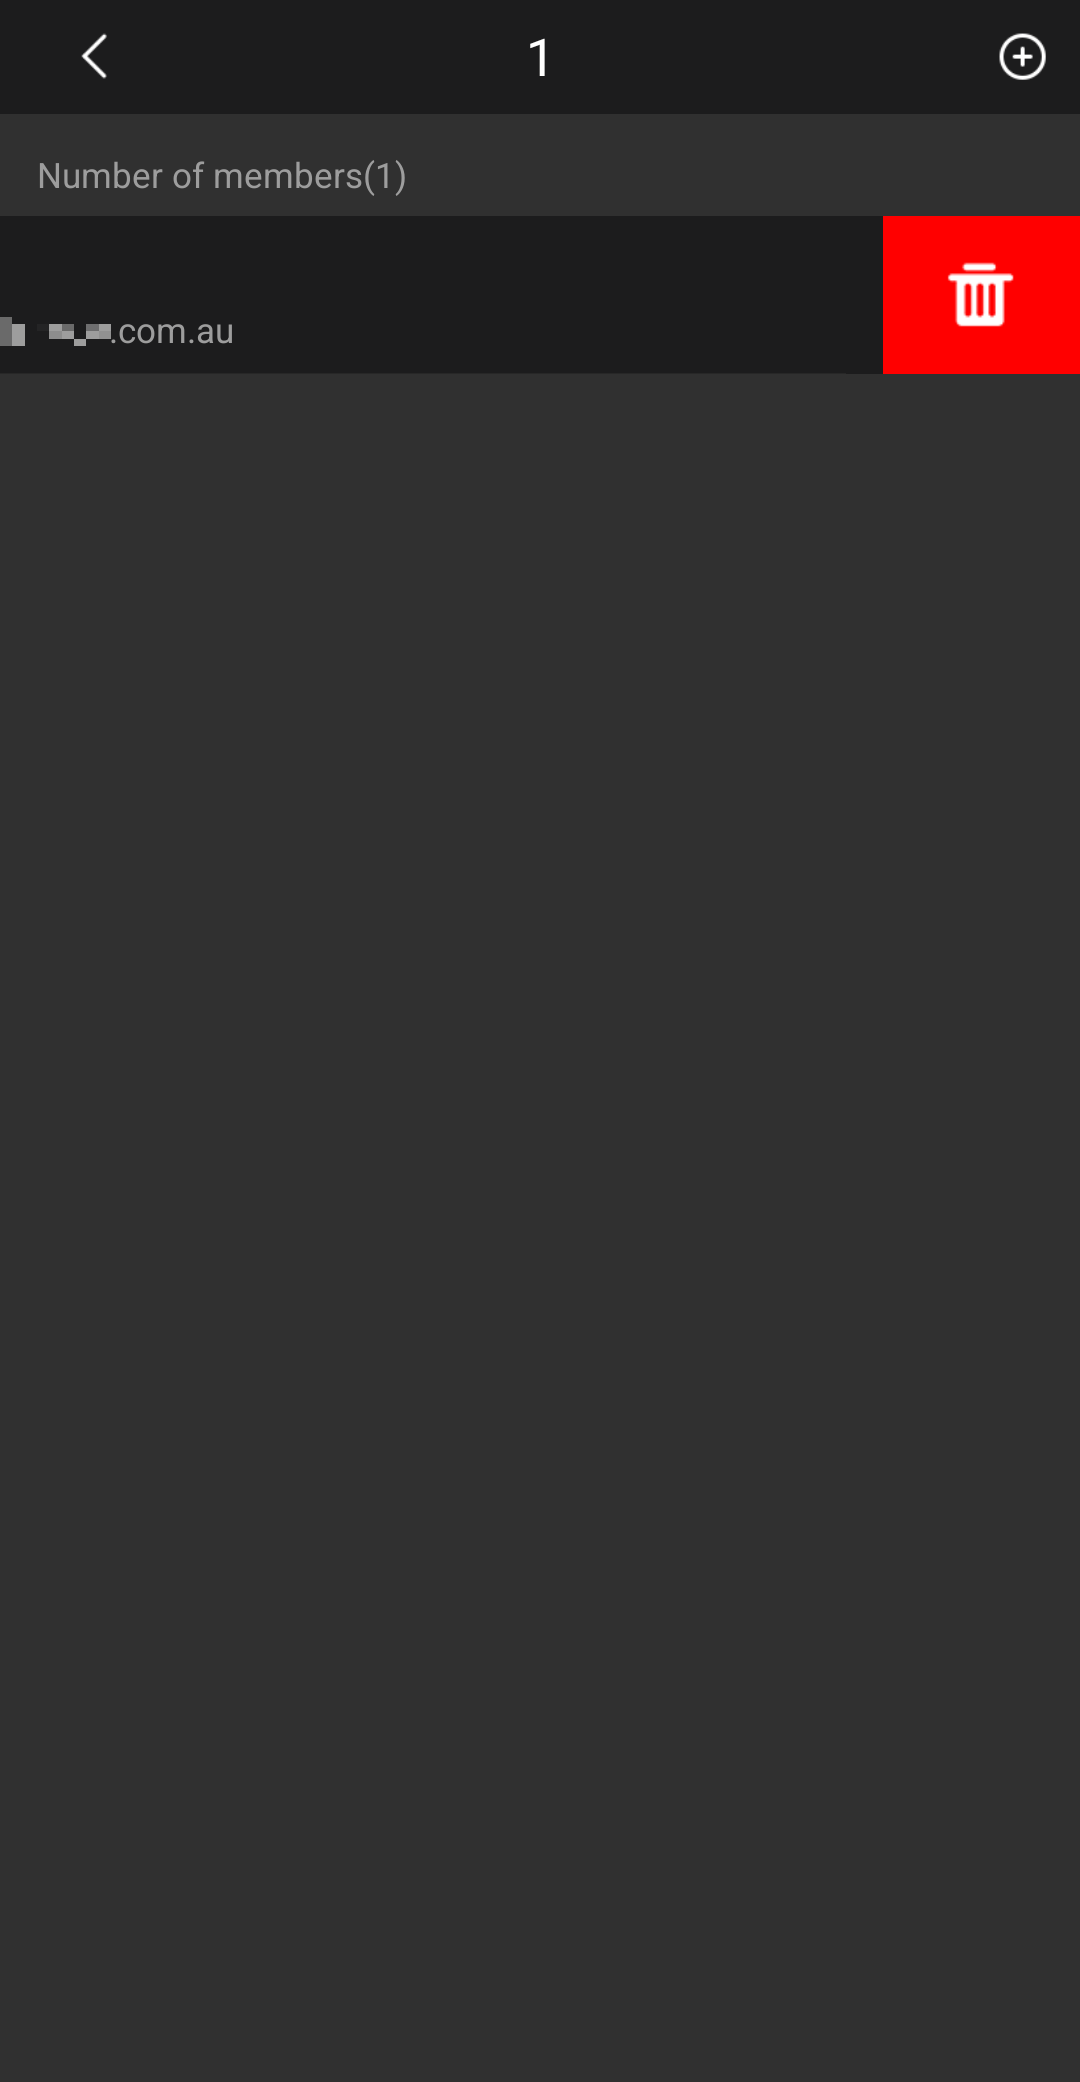 |
Tap, then swipe to the right on the Tenant in the list to reveal the Delete button. Tap on the delete button to remove the tenant. |