When installing a third party camera to a VIP or Watchguard NVR, the NVR will not auto-detect the camera.
The camera must be ONVIF compliant and manual configuration of the camera will be required.
For ease of installation it is highly recommend to purchase a VIP or Watchguard camera.
Adding the Camera to the NVR using ONVIF
To add the camera, you will need to have a Windows Laptop with an Ethernet port available.
- First, log into the camera with your PC, and assign it an IP address.
Inbuilt PoE Switch - Assign it an IP Address in the same range as the inbuilt PoE switch. You can find the inbuilt switch's IP address by going to Main Menu > Network > Switch.
External Poe Switch - Assign the camera an IP address in the same range as the LAN port of the recorder. This can be found at Main Menu > Network > TCP/IP. - On the NVR go to Camera Registration (Main Menu > Camera > Camera Registration).
- Click the Manual Add Button. Select ONVIF for the Manufacturer/Protocol, then enter the IP Address, Username and Password for the camera.
Enabling ONVIF in a HIK Camera
For newer model cameras, you must enable ONVIF within the HIK camera.
After it is enabled, you must add an ONVIF username and password.
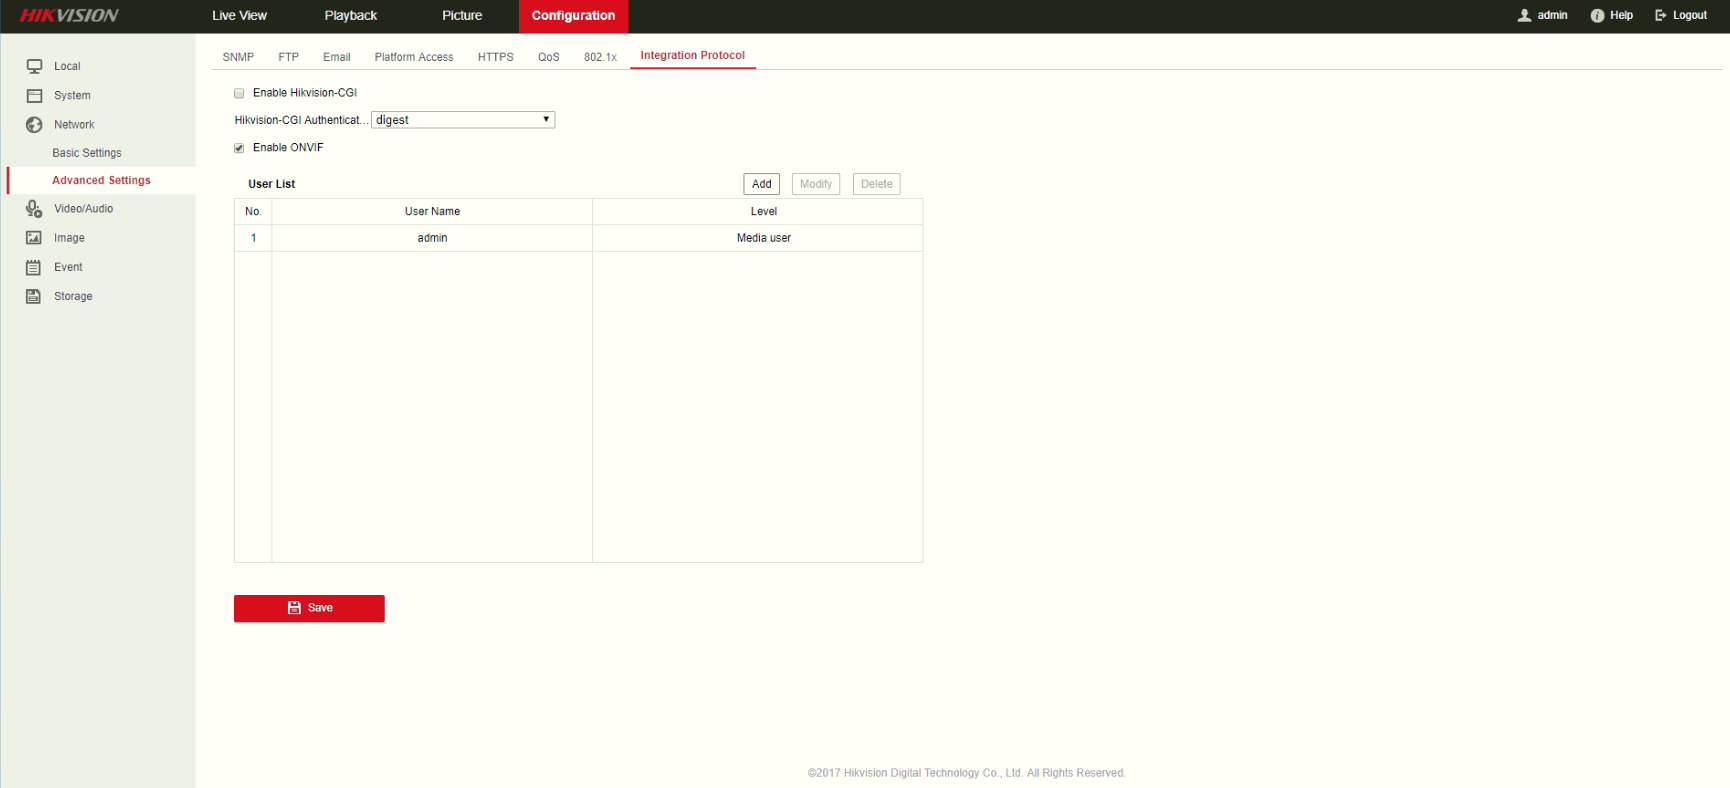
After that has been set, change the password of the camera to the details that you just set, on the NVR Registration page.
The camera should now come online.
Adding a Axis Camera
In order to add an Axis camera, it is recommended to connect the camera to an external PoE switch. The below example will explain how to connect it this way. (Using the inbuilt PoE can be achieved on some model cameras)
- If you know the camera's IP address and password, skip to step 3. (Axis IP Utility can be used to find the camera's IP Address https://www.axis.com/support/tools/axis-ip-utility)
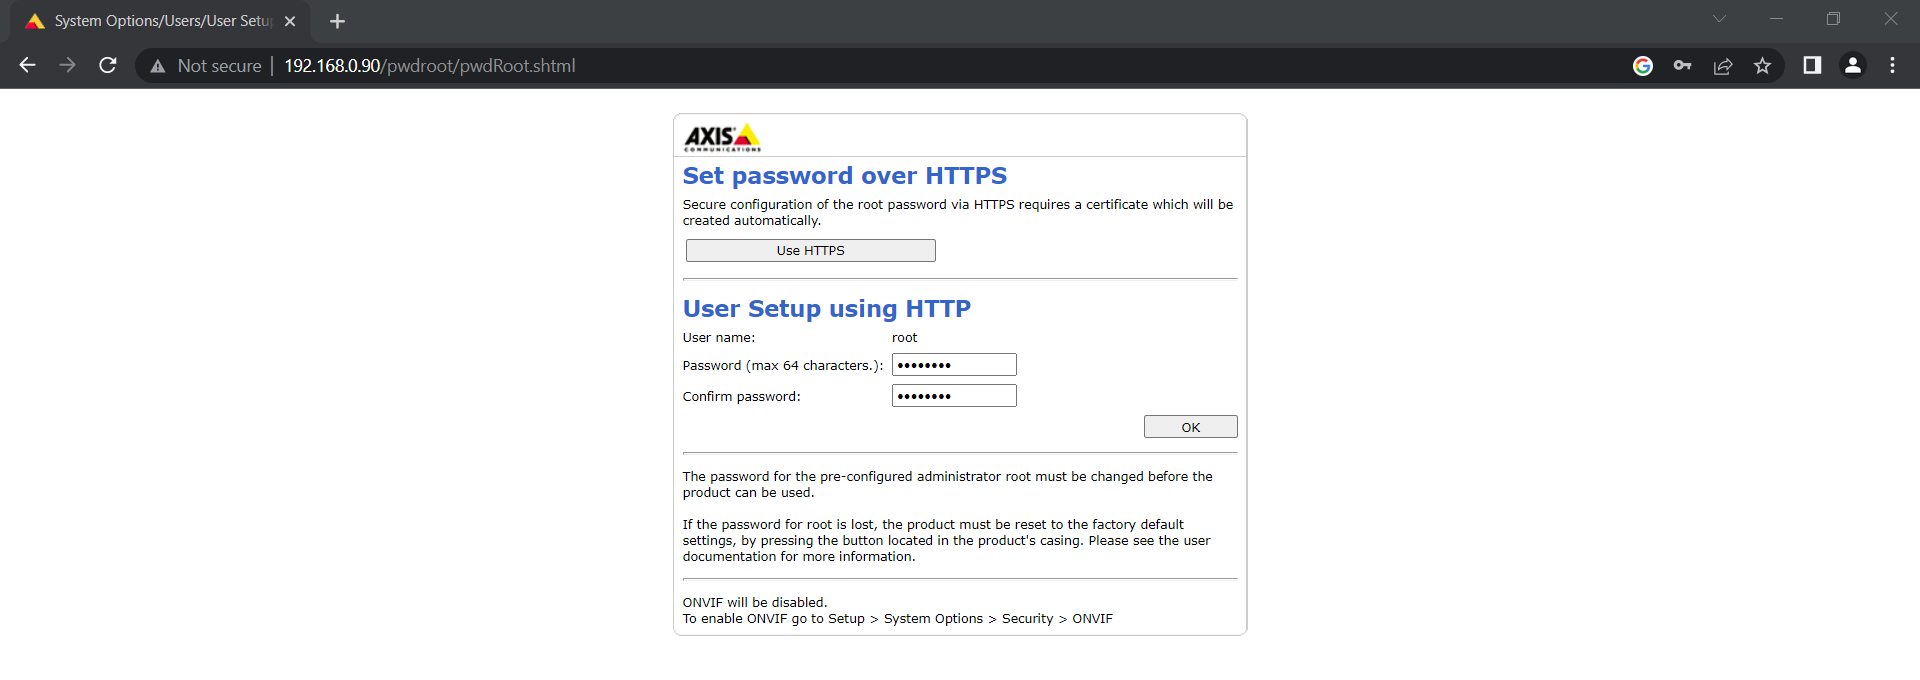
- If the IP address or password is not known, default the camera by unplugging the camera then press and hold the reset button inside the camera while reconnecting the camera. Hold the button for 30 seconds, then release. The camera's IP should now be reset to 192.168.0.90, with the username of root and password of pass.
- Using a web browser, login to the camera using its IP address. You will be prompted to change the password. Set a password and select the OK button.
- You will then be prompted with some setup options. Set this up as per your requirements.
- Once the setup is complete, you should see a live image from the camera. Select the Setup option, Basic Setup then select TCP/IP.
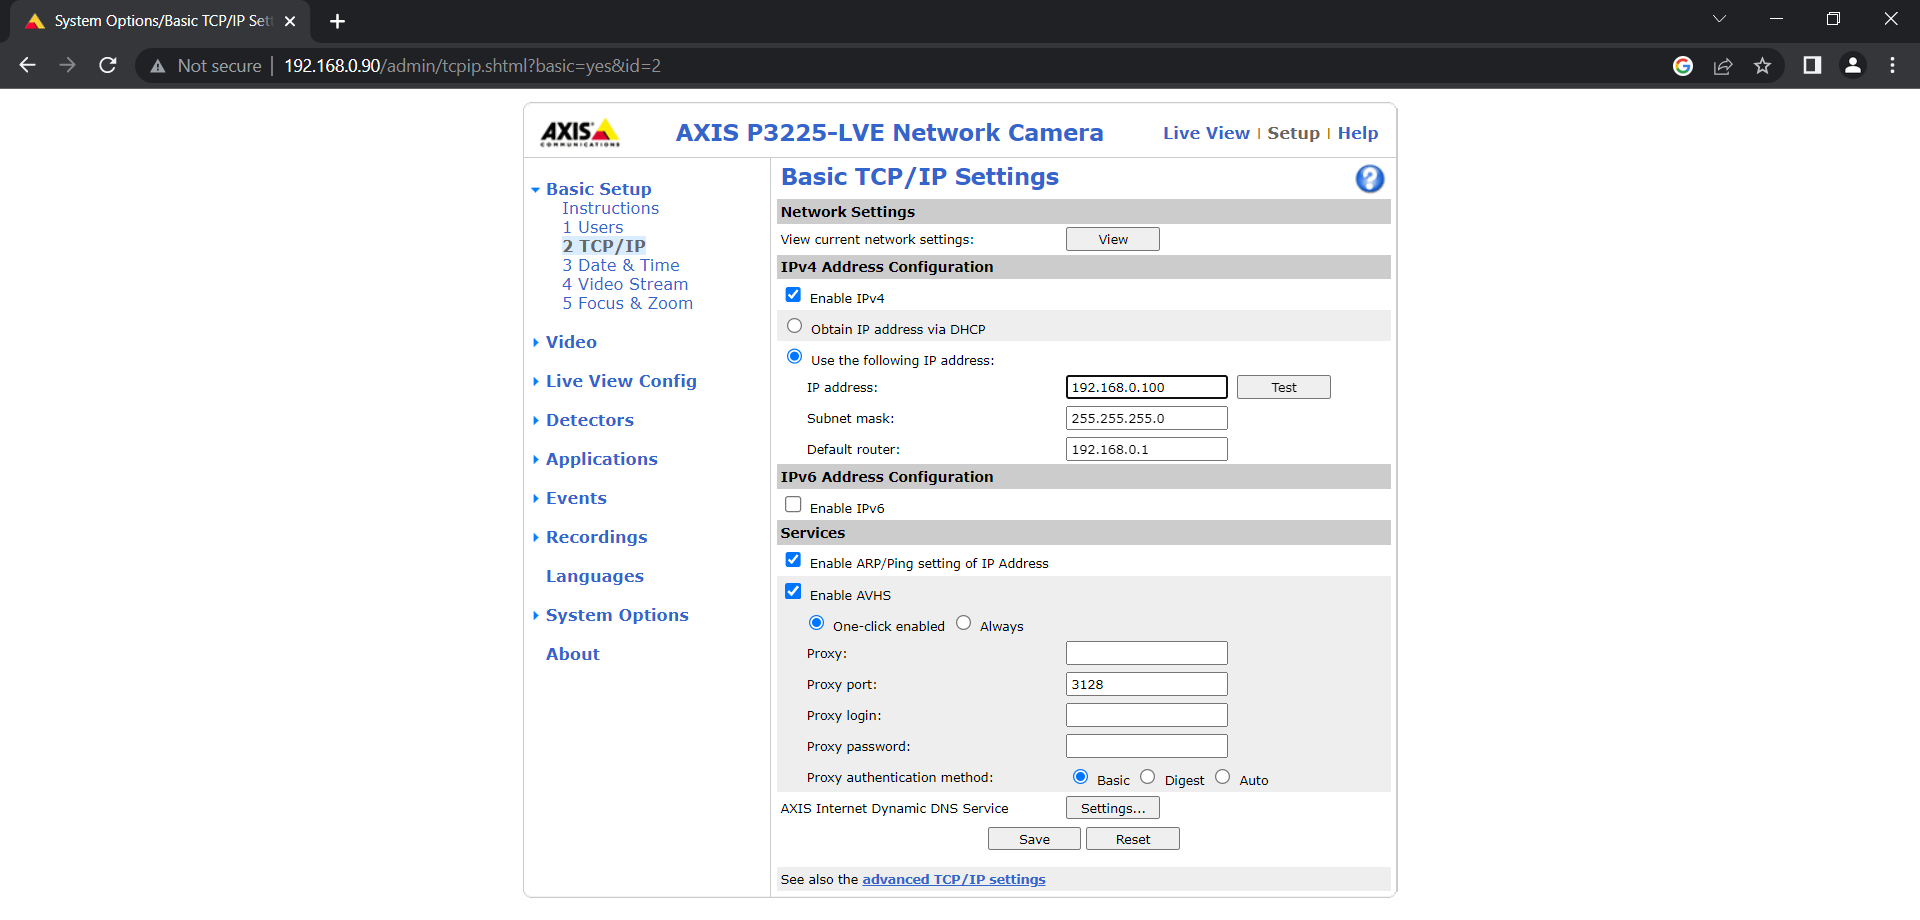
- You can then set the IP address of the camera into the same range as the LAN port of the recorder. In our case, the recorders IP is 192.168.0.108, we have made the first camera 192.168.0.100. The IP address will vary depending on what network you are connected too.
- Repeat the above steps for each camera, ensuring that each camera is set to a different IP address.
- Login to the NVR and go to Camera, then Camera List.
- Select the checkbox next to the camera, then select Add.
- Once the camera is in the bottom list, select the Modify button.
- Change the Manufacturer to Axis, enter the username as root, and the password you set for the camera previously.
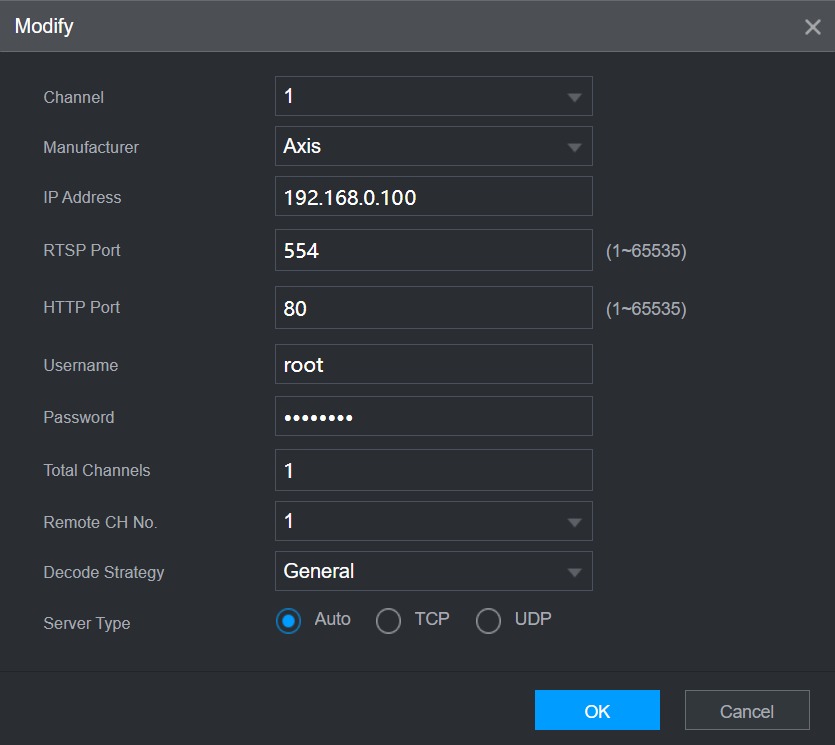
- The camera should now appear online on the NVR.
- Repeat this step for each camera.
Enabling ONVIF on an Axis Camera
- Login to the camera using a web browser.
- Select Setup, System Options, then ONVIF.
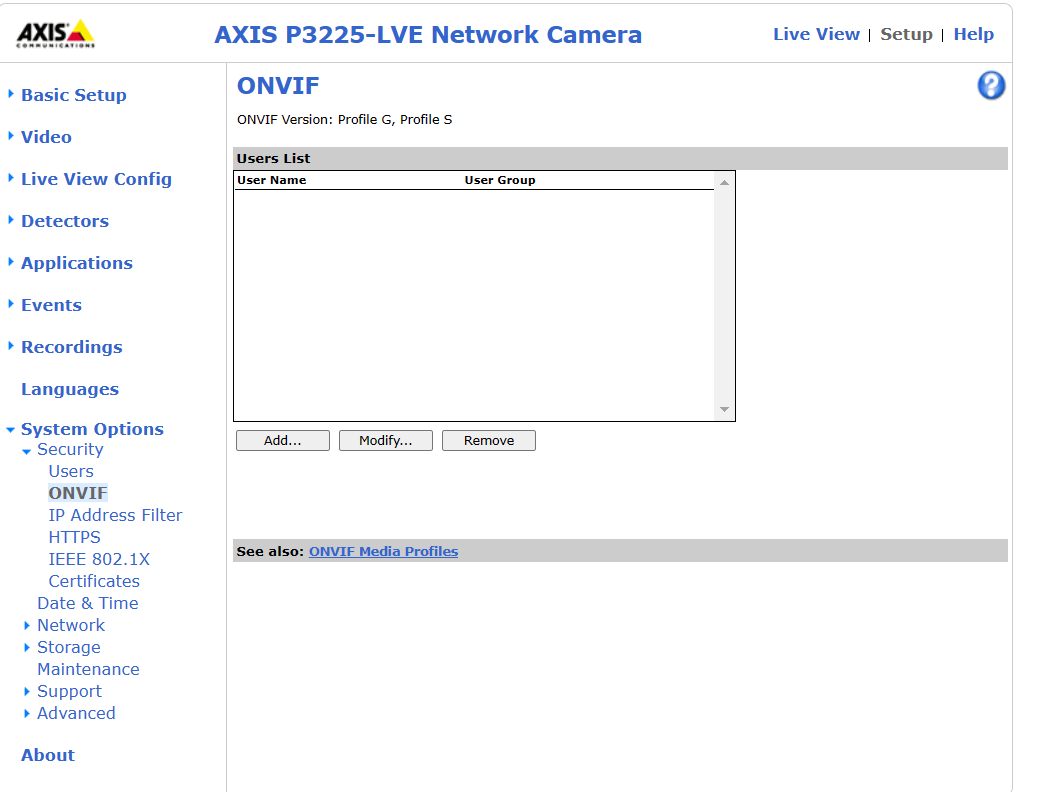
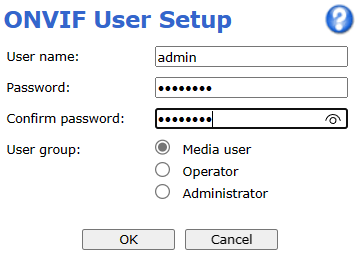
- Select Add, then enter a new username and password. Select OK.
- Repeat the steps above for each camera.
- You can now add the camera to the recorder, selecting Manufacturer as ONVIF and entering the username and password you have set.
Adding the camera to the NVR using RTSP
If the ONVIF option does not work, obtain the RTSP link details for your particular camera model. Then and manually add the camera using the General/Customised protocol/manufacturer.
- On the NVR go to Camera Registration (Main Menu > Camera > Camera Registration).
- Click the Manual Add Button.
- Select General or Customised for the Manufacturer/Protocol, then enter the IP Address, Username and Password for the camera.
Testing RTSP Stream with VLC Media Player
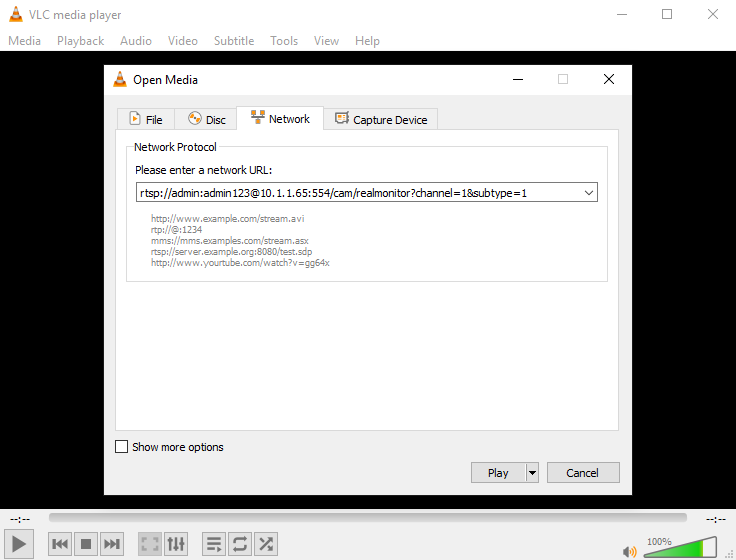
Before attempting to add an RTSP steam to a recorder, it is recommend to test the stream first in VLC, to ensure the stream details are correct. This method can be used of any brand camera, however you will need to use the correct RTSP details for the particular camera you have.
1. Download VLC Media Player from the official website and install the software - https://www.videolan.org/vlc/index.html
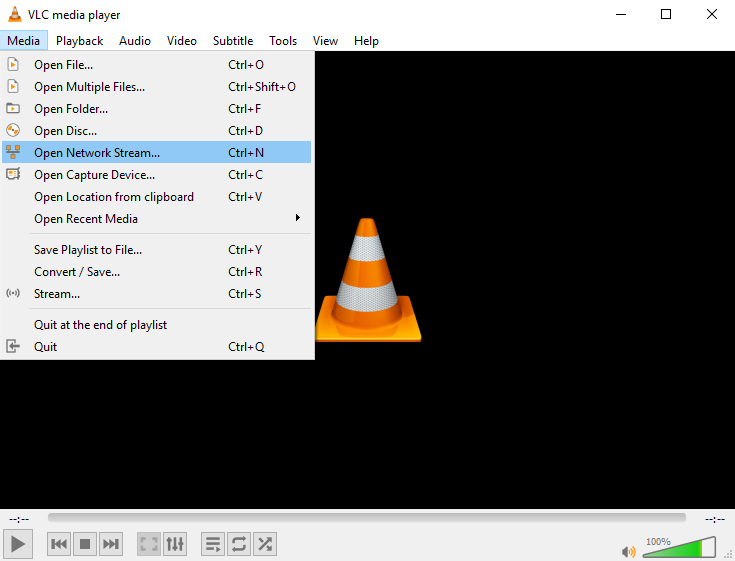
2. Select Media, then Open Network Stream.
3. Enter the stream details, then select Play. If the stream link is correct, the live video will be displayed. If it does not display, check the stream link is correct and the devices are in the correct IP range.